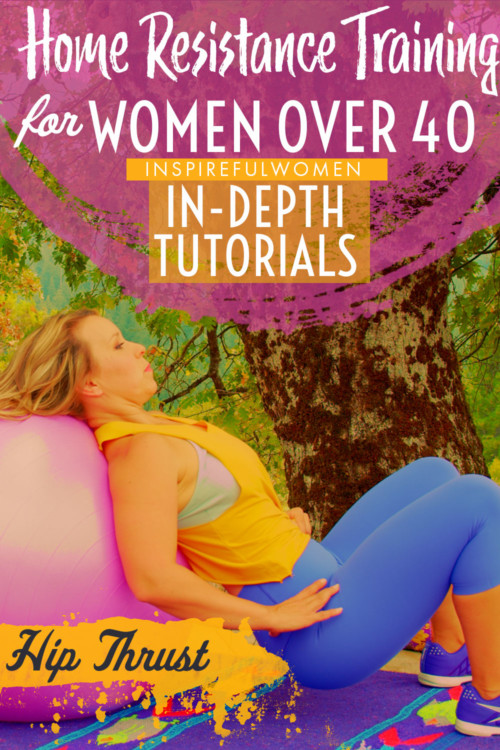
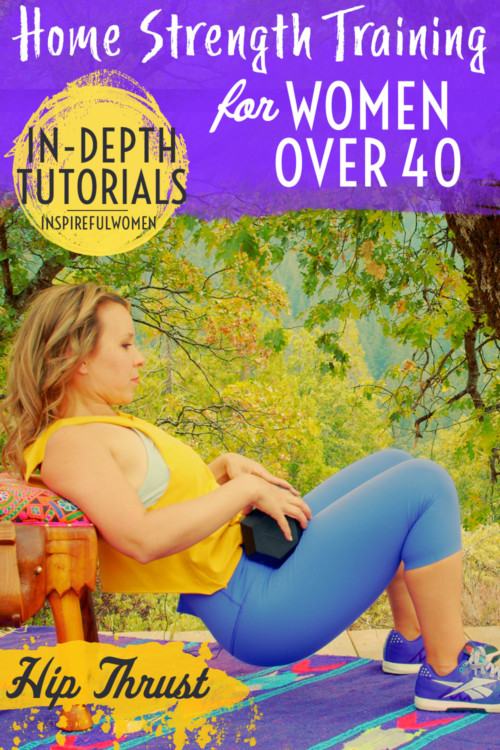
Dumbbell Bench Hip Thrust
How to Do The Weighted Hip Thrust at Home | In-Depth Guide [VISUAL LEARNERS] Beginner
Proper Form, Common Mistakes, Easier & Harder Variations | Home Strength Training

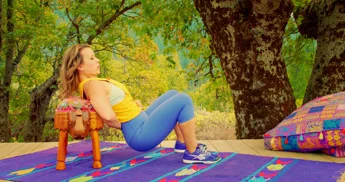
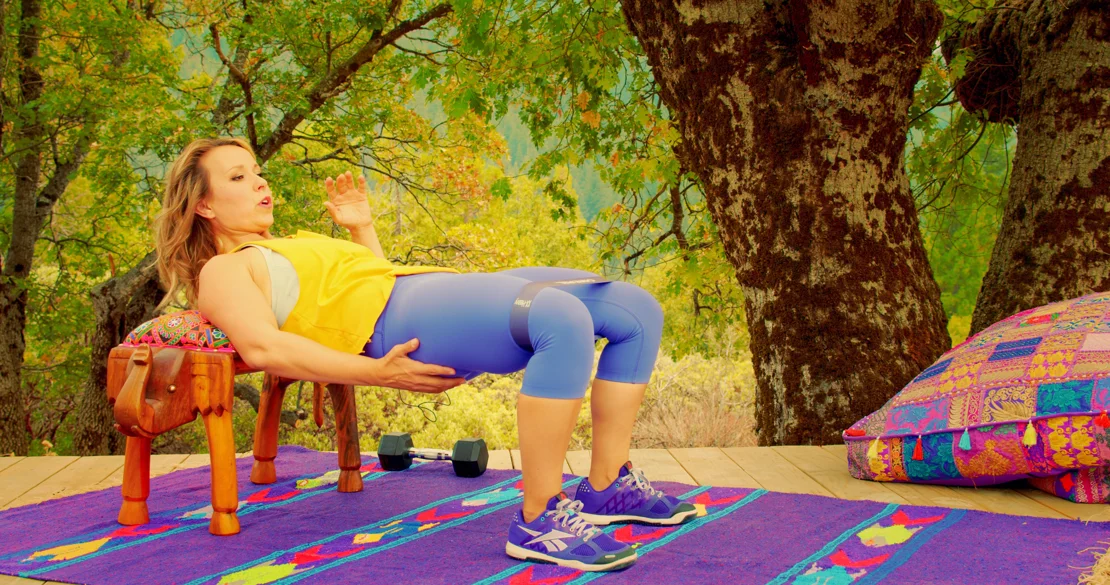
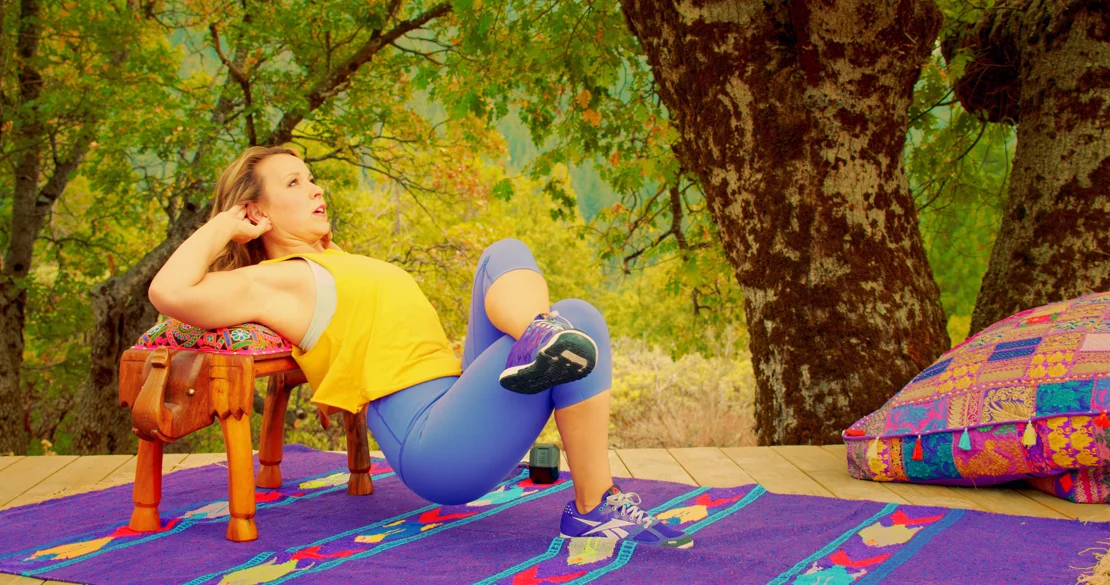
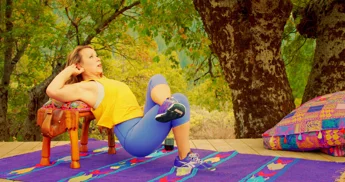

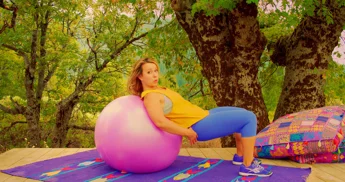
MUSCLES
MAIN MUSCLES WORKED IN THE HIP THRUST
GLUTE MAX, QUADS & HAMSTRINGS
OTHER MUSCLES WORKED:
- ADDUCTOR MAGNUS, CORE, ESPECIALLY LUMBAR (erector spinae- these muscles straighten and rotate the back, runs the length of the spine, lays on either side of the vertebrae, bilateral contraction extends spine, unilateral (ipsilateral) causes lateral flexion).
- HIP EXTERNAL ROTATORS (gluteus maximus, obturators, piriformis,quadratus femoris, gluteus medius and gemelli) and
- ABDUCTORS (tensor fascia lata, gluteus medius and minimus) with feet further than hip width.
BENEFITS
BENEFITS OF THE HIP THRUST
Other names for this exercise: Glute thrust, Glute hip thrust, or Hip thrust glute bridge.
No gym, barbell (no equipment even if you have none) needed here - this exercise guide will teach you how to do a glute hip thrust on a bench or other surface (chair/coffee table/ stability ball etc) at home using either your bodyweight only, a dumbbell, mini band, or an advanced single-leg version to work your glute muscles at home.
It's excellent for training the glute muscles, in a position that won't allow the quadriceps to take over, which can often happen with movements like squats & lunges (but we love these moves too of course!)
The hip thrust exercise targets the muscles that straighten the leg at the knee & hip joint. What does that mean?
Straightening the hip joint = essentially taking the front of your hip from having a crease to no crease, and….
Straightening knee joint = taking a bent knee to a straight knee (straightening is called extension and these muscles are called hip and knee extensors) as they move through a large range of motion.
These actions of the body are carried out in large part by the glute muscles.
LOOKS
HOW HIP THRUSTS SHAPE OUR BODY
- Tones and strengthens the buttocks
- Tones and strengthens the thighs (front and back depending on how much the knees are bent), and the muscles of the back.
- With the feet wide apart it will tone the muscles on the sides of the hips (to decrease the “saddlebag” bulge)
PROPER FORM
PROPER FORM: THE HIP THRUST
EQUIPMENT, SETS & REPS
fEQUIPMENT:
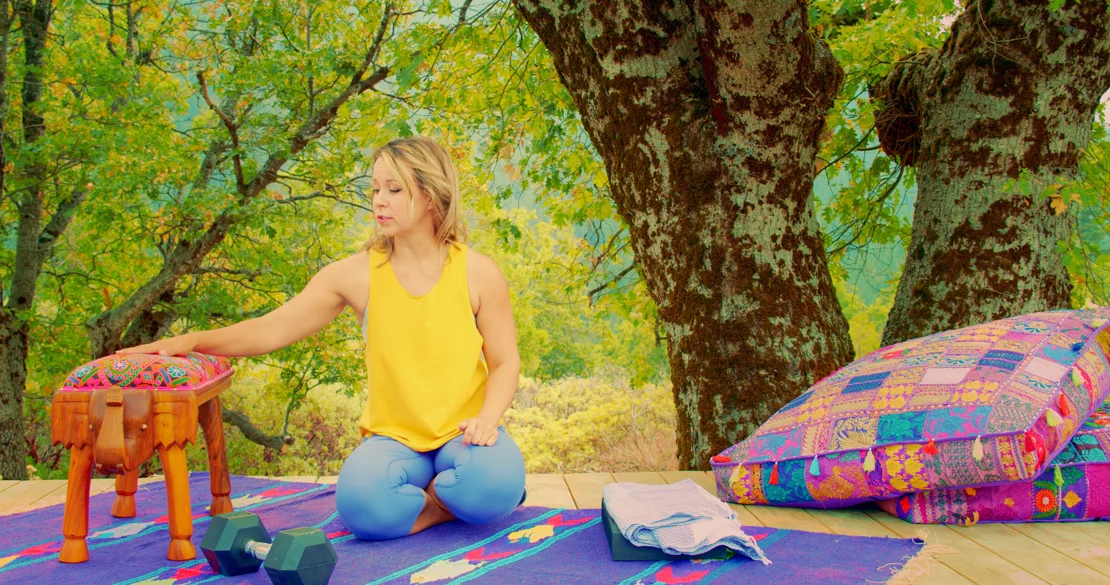
- Options: Bodyweight, Dumbbell, and/or Mini-Band
- Bench or sturdy surface to lean against - when seated on the floor ideally the bench will be at the level of the shoulder blades, but this is not absolutely required, you'll just have to lift yourself a bit off the ground to get into position. Try using the bed or couch as the bench to lean against. It is ok if it is a bit high, your bottom may not touch the ground. But do make sure that the shoulder blades are resting on the edge during the movement.
- Optional foam balance pads to aid with achieving a comfortable height
- Towel or other soft items if you will be leaning against a hard surface
SUGGESTED STARTING WEIGHT FOR WOMEN:
Use only your body weight until your form is good, and then many of us will be able to work up to a fairly heavy dumbbell over time (30-45 lbs), as we are utilizing very large powerful muscles in this movement.
Always start with a lighter weight than you think to make sure you are building strength progressively while maintaining proper form.
It’s very easy to injure yourself when you jump in weight too quickly before the muscles are ready for it. You will be further along in the long run if you slowly progress rather than waste several weeks getting over an injury. I am speaking from experience here 🙁
SETS & REPS:
2-3 sets of 8-12 reps
2-3x per week
NOTE: If you are mixing this move in with other glutes, hamstring & quad based exercises with your weekly workouts, you would not need to do it this frequently - it’s all about utilizing different exercises to work these muscles in different ways a few times a week.
PACE:
With good form, these can be done at a quicker pace (for the upward movement) to develop power, both the quad and glute are big strong prime movers, but always do the lowering motion (eccentric) slowly with control.
BODY POSITION
BODY POSITION FOR THE HIP THRUST
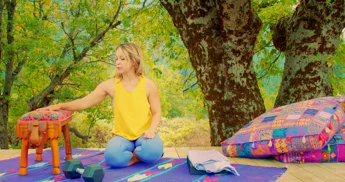
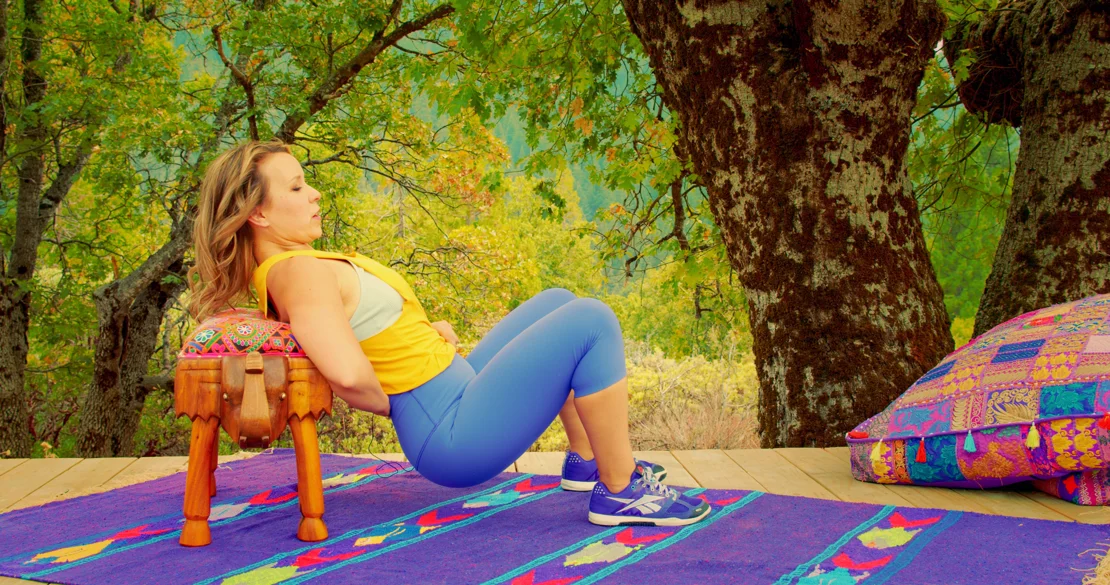
BODY STANCE: Sit on the floor in front of a bench that comes to just below your shoulders, with bent knees, feet flat on the floor in front of you.
It is ok if it is a little higher but your bottom will not be able to touch the floor. If the bench or couch etc you are using is taller than you’d like, you can put 1 or 2 balance foam pads (LINK) under your bottom to elevate you.
Position your shoulders and arms up onto the bench so that the edge of the bench runs across your mid-back and shoulder blades. You should be securely supported without a lot of effort.
FEET PLACEMENT:
WIDTH of feet: Feet are at least shoulder width apart, flat on floor. Toes can be straight forward or slightly toed out to help engage the hip external rotators which are the muscles that rotate your hips outward (gluteus maximus, obturators, piriformis, quadratus femoris, gluteus medius and gemelli).
ARM POSITION:
Your arms will either be:
- Gently holding your dumbbell in position, or
- Without weight resting on top of the bench for support, or
- Bend your elbows and cradle your head in your hands.
Arms should be relaxed.
NECK: Neutral and relaxed, can cradle neck in hands for support.
HOW TO DO
HOW TO DO THE HIP THRUST
CUE: To minimize quad involvement so the focus is truly more on the glute muscles working, really think about pushing the bottom up (feeling more weight on your upper back) as opposed to pushing down into the feet.
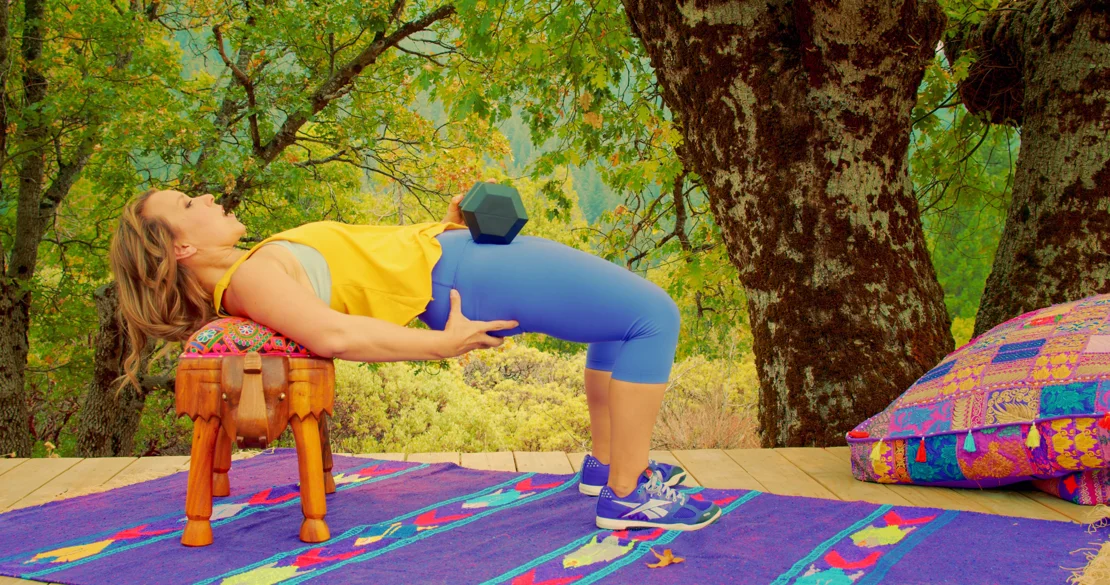
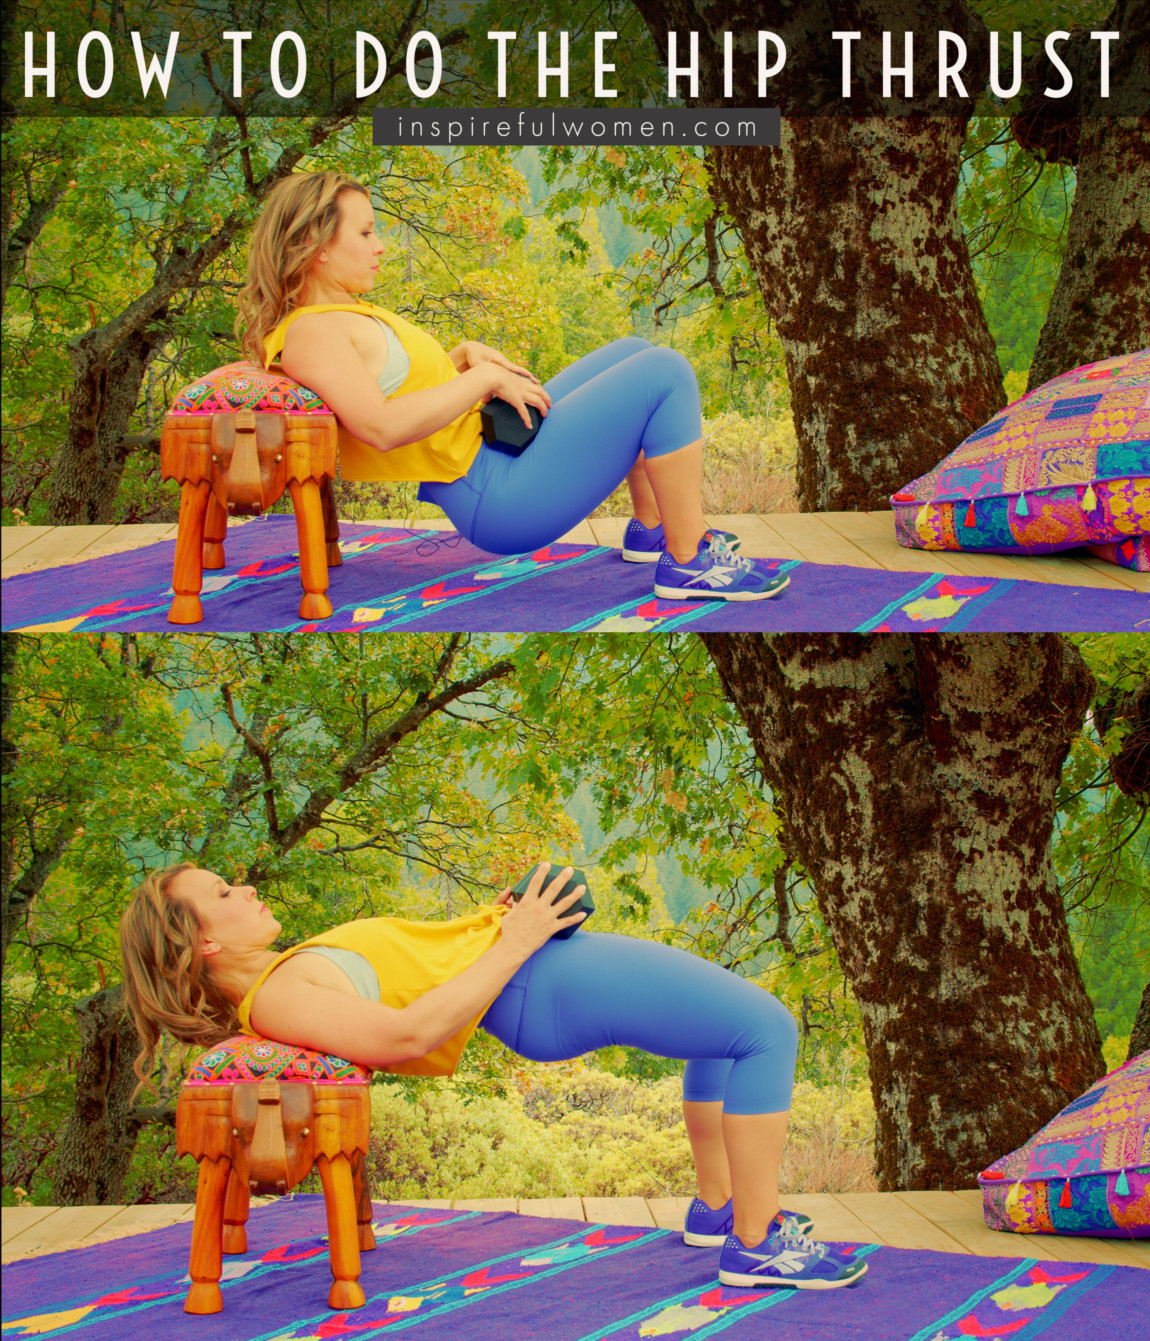
- Check your position by pushing up so the thighs are parallel to the floor. You should feel like you are one straight line from your shoulders to your hips, pivoting at your upper back/shoulder blades. Adjust your foot position until you are able to complete the movement with ease. Your weight should be across your shoulders and evenly distributed in your feet.
- Strongly activate glutes
- Push down into your feet to lift the pelvis off the ground
- Torso in 1 moving piece, pivoting at shoulder blades
- All movement from hips, none from the spine.
- Keep pushing all the way up until hips have no crease.
- Thighs will be parallel to the floor
- At the top, hold the position for 3-5 seconds or pulse
- Lower slowly.
HOW TO SAFELY GET OUT OF THE EXERCISE
Lower down to the ground and lift the weights off and to the side.
COMMON MISTAKES
WHAT TO AVOID WITH THE HIP THRUST
KEY TIP:
Guess what? Good news! Many avoids are the same for most movements. Once you learn the basics, there's really only a few extra avoids for each individual movement.
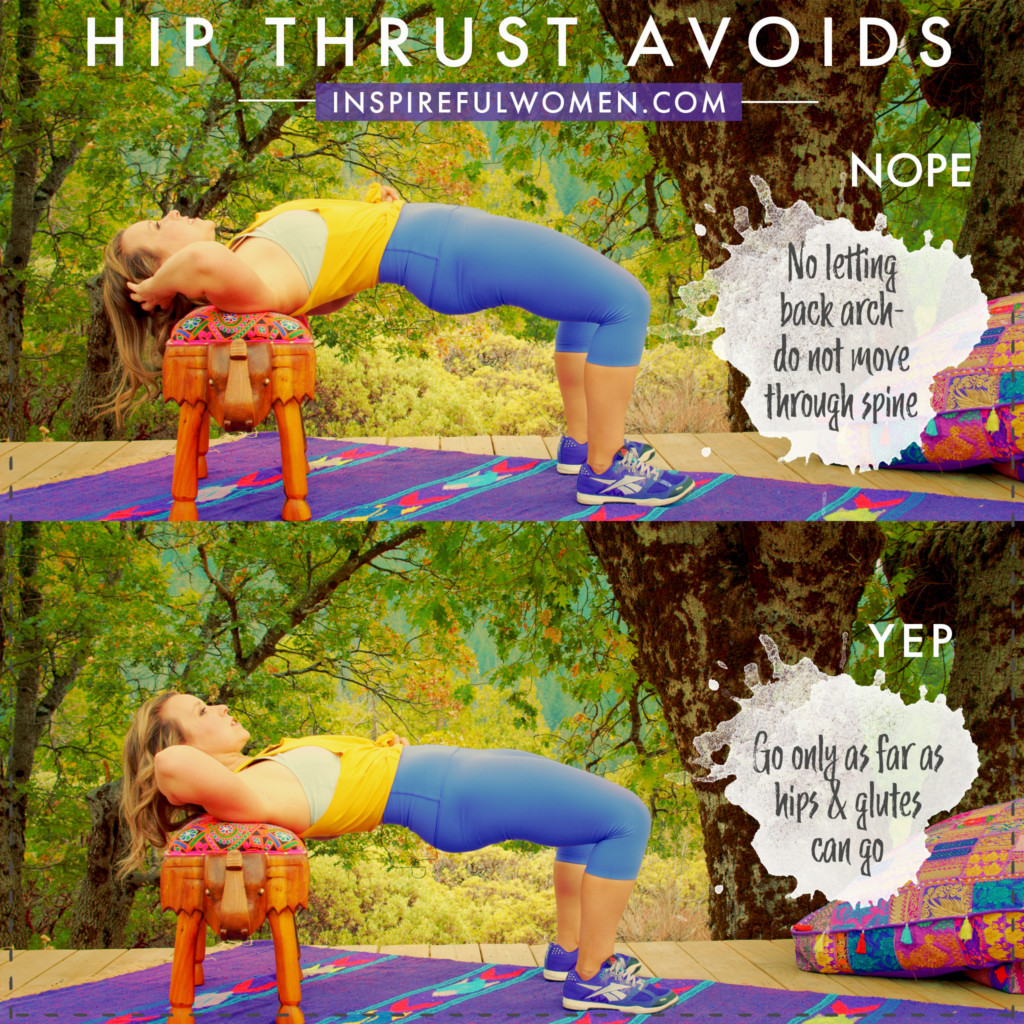
1. Avoid Dropping Your Back as You Lower
I found myself extending/hyperextending my mid-back when I was first learning this move as a way to lower my bottom.
Don’t do that, but instead keep the top half of your body, from your hip line and above, as one piece (no bending going on anywhere up there), and your movement/bending is occurring only at the hips/butt.
It is purely the bending (flexing) at the hips that causes your bottom to move downwards towards the ground, not from any movement in the spine.
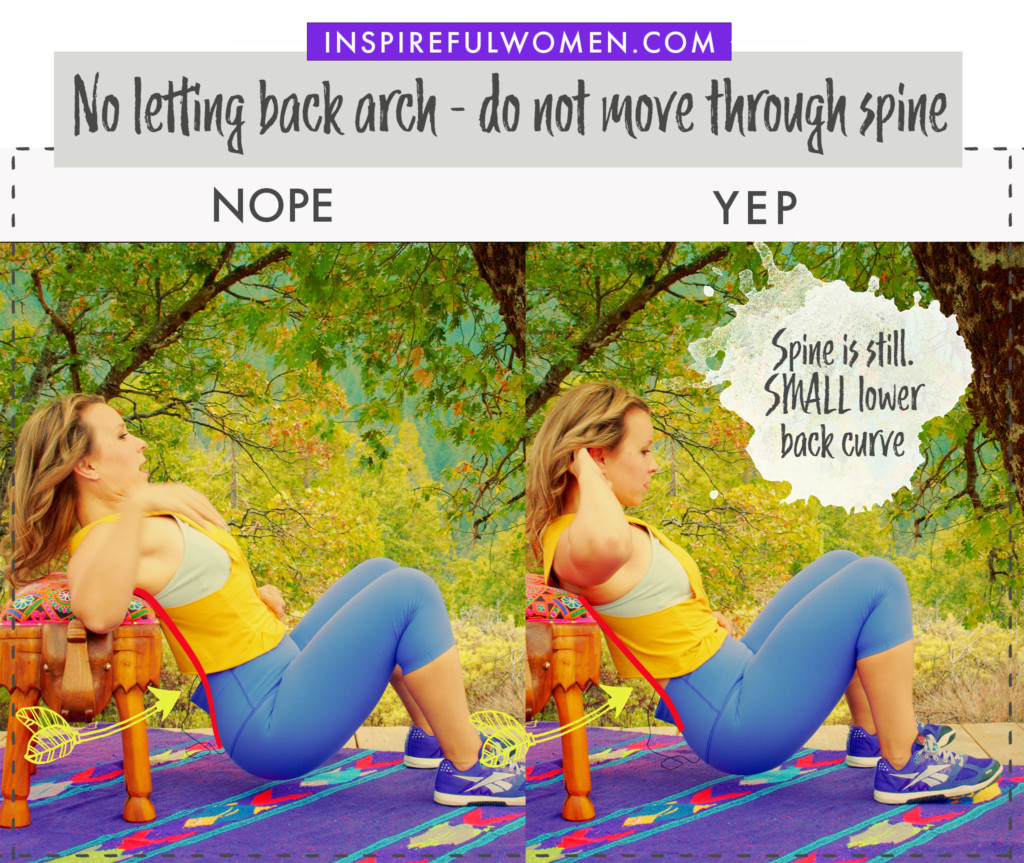
2. Avoid Arching Your Back at the Top
You will need to activate your abdominals when you push your hips up (into extension) so that your spine remains in a neutral position.
The glutes push your pubic bone straight towards the ceiling. You should feel this very strongly in your glutes. Rather than a sense of pushing up through your spine/back.
3. Avoid Straining Your Neck
This exercise will work some of your neck muscles called cervical stabilizers (which is great!)
If these muscles fatigue you will feel your neck straining. Cradle your neck in your hands, or take a break and then finish the reps as able.
VARIATIONS
VARIATIONS OF THE HIP THRUST
STANCE OPTIONS
Stance Options
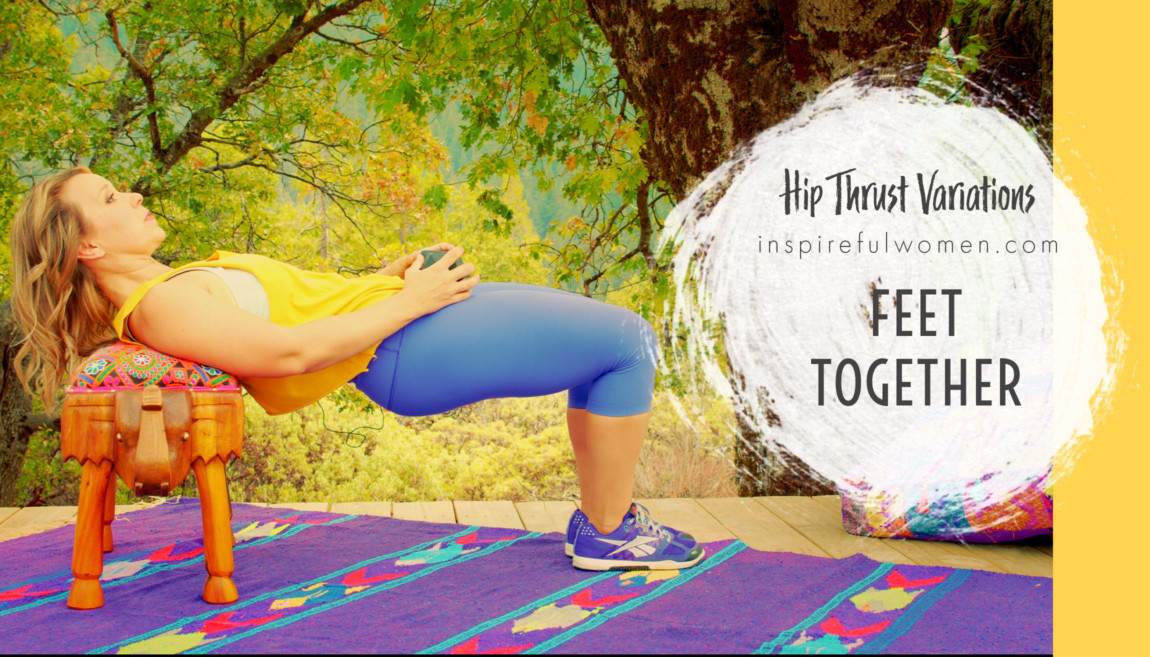
- WIDE STANCE: Moving the knees further apart and turning toes out slightly will activate the hip external rotators and abductors.
- NARROW STANCE: If you bring your feet closer together, more next to each other, you would work the adductor magnus more (inner thigh muscle), it is one of the muscles on the inside of the thigh that brings the thigh towards the midline of your body (center of you) and also helps to extend the hips.
If the feet are right next to each other, your trunk would need to work harder to stabilize (smaller base of support because feet are close).
WHAT'S UP WITH WORKING THE INNER THIGH MUSCLES?
Working the adductor muscles is functional for resisting against your legs being spread apart (this occurred to me the other day when I almost slipped in a very muddy area on our property and my legs slid outward and I felt like I almost strained my inner thigh area due to not working these muscles much).
The adductors also play a huge role in the ability to recover from a fall (lots of research for fall recovery in the elderly).
FEET DISTANCE FROM BOTTOM
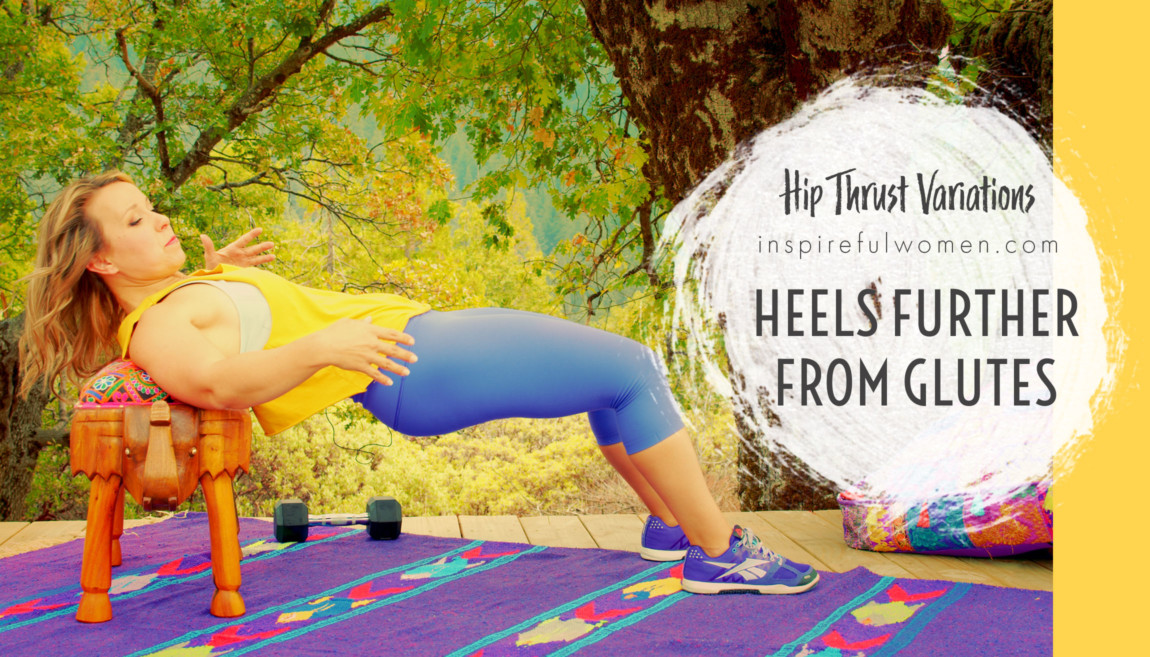
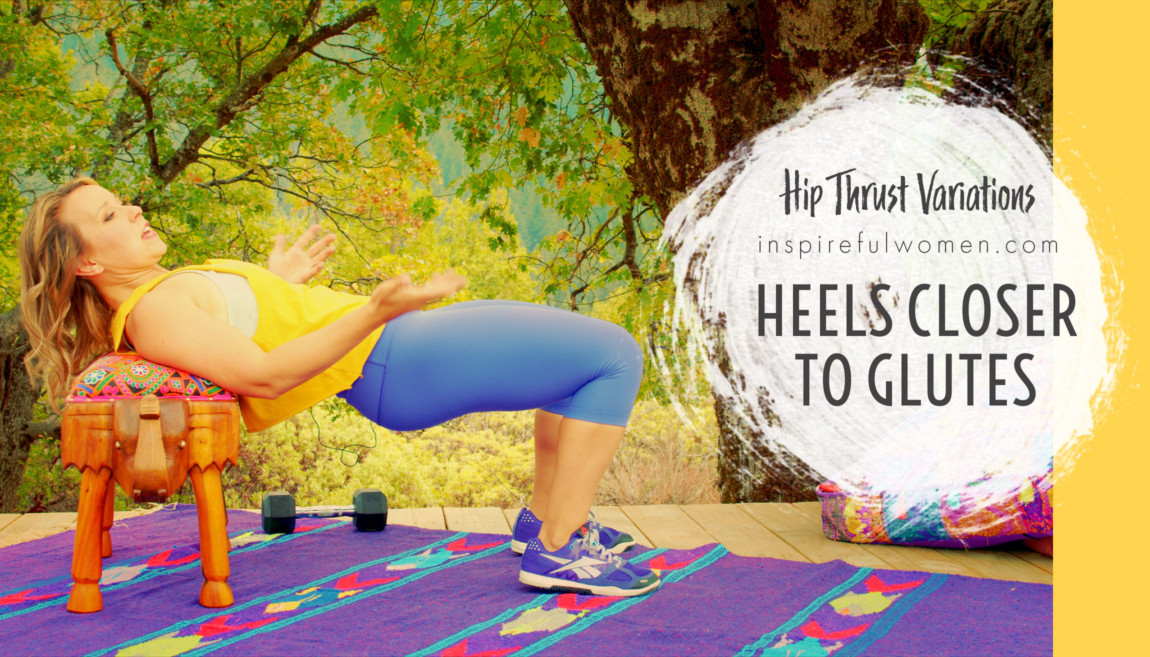
Didn’t know what else to call this, but when you are in position on the bench, you can have the feet move forward as far as you like (further away from your head) OR as bring them backward, closer to your head.
- Forward feet (feet further from bum)= hamstrings - More forward feet position will work your hamstrings more (because the hamstrings are elongated here so they will be contracting more to do the movement)
- Backwards feet (closer to bottom) = more glutes & quads. More backwards feet position will work the glutes and quads more (hamstrings will be shortened here so they will not contribute as much). I asked the Physical Therapist why it’s okay to bring the knees backwards and she said it should not cause knee issues because you really are not putting much force through the knee joint in this position. That said, never work into pain - if you feel discomfort in your knees ever, adjust your position.
FASTER ON THE UP (CONCENTRIC)
Concentric
You can continue to lower yourself slowly during each rep, but then “explode” up for each rep (keep spine neutral though while doing this as always).
This is very good training as more quick/explosive movements are one of the functions of these strong lower body muscles, so it’s good to train both at slower and faster paces for optimum function (think if your grandkid/kid suddenly heads towards the streets and you break into a sudden run to grab them etc).
Wait, children NEVER do silly super dangerous stuff like that right?
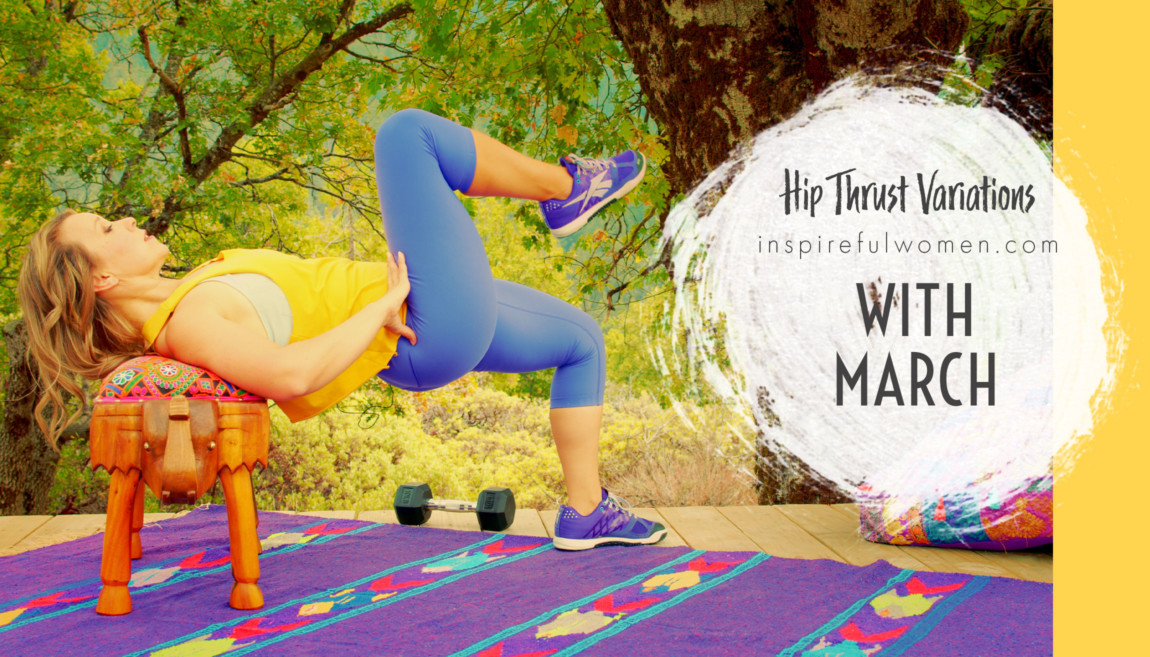
THRUST TO MARCH
hip Thrust to March
Do a hip thrust like normal, but at the top, do a march with each leg, before lowering down. This variation will challenge the core more.
Complete the hip thrust as directed above. At the top of the thrust - when your hips are high, lift one foot up off of the floor.
The lift can be small - an inch or two, or it can be higher, 8-10 inches.
Lifting one leg up challenges the strength of the supporting leg more and the core muscles need to work harder (especially the obliques because the torso will want to rotate down towards the unsupported side).
-----You can also start by just unweighting the leg, no need to actually lift it off the floor until you have the strength. ----
Pause at the top of the movement, then lower the leg back down with control. Alternate the marching side to side.
SPECIAL AVOIDS FOR THE MARCH HIP THRUST:
AVOID: letting the hip (the side of the leg that is lifted) drop down - the muscles of the core will need to work to hold the pelvis level. Allowing the hip to drop can cause muscle strain, and low back irritation/damage over time.
AVOID: dropping the leg back down. You should strive for a controlled lift, controlled pause at the top and slowly lowering the leg back to the floor.
AVOID: collapsing at the hip on the supporting side (the side with the foot on the ground). Do not let the hip drop on the supporting side. If you cannot lift one leg without the supporting side bending at the hip (so that there is a crease) then you are not strong enough to add a march yet. And that's okay! You can start working towards this by just lifting a heel at the top of the hip thrust.
Extra notes on this: When you lift the weight of the leg up the weight of your pelvis will be pulled down to the floor so the back extensors, obliques, QL, iliopsoas, and transverse abdominis will need to hold the back and pelvis level. The working leg will be working harder because it is holding all of the weight.
The internal rotators of the hip will have to work to hold the hip in neutral (for example if your left leg is the working leg, you lift the right leg, the pelvis falls to the right, there is a relative external rotation of the left hip so the internal rotators kick in to hold the pelvis level/the hip in neutral). Alternating legs (or arms) with core stabilization always trains the timing of muscle contractions (proprioception).
It is training the brain/muscle connection to coordinate the timing of each muscle - when and how much it is firing, or not firing.
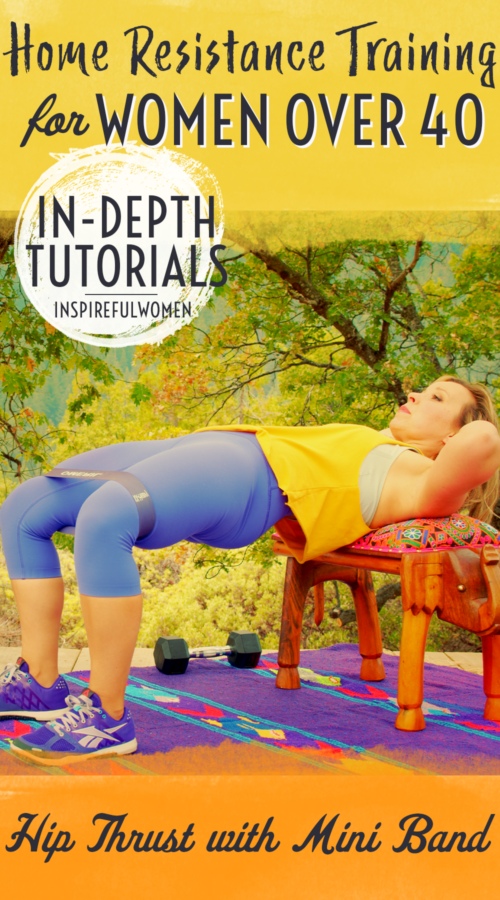
BANDED HIP THRUST
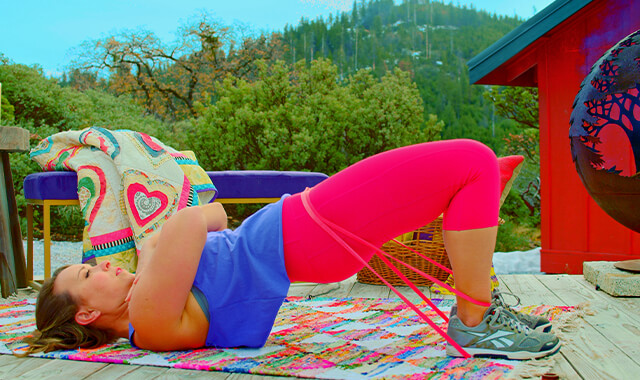
Hip Thrust with Mini Band or Booty Band Around Thighs
This is a great method to make the hip thrust more difficult without adding any actual weight yet. Put a mini-band or two around your thighs during the movement and:
- Push knees outward during the entire movement - this will increase the activation of the hip abductors and external rotators.
- You can also as a variation do a “clamshell” style knee spread just at the top of each rep.
- You can do this with or without having the dumbbell on you in addition.
- You can use more than 1 mini band together to increase the resistance.
- You can also combine a mini band & a dumbbell on on the hips together to make it even more challenging.
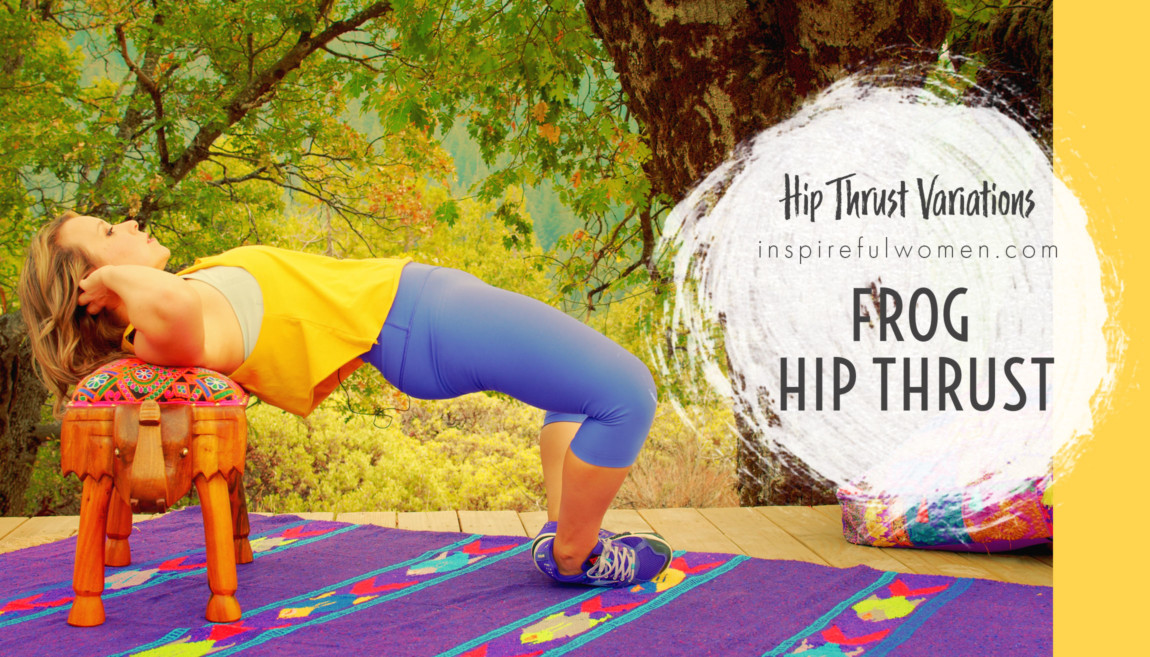
BUTTERFLY HIP THRUST
Butterfly aka frog Style Hip Thrust
This version will help your glute max do more of the work.
Put the bottoms of your feet together for this, with the knees bending outward.
Because of the hip abduction it will take the adductor magnus (inner thigh muscle) out of the picture - the adductor magnus helps with hip extension, so the glute max will have to work harder.
Do not do this version 1 legged, as it puts too much torque on the knee joint.
HARDER
MAKING THE HIP THRUST MORE CHALLENGING
PULSE AT TOP
Pulse at Top
Pulse at the top for several counts on each rep. This will help you fatigue the glute muscles faster.
FEET ELEVATED HIP THRUST
Feet Elevated Hip Thrust
Put your feet on a small stool (6-10 inches, a small step stool works well or a couple of foam stability pads) ) this will increase the knee bend and thus the range of motion that you can work through.
Increasing the knee bend will shorten the hamstrings and force the glutes to work harder to achieve the movement.
It is okay for the toes to come up when you are on an elevated surface, but you will work your calf muscles more if you don't lift the toes. It is often a good idea to work multiple muscle groups together (ie calves along with hamstrings and glutes, because this is the way our muscles work in everyday life).
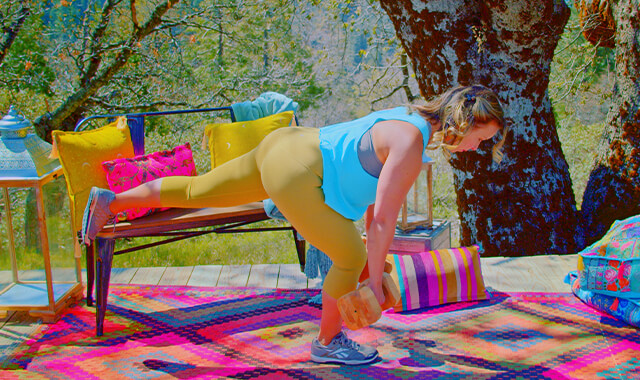
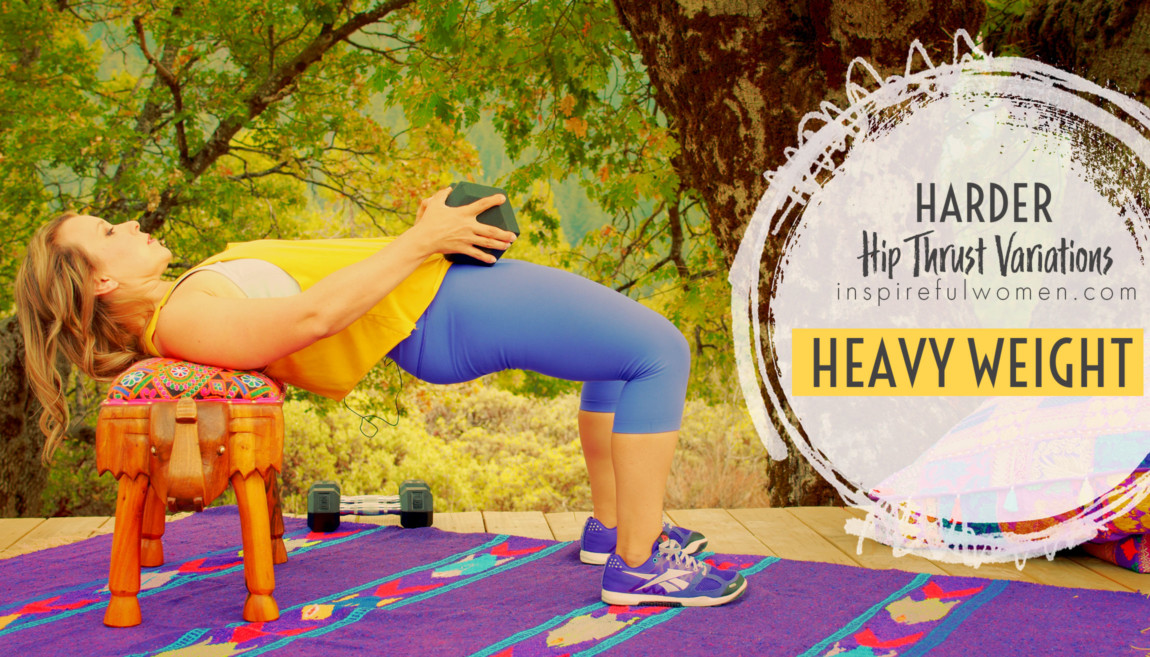
WEIGHTED DUMBBELL HIP THRUST
Hip Thrust with Dumbbells
Note: I find holding 1 heavier weight the least awkward.
If you don’t have heavier weights, you can also do this with 2 dumbbells, but I warn you it is a bit awkward because of the width of the weights in comparison to the width of your hips- you will have to kind of hold them in place at an angle, but it does seem to work.
Prior to doing that, you might consider moving to the single-leg version instead as a means of making the exercise more challenging.
Place weights at hip crease to increase hip extensor activation
BACK ACTIVATION HIP THRUST
Back Muscle Activation Focus Hip Thrust
We can get the back muscles more involved and working harder in this movement if we like.
Hold weight on stomach (weighted ball or dumbbell) to increase back extensor activation ( (muscles that extend the back (straighten) and resist flexion (rounding of back).
ONE LEG HIP THRUST
1 Leg / Single Leg Hip Thrust
One leg working at a time.
This is harrrrrddd you guys! But awesome because we can really work our glutes, at home, without gym equipment and still build muscle.
Here are a few options for what to do with the other leg during the movement:
- The easiest way to do this is by resting the ankle of one leg on top of the knee of the other leg. This makes it easier to keep the spine and pelvis in a neutral position. NOTE: I experience some inner knee pain when I do it this way. If that happens for you, try the other methods.
- Cross the leg over the working leg (as if you are sitting in a Chair with your legs crossed, or cross at the calf level.
- Keep the non-working leg just hanging out in space - be careful not to drop that side of your hip and pelvis when you do this though- keep your pelvic bones level.
- Holding it straight but in line with the body makes the abdominals work harder (to prevent increased lumbar extension (lordosis), or
-Holding it straight up in the air works the rotators of the working leg more - and I feel it in the hip flexors of the non-working leg.
TO DO THE SINGLE LEG HIP THRUST:
Think about working to keep the pelvis level as you push your hips upwards.
EASIER
MAKE THE HIP THRUST MORE DOABLE
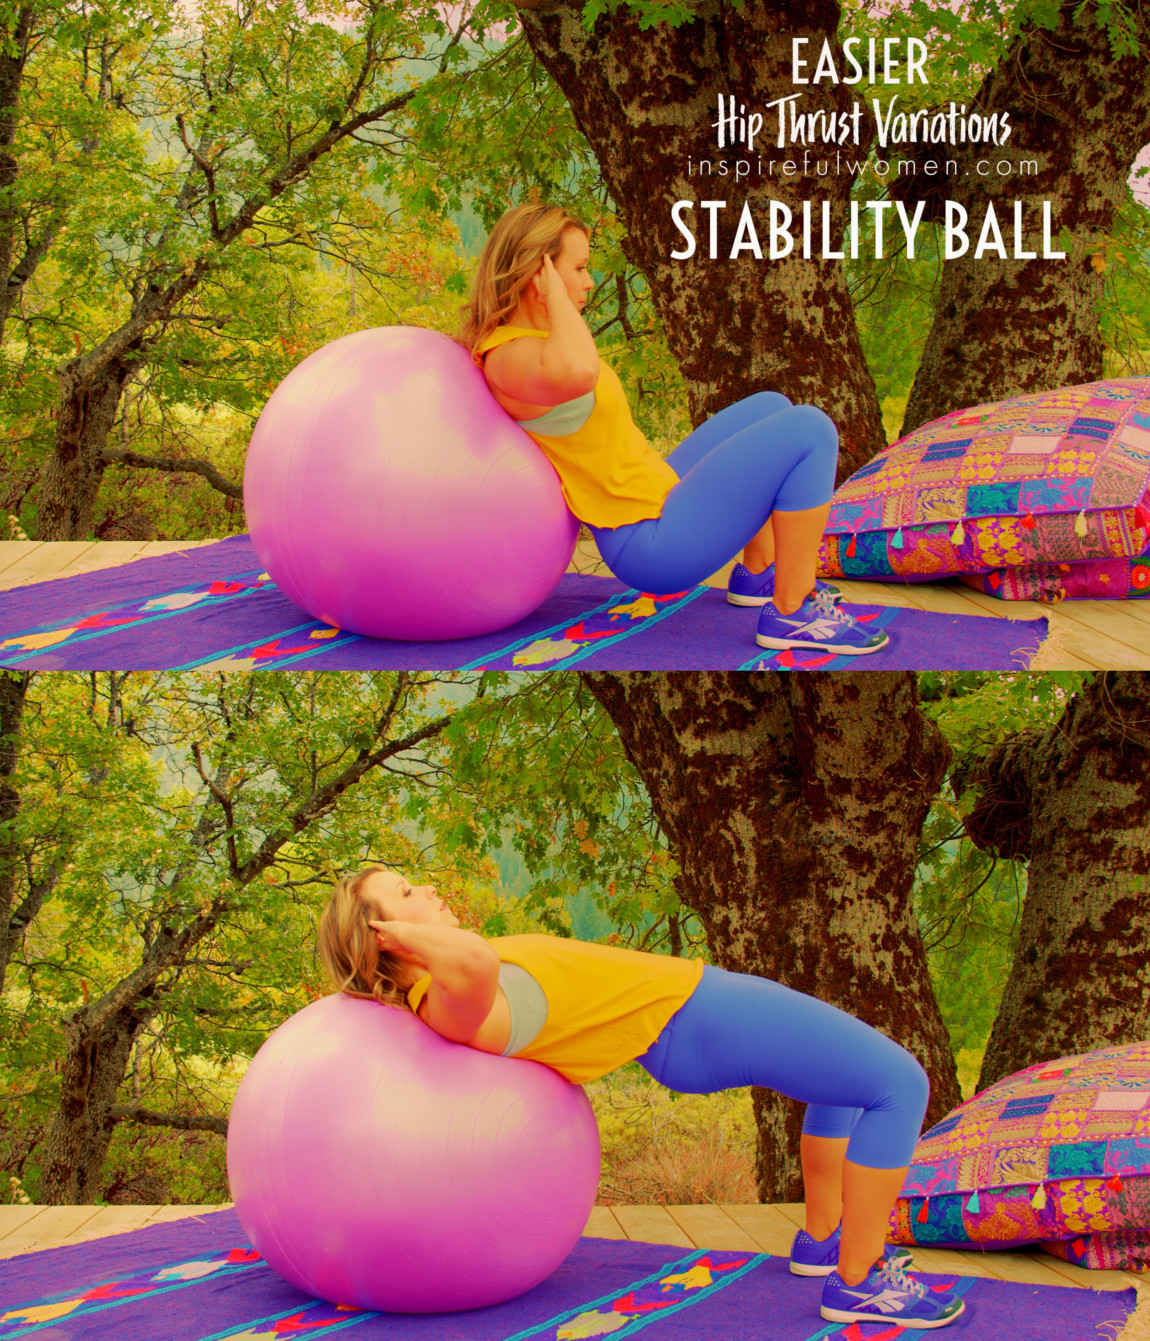
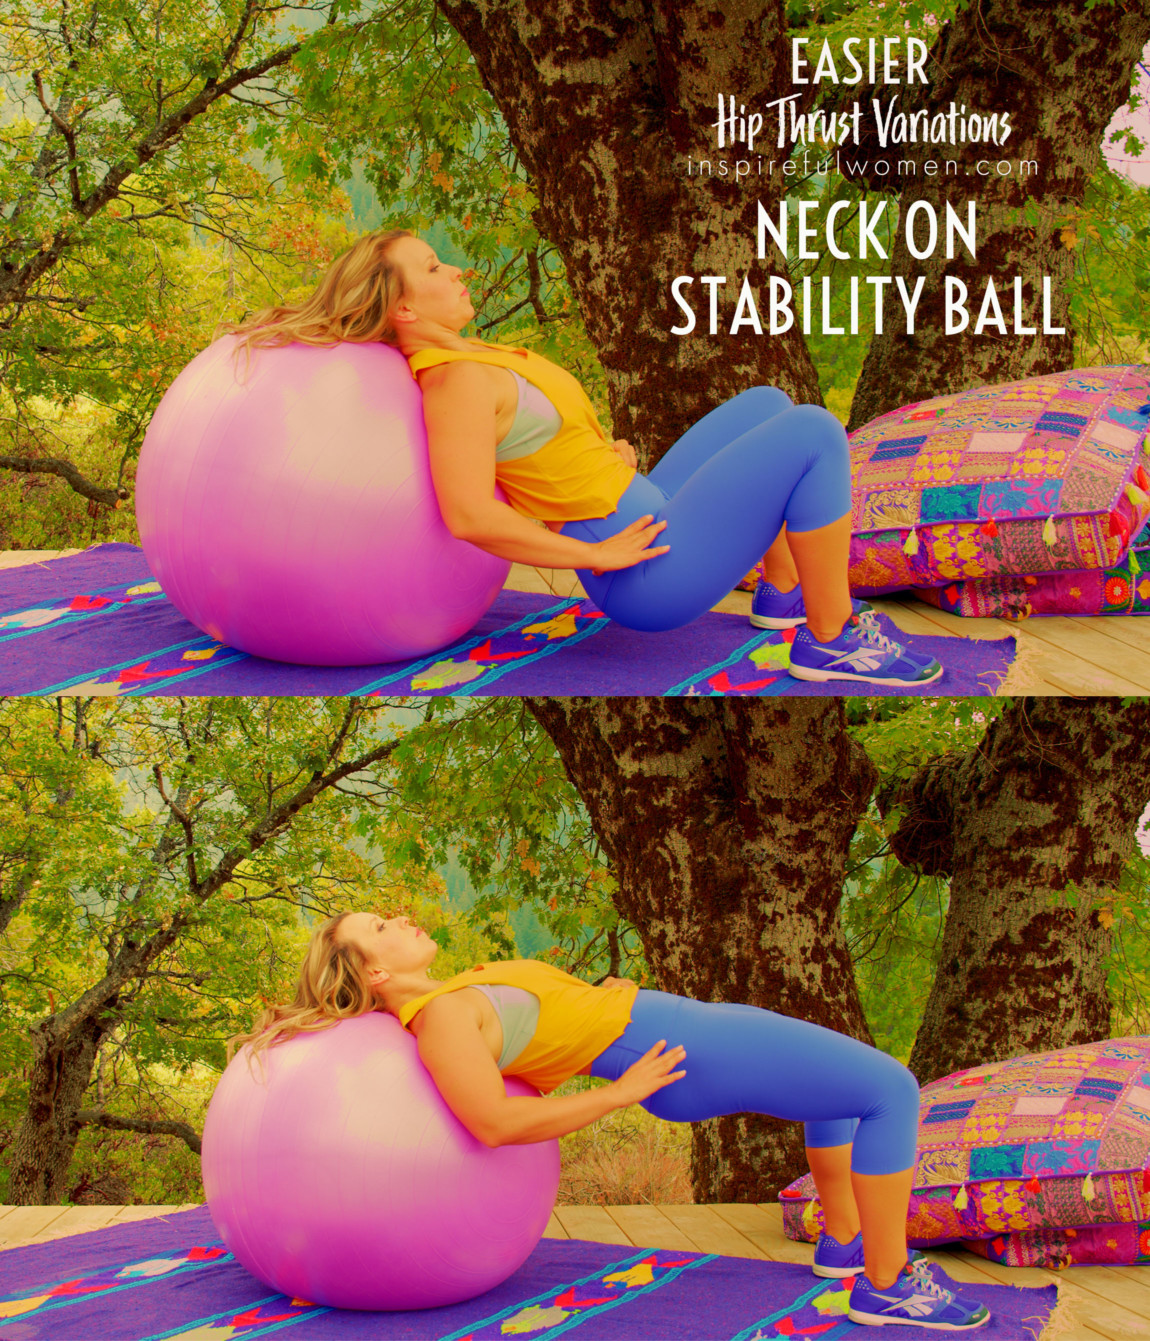
STABILITY BALL GLUTE THRUST
Stability Ball Glute Thrust
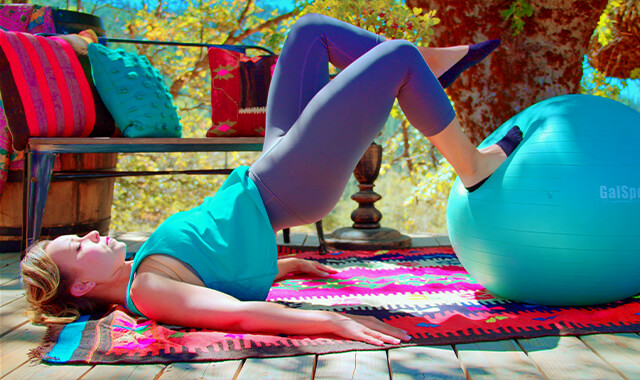
This will support your neck & back a little better.
To get into position sit on top of the ball, and walk your feet out until just your upper back and neck are on the ball (I found that if I sit on my butt and just try to lean up on the ball, the ball just runs away behind me haha!)
Lower your bottom to the floor. Press down into your heels and shoulders and use your glutes to push your pelvis up towards the ceiling. This option protects the neck and decreases the force by supporting some of the weight of the upper body.
This can be progressed to one leg at a time. The ball moves a little but not much on each rep. You will still need to pivot from your shoulder.
This is about UP, not BACK (that will keep it glute focused) - if you find yourself pushing backwards, that would be more hamstrings and less glute involvement.
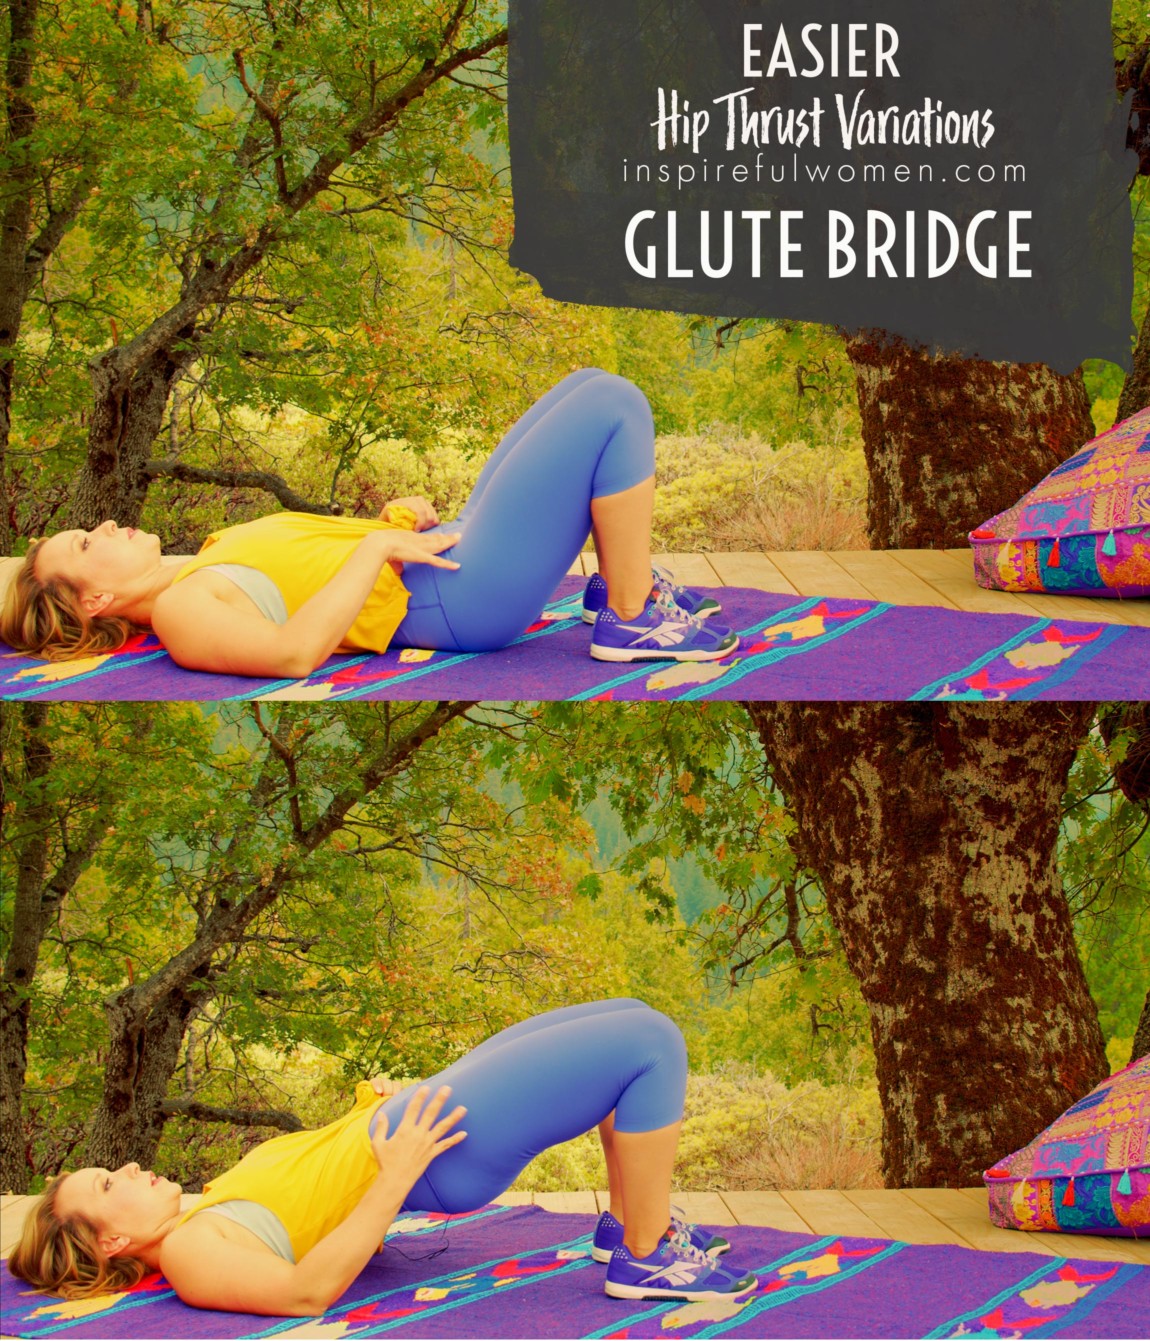
START WITH A GLUTE BRIDGE
Glute Bridge Instead of Hip Thrust
If you find the hip thrust in any form to be too difficult for you right now, that's totally OKAY.
For weakness that limits the ability to maintain a neutral spine or decreased hip mobility - start with a bridge and work on increasing hold time at top.
Please see our glute bridge tutorial for a full breakdown of this.
SINGLE LEG BRIDGE
One Leg Bridge
Progress to single leg bridge or just holding bridge and extending one knee for 3-5 seconds, then switching.
WHAT & WHY
BENEFITS OF TRAINING YOUR GLUTE MAX, QUADS & HAMSTRINGS MUSCLES
What Do Our Glute Max, Quads & Hamstrings DO & How We Use Them In Everyday Life
MUSCLE FUNCTION
FUNCTION OF OUR GLUTE MAX, QUADS & HAMSTRING MUSCLES
GLUTES: The gluteus maximus, the largest muscle of the glutes, does the majority of the work as it extends the hips (gets rid of that crease at the hips) to lift the pelvis off of the floor.
HAMSTRINGS: The hamstrings (all 3 portions with the exception of the short head of the biceps femoris which does not cross the hip joint) assist in hip extension - that means they help the glutes to straighten at the hip.
QUADS: The quadriceps will contribute by working to straighten (extend) the knees. The placement of the feet, or amount of knee bend will determine how much the hamstrings or quadriceps will assist this particular movement, the hip thrust.
In general, bending the knees more will shorten the hamstrings so they will be less active in the movement. So, more knee bending (flexion) will result in less hamstring doing the work and more work being done with the glute max and quads.
EVERYDAY LIFE
HOW WE USE OUR GLUTE MAX, QUADS & HAMSTRINGS IN EVERYDAY LIFE
The exercise strengthens the muscles of the hip and knee throughout the range of motion needed for:
- Squatting
- Lifting items from the floor
- Running
- Walking
- Going up and down stairs
- Going from sitting to stand
- The hip flexor stretch at top of the movement helps counteract commonly tight hips which can contribute to poor posture, limited hip range of motion, back pain, hip pain, dysfunctional gait (abnormal walking patterns), groin pain and sacral pain.
- Good endurance training of the core muscles needed to maintain upright posture.
HOW USEFUL?
WHY DO THE HIP THRUST, HOW DOES IT HELP US?
FUNCTION OF THE MUSCLES THAT EXTEND THE HIP & KNEE:
The primary function of the gluteus maximus is to extend the hip back behind the body during walking. They are a large powerful muscle that works to propel the body forward as you walk. They are important contributors for keeping the hip, pelvis, low back, knee and ankle stable and in alignment in order to prevent injury to the soft tissues and joints.
It is important to work the quadriceps together with the gluteus maximus to train this coordinated movement pattern. This pattern is similar to getting up out of a chair, climbing stairs, and getting up from squatting. As the knee straightens, the hip extends. If the quads are too strong they will take over the movement. Over time the glutes will get weaker and cause muscle imbalances that can contribute to back, hip, knee pain, shuffled gait, difficulty climbing stairs and transitioning sit to stand.
HOW THE HIP THRUST IS USEFUL/UNIQUE FOR TRAINING:
Hip thrusts use body weight to work the gluteus maximus muscles. The exercise targets the gluteus maximus muscle as the hips are pushed into extension.
The hip thrust position makes it easy to focus on using the gluteus maximus to extend the hips. Frequently in exercises like squats and lunges, the quadriceps dominate the movement and unless you really focus on pushing the hip into extension, the gluteus maximus can get neglected.
Hip thrusts make it easier to put the gluteus maximus in charge of lifting the hips, and allows movement past neutral into extension. In this position the low back extensors work with the gluteus maximus to maintain a neutral pelvis and spine.
ALLLL MUSCLES & WHEN
ALL MUSCLES WORKING & WHEN DURING THE HIP THRUST
The hip thrust exercise starts with the hips flexed close to their end of range and the knees flexed over 110 degrees (variable depending on options).
What that sentence means (because I didn’t know when I was first learning this jargon!)
“Hips flexed” = A crease at the front of your hips
“Close to their end of range” = means you can’t bend much further at the hips without your body stopping you - your thighs will run into your torso.
“Knees flexed” = Knees bent
“over 110 degrees” = knees bent to 90 degrees is where there’s a 90-degree angle between your thigh and your calf - about the position of your leg if you were seated in a chair - so this is bending even beyond that.
The largest glute muscle (gluteus maximus) is activated and begins the motion by extending your hips. So the glute muscle pushes your body upwards, reducing the crease at your hips.
The quadriceps work to extend the knees. So in this case, that means your quads will be reducing the bend in your knees.
As the pelvis is lifted off of the floor and your trunk moves from a vertical to horizontal position the core muscles become more active to hold a neutral spine position, so that your spine doesn’t bend or move all over the place.
This exercise allows for working the hip extensors, the muscles that extend/straighten the hip (the glutes, hamstrings and adductor magnus) past a neutral hip, into extension, under load. This means that while a neutral hip would be the position of your hips if you were simply standing tall, with no crease in your hip/just flat, extending at the hips means that you are actually able to have your hip bones thrust forward a bit further than that through the action of the glutes and hamstring muscles pushing them. This is useful because those muscles will be working very hard to achieve that, which will then make them grow stronger.
With the feet placed further than hip-width apart the gluteus medius (a smaller glute muscle) and tensor fascia lata work to hold the thighs outward (this is called an abducted position). The tensor fascia lata muscle is a hip flexor, a muscle that helps you bend at the hip, which contributes just a bit to hip abduction (mostly when the hip is flexed) - so more so in the beginning of the movement and less at the end.
As you lower back down to the ground the glutes and quadriceps work eccentrically (the muscles lengthening under load), the slower the movement the greater the eccentric activity excellent for building muscle & strength.
PIN IT FOR LATER!
