Diamond Pushup - Triceps Extension
How to Do the Diamond Pushup Bodyweight Triceps Exercise | In-Depth Guide [VISUAL LEARNERS] Advanced
Proper Form, Common Mistakes, & Variations | Home Resistance Training
WHAT DO YOU WANT TO SEE?
QUICK DEMO
QUICK DEMO
MUSCLES THIS WORKS
MUSCLES
MAIN MUSCLES WORKED IN the Diamond Pushup
TRICEPS
OTHER MUSCLES WORKED:
- Anterior deltoid
- Middle and lower trapezius
- Rhomboids
- Serratus anterior
- Latissimus dorsi
- Teres major
- Rotator cuff
- Pec minor
- Core muscles (obliques, transverse abdominis, quadratus lumborum, erector spinae, rectus abdominis, multifidi)
STARTING POINTERS
Starting Pointers
WHAT WE'RE DOING TODAY
ALL WE'RE DOING:
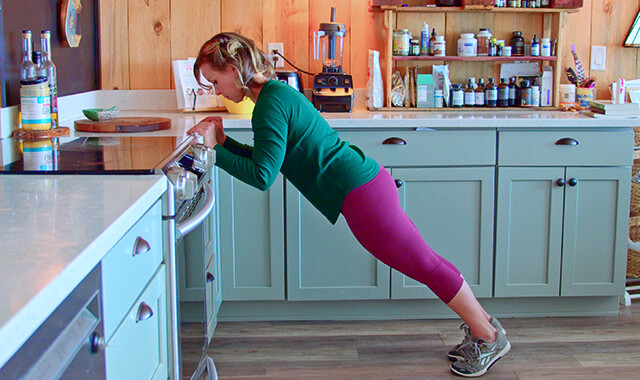
Verrrry similar to push-up which we all know, but keeping those elbows closer to our body.
Diamond Push-Ups are a pushup variation that targets the triceps muscle MORE than the average push-up. The triceps muscles on the back of your arms can be toned and strengthened by performing this bodyweight tricep exercise at home, which over time can help to lessen the appearance of flabby arms. This triceps exercise can be done anywhere, without any equipment or going to the gym.
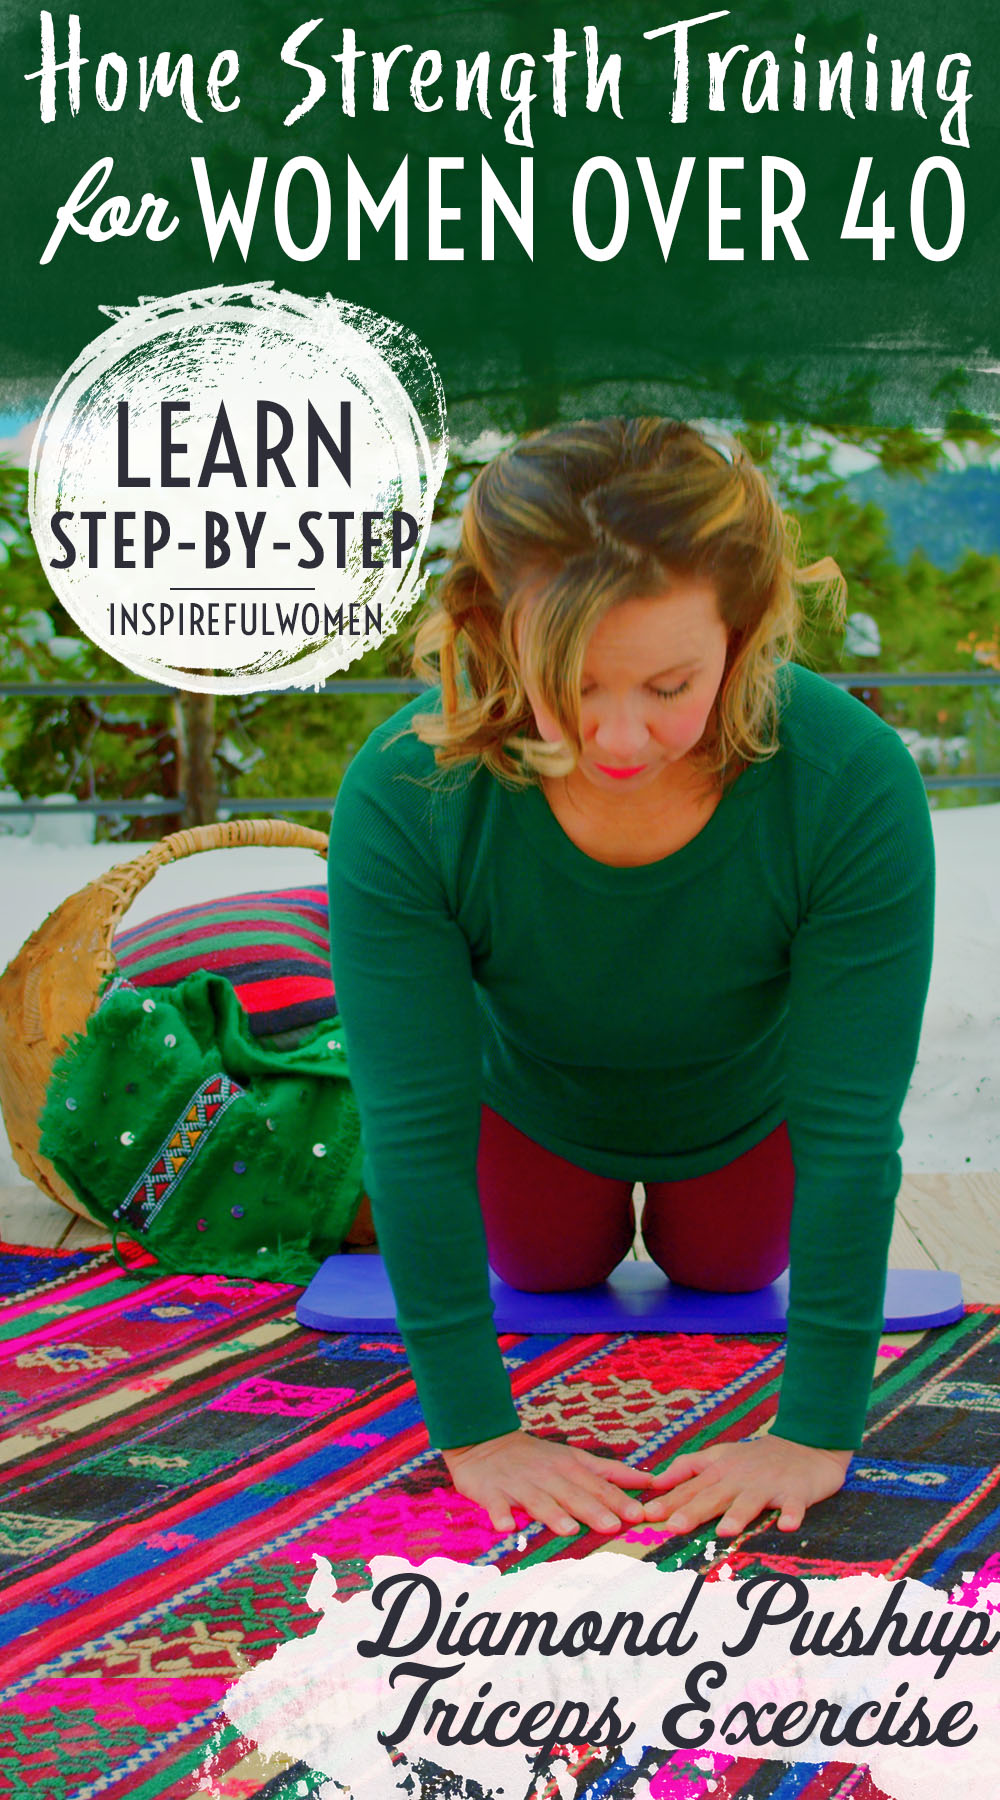
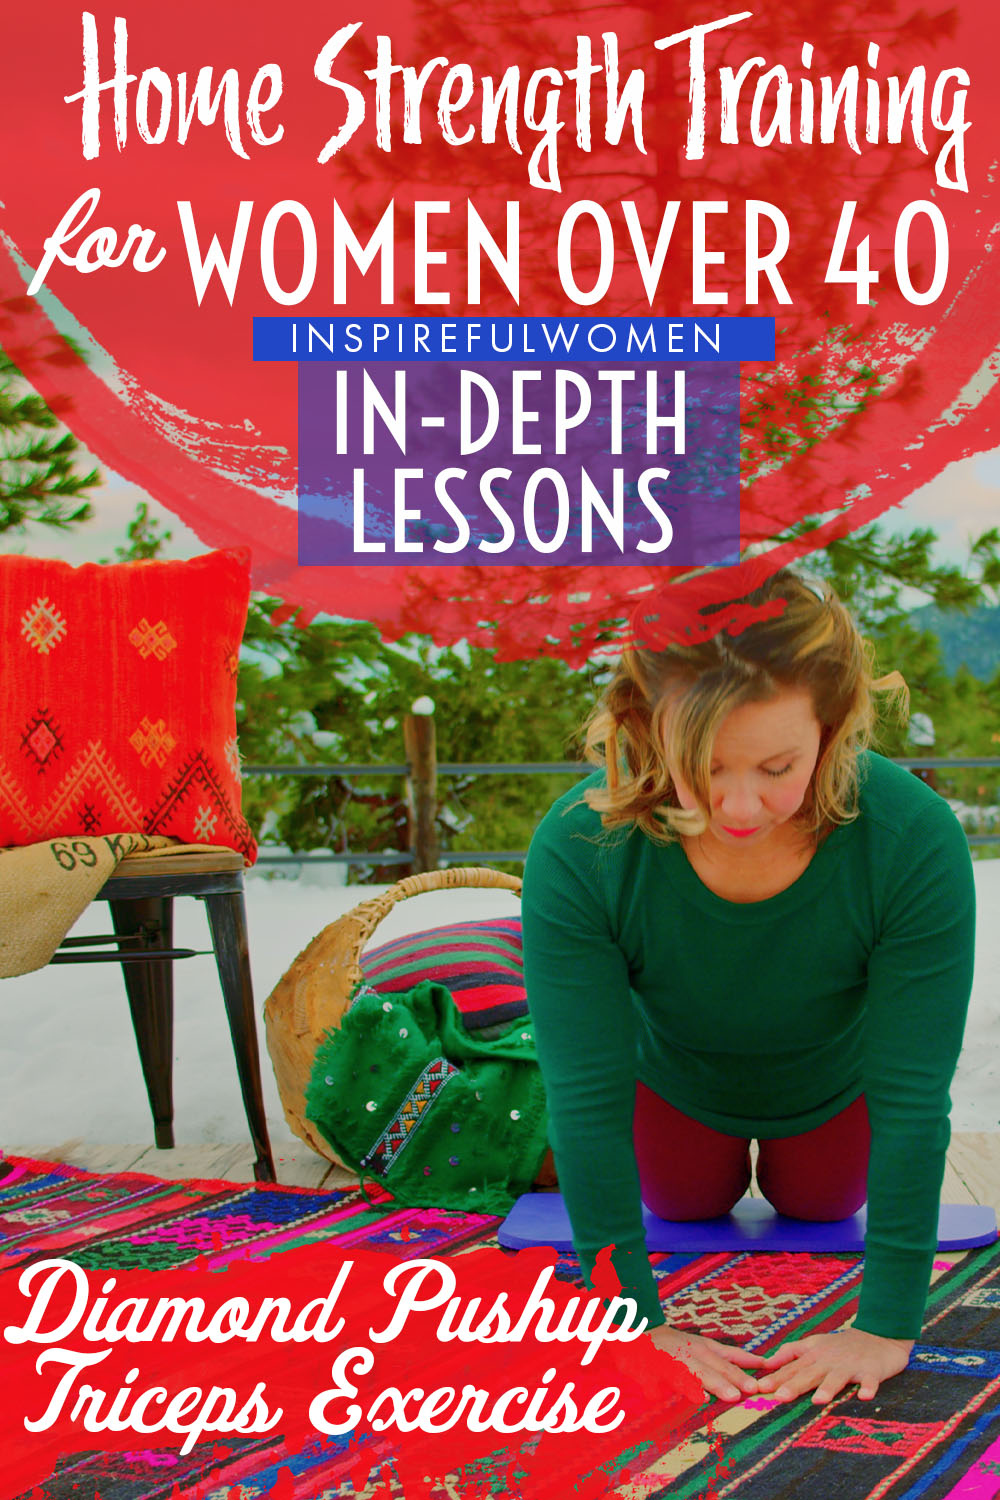
The hands are brought in towards the middle of the chest, with the fingers placed in a triangle or diamond shape. In the bottom position, the elbows are bent more than when the hands are placed shoulder-width apart. This will work the triceps through a larger range of motion at the elbow joint [the long head will not be stretched across the shoulder joint so it will contribute a bit more to elbow extension]. Starting from the knees instead of the feet will make this exercise a little easier because it decreases the load on the upper body (shorter lever arm from arm to knees as opposed to arm to feet). As your form and strength improve you can progress the exercise by straightening the legs out and placing the toes on the floor.
HOW TO DO THE EXERCISE
LOOKS
HOW Diamond PushupS SHAPE OUR BODY
Balances out biceps in the upper arm, gives upper arm horseshoe definition. Toned core, waist.
PROPER FORM
PROPER FORM: Diamond Pushups
EQUIPMENT, SETS & REPS
EQUIPMENT
Mat
SUGGESTED STARTING WEIGHT FOR WOMEN:
Partial body weight - from knees.
SETS & REPS:
2 sets of reps to fatigue (complete as many reps as you can with perfect form, take a break, and complete one more set until failure (loss of form).
PACE:
Slow with control up and down.
BODY POSITION
BODY POSITION FOR THE Diamond Pushup
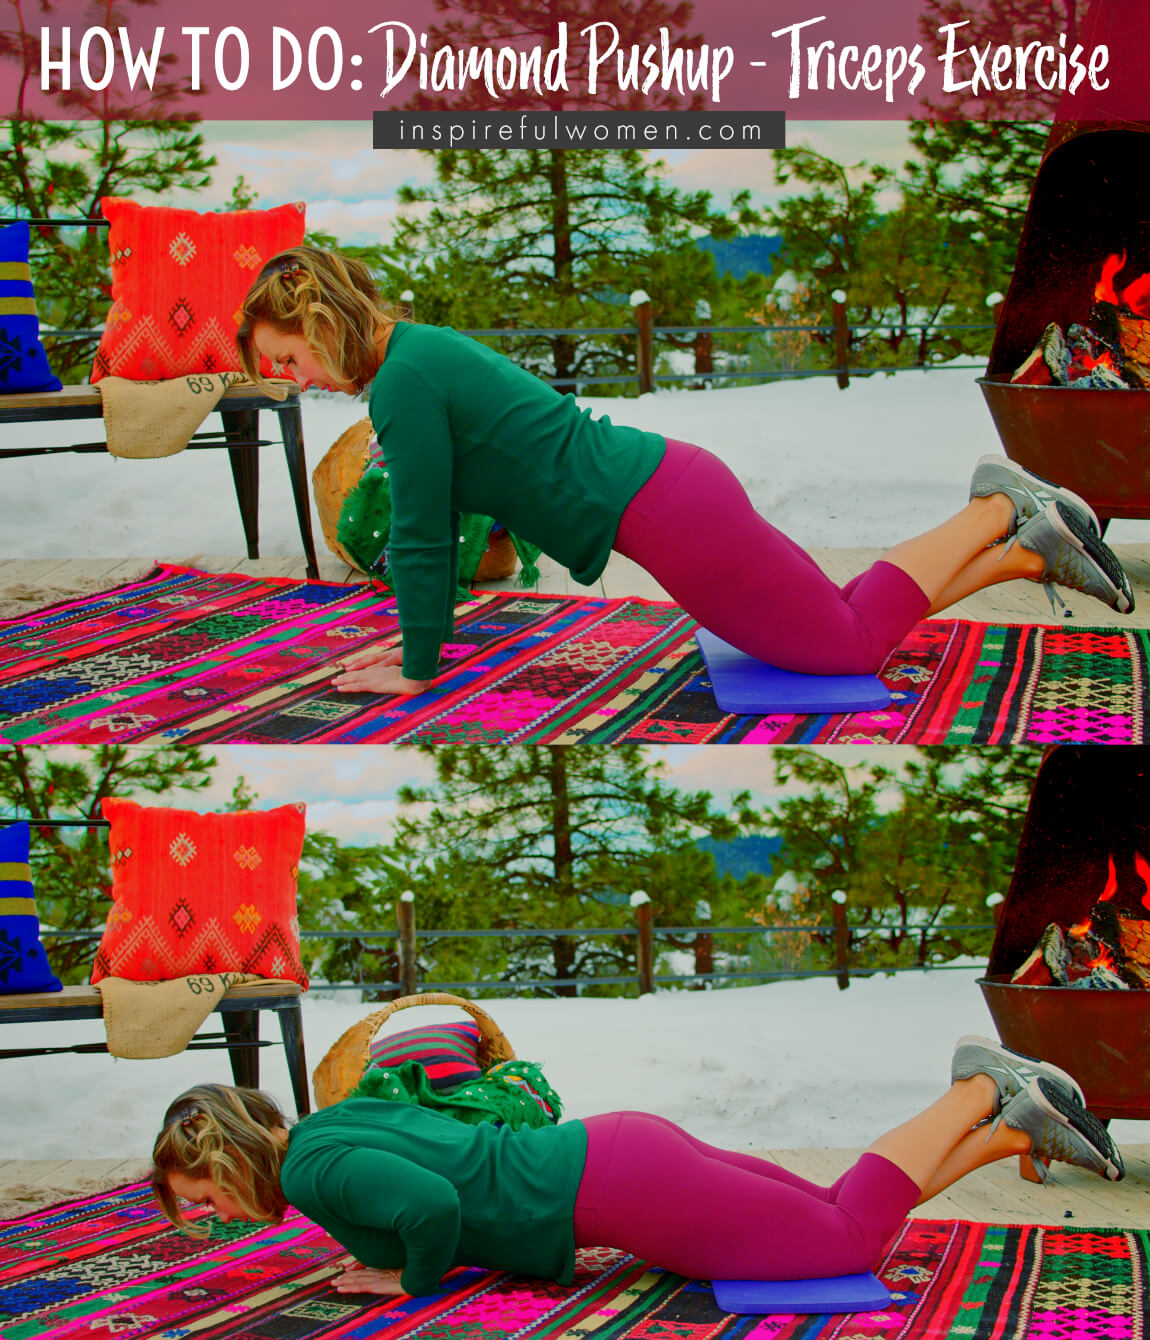
BODY STANCE: Hands and knees, with your hips, lowered down, a knee plank position, no crease at your hips. Neutral spine (includes neck) - sternum lifted. You should be able to draw a straight line down the side of your body through your earlobe, the top of your shoulder, down the side of your torso, and through your hip to your knee. Elongate your spine. This position is maintained throughout the movement.
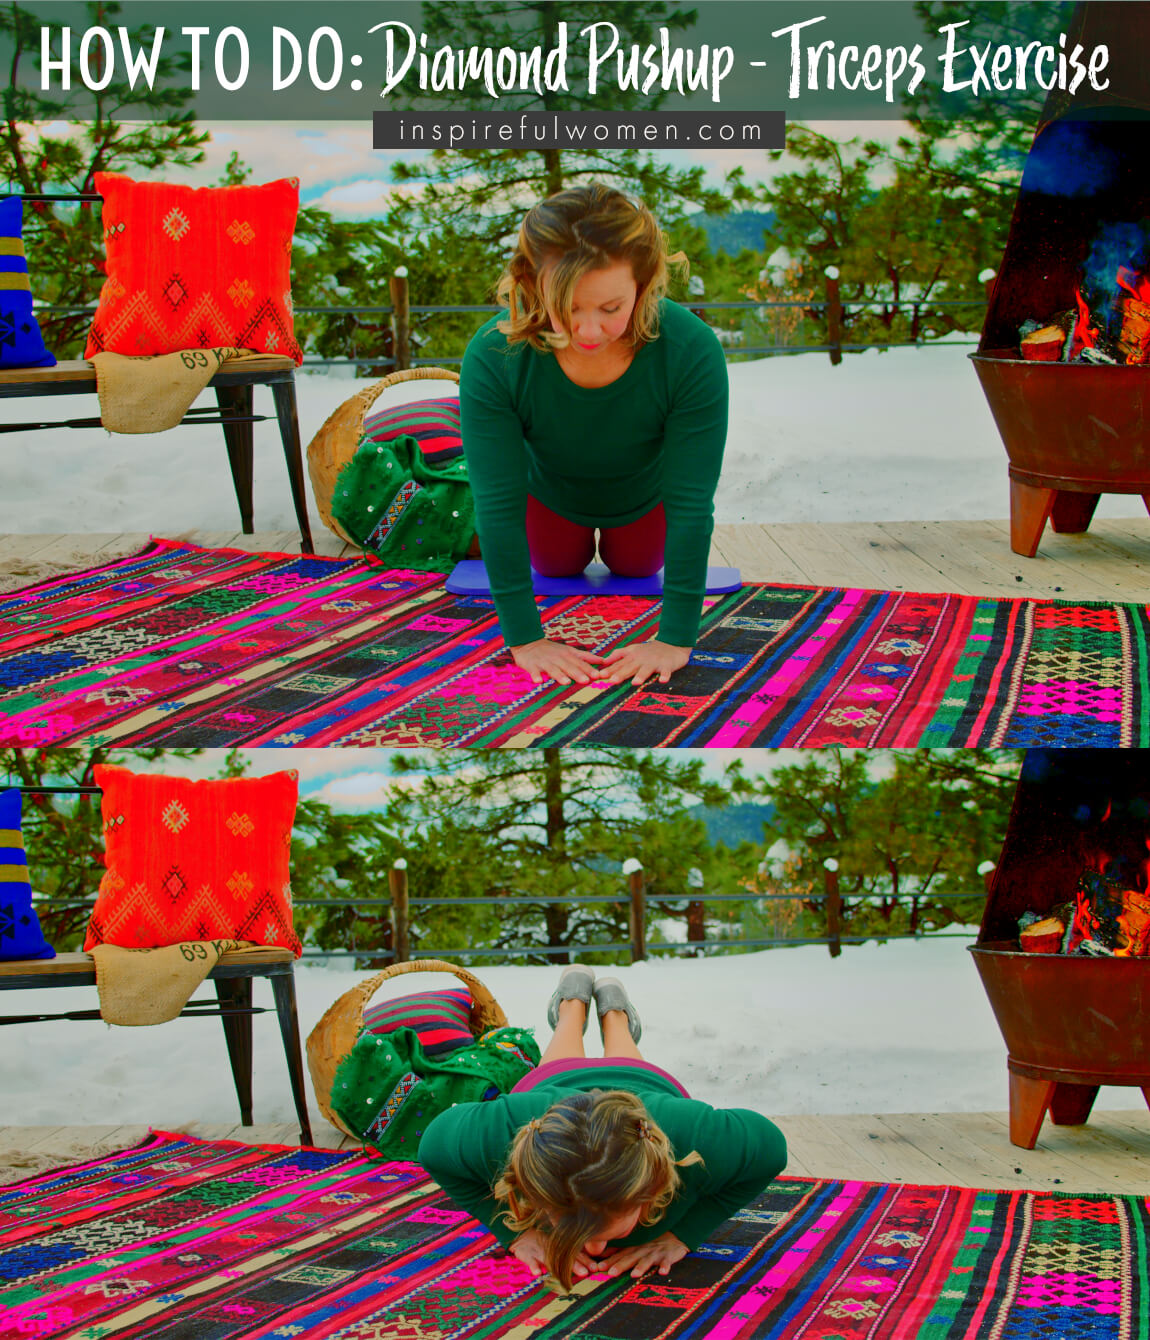
HANDS: Mid-chest level, flat on the floor. Left and right thumbs touching and left and right pointer fingers touching - to make a triangle shape. Pointer fingers right at the center of your chest. If this is uncomfortable you can move your hands a few inches apart.
ARMS: Elbows straight but not locked.
HOW TO DO
HOW TO DO Diamond TRICEP PushupS
CUE: Move your body as one segment - one straight line, pivoting around your knees.
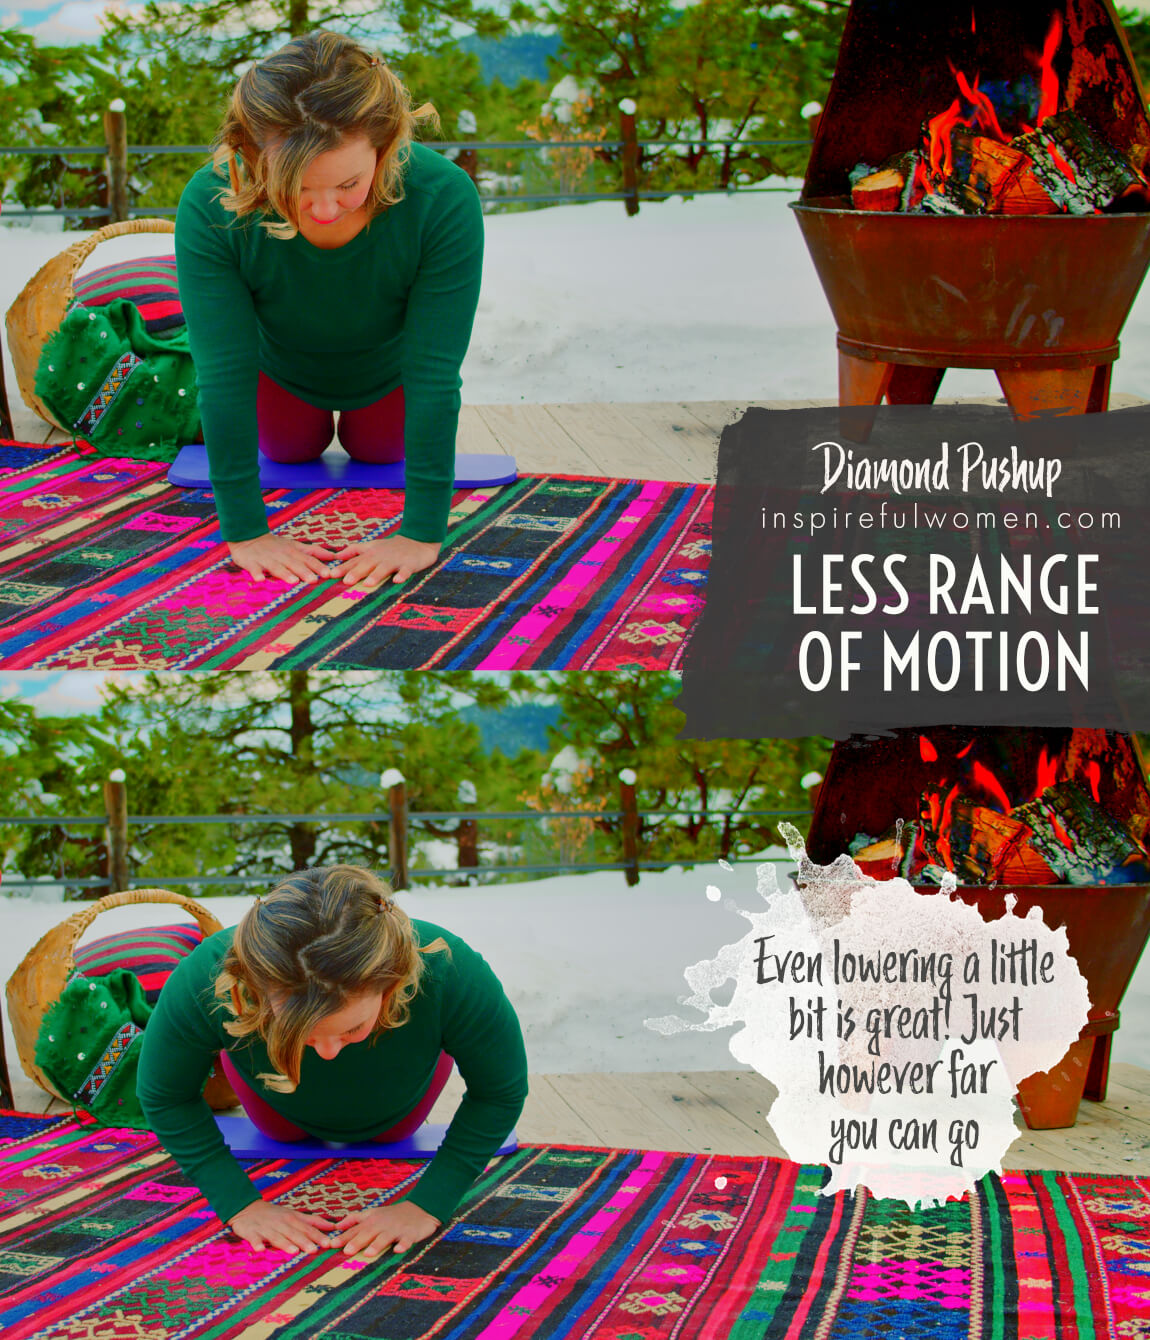
Lower yourself down to the floor by bending your elbows. Your elbows should be pointing back towards your feet, slightly diagonally, about 6 inches from the sides of your torso (40 - 50 degrees shoulder abduction) when you get to the bottom of the movement.
Keep lowering until you are just hovering above the floor.
Push down into the floor with your hands and straighten your elbows to push up to the starting position for the next rep.
HOW TO SAFELY GET OUT OF THE EXERCISE
From the starting position, bend your hips and push back to kneeling.
COMMON MISTAKES
COMMON MISTAKES
WHAT TO AVOID WITH THE Diamond Pushup
KEY TIP:
Guess what? Good news! Many avoids are the same for most movements. Once you learn the basics, there's really only a few extra avoids for each individual movement.
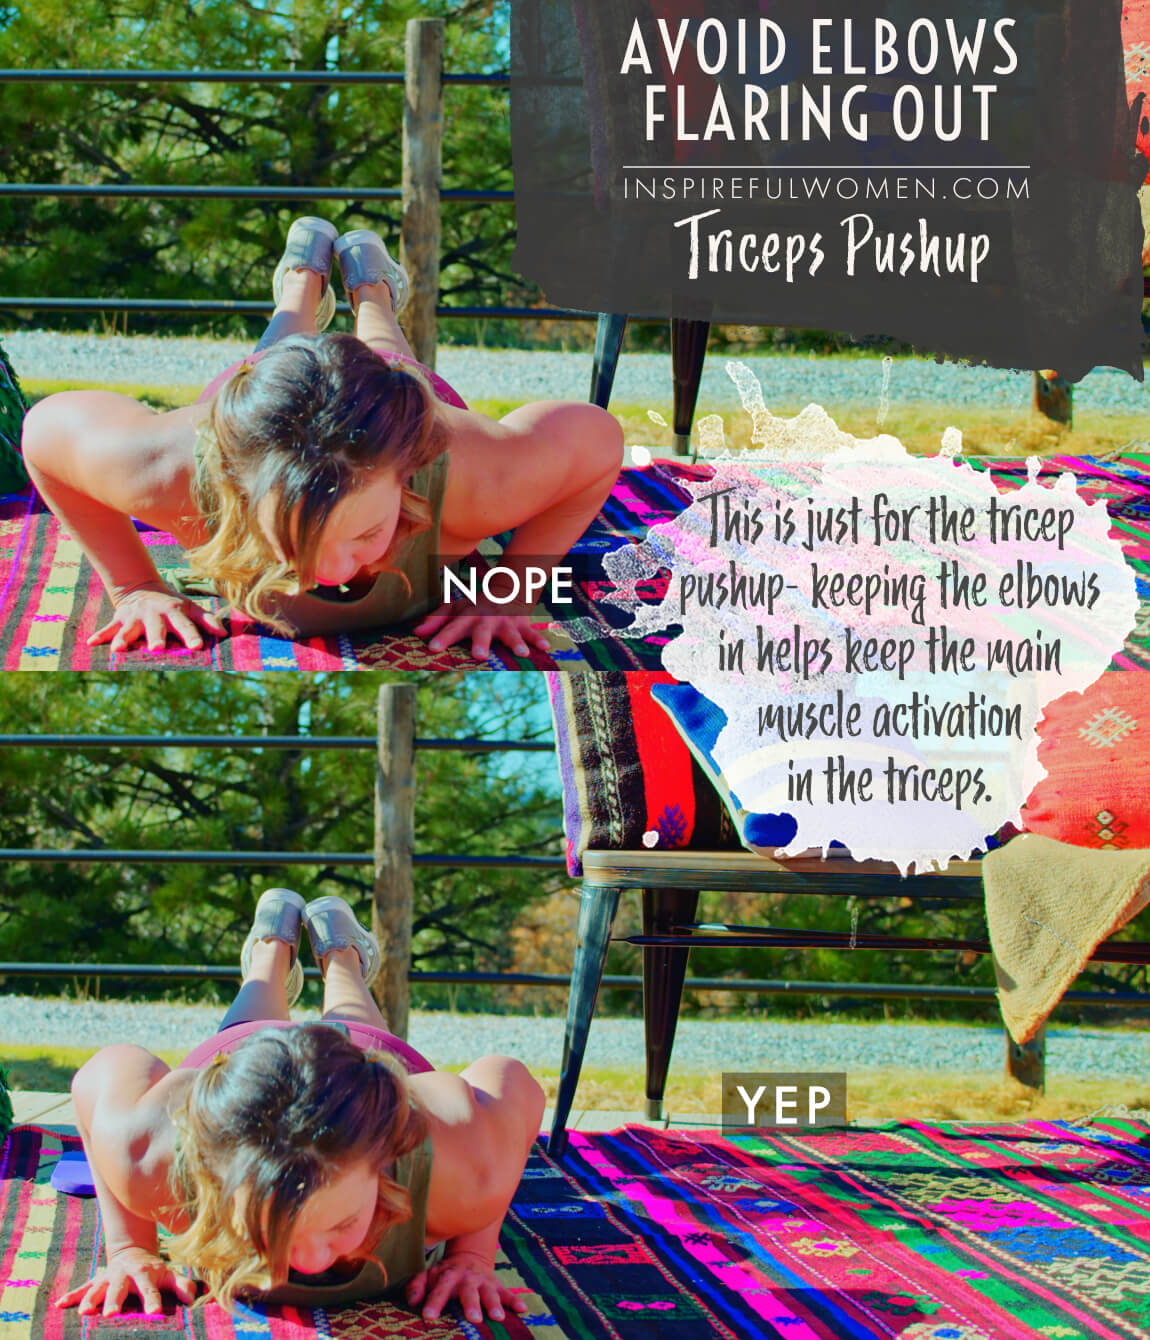
1. Avoid Elbows Flaring Out
AVOID: Letting the elbows flare out.
WHY NOT?
- This will put the shoulder joint moves into internal rotation, decreasing the space between the top of the shoulder blade (the acromion process of the scapula) and the upper arm bone (humerus).
- Reduces the effectiveness of the exercise - it is more difficult to get full elbow extension at the top of the movement.
WHAT TO DO:
- Keep the elbows pointing straight forward.
2. Avoid Tucking/Lifting Chin
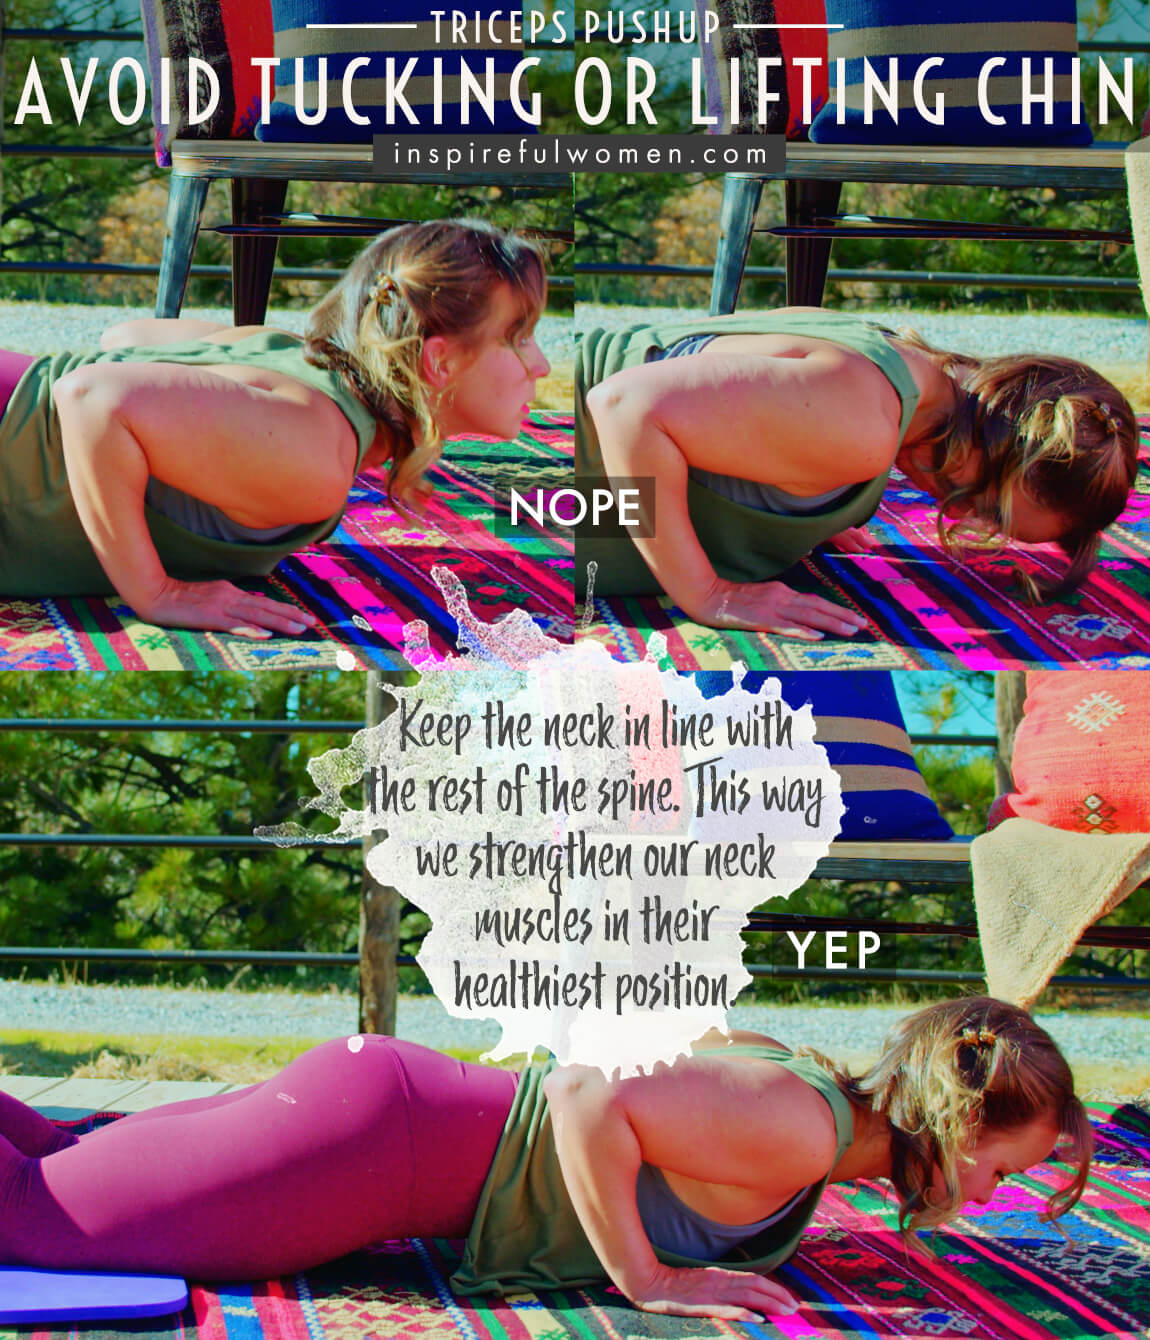
AVOID: Tucking or lifting the chin
WHY NOT?
- Your neck should be in a neutral position and feel lengthened to avoid compressing the joints and straining the muscles.
- The cervical muscles will be strengthened because you are holding the weight of your head in line against gravity - you want to make sure that you are strengthening the muscles in the healthiest position.
WHAT TO DO:
- Keep your neck neutral throughout the exercise.
3. Avoid Locking Elbows
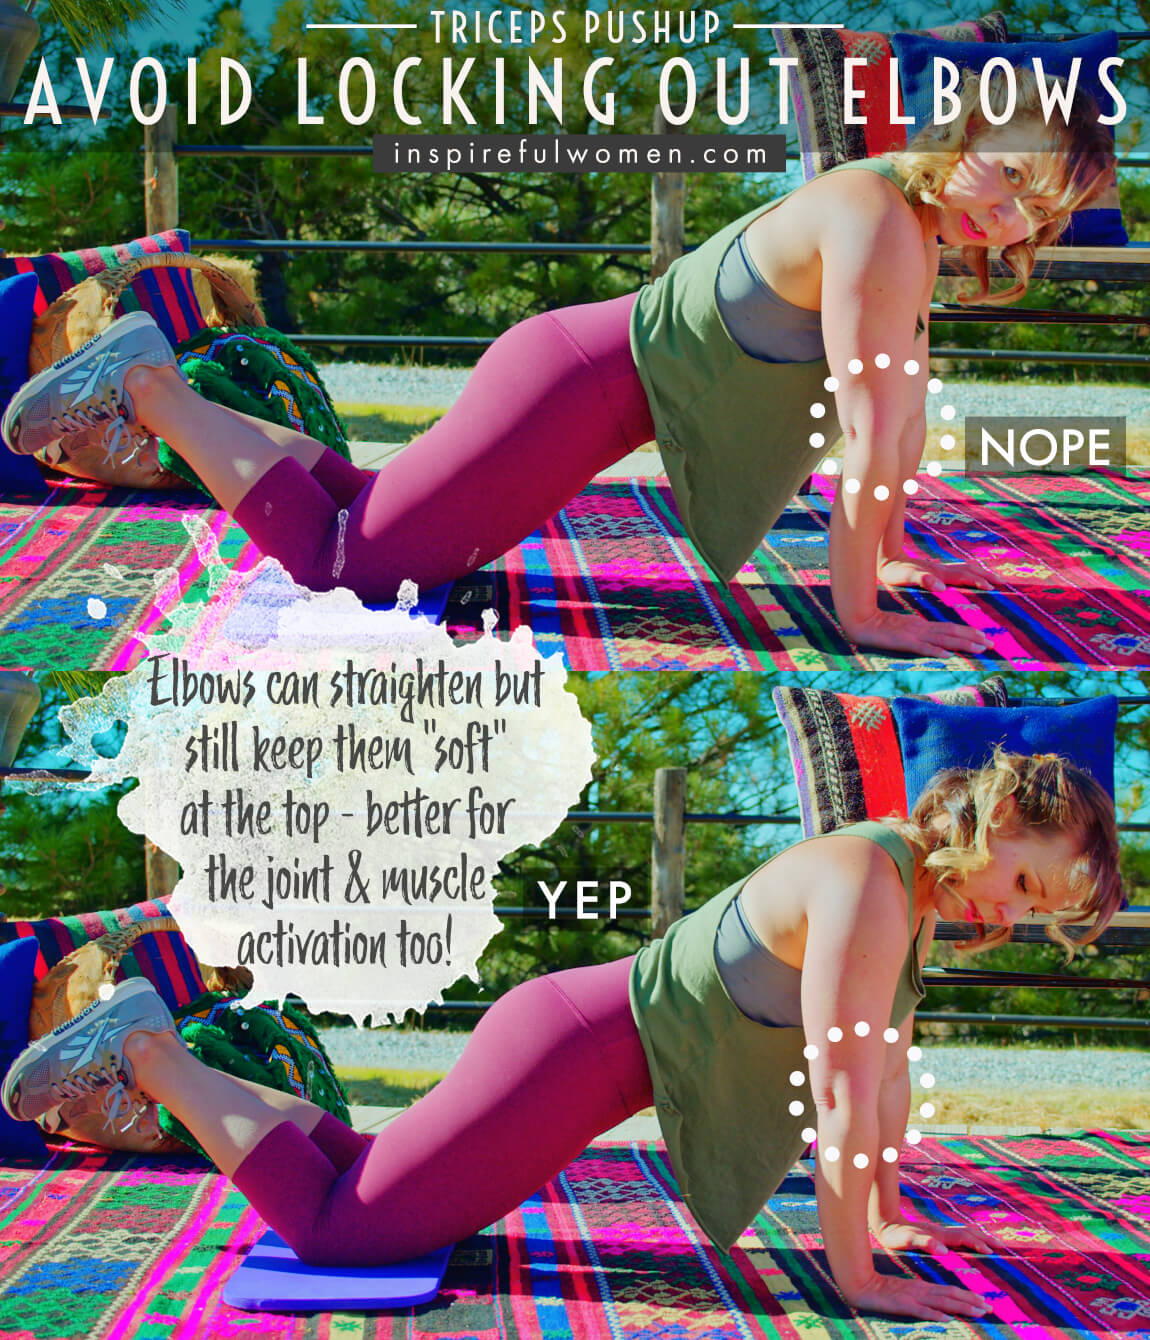
AVOID: Hyperextending or locking the elbows when the arms are out straight - at the end of the movement.
WHY NOT?
- This puts too much force through the joint and may result in long-term damage over time.
- Can stretch the ligaments and tendons that support the joint.
- This will decrease muscle activity and rely more on the joint surfaces.
WHAT TO DO:
- Keep the elbows slightly bent, even at the end of the movement.
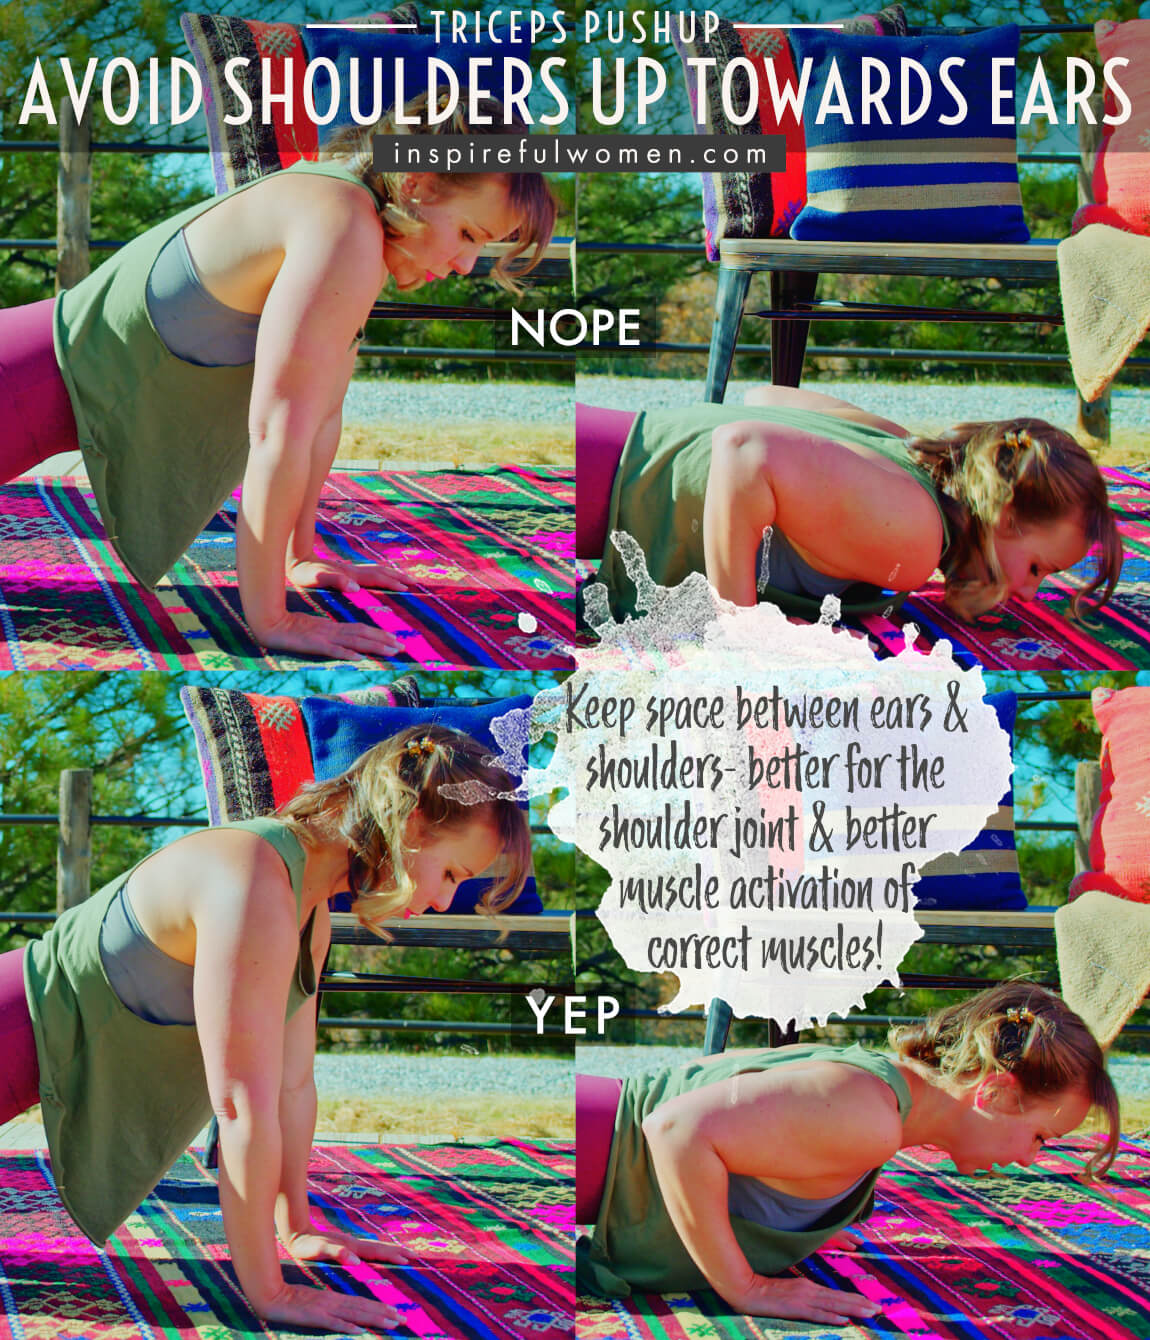
4. Avoid Shoulders Riding Up To Ears
AVOID: Letting the shoulders rise up towards the ear (no shoulder shrugging)
WHY NOT?
- Shrugging the shoulders will decrease the activation of the postural muscles (mid and lower back, and core) and activate the upper trapezius and levator muscles.
WHAT TO DO:
- Keep the shoulder blades retracted and depressed (down and back) to strengthen the muscles of the shoulder and upper back.
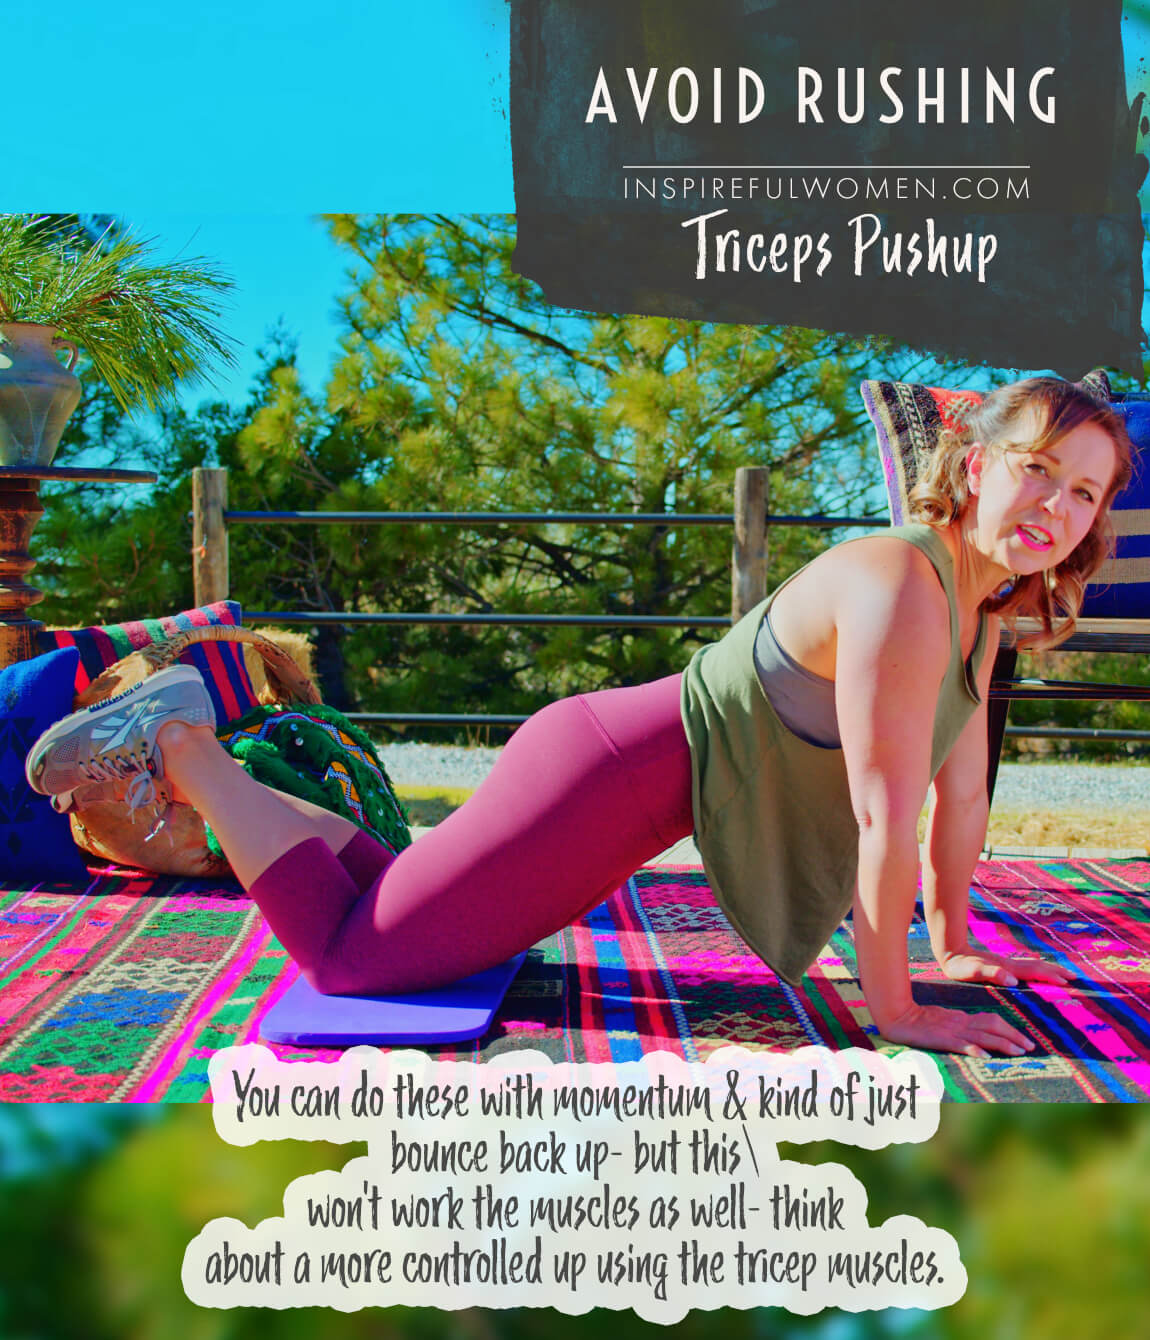
5. Avoid Rushing
AVOID: Rushing the movement.
WHY NOT?
- It is easier to do these exercises quickly with poor form.
- This will decrease the muscle activity of the stabilizing muscles and the triceps.
WHAT TO DO:
- Move with control, stability and balance.
- It is better to do 2 good reps than 10 bad reps.
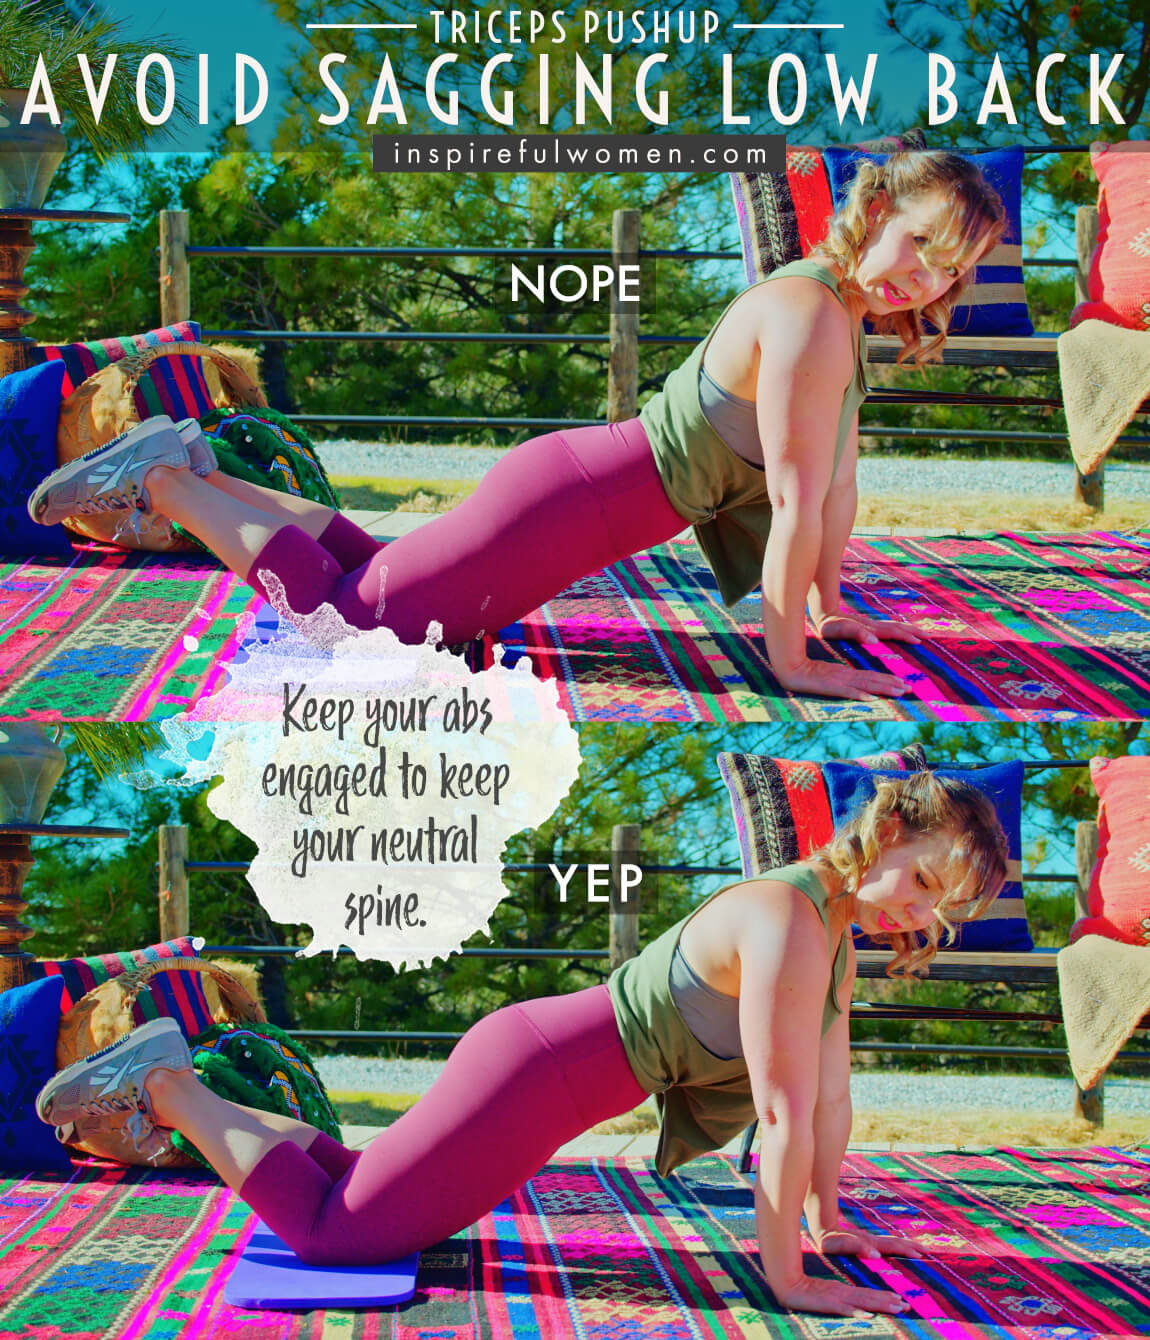
6. Avoid Low Back Sagging
AVOID: Sagging your low back.
WHY NOT?
- If your stomach drops down towards the floor then your low back is sagging.
- This may result in low back injury.
- This will decrease the muscle activity of the torso and arms.
WHAT TO DO:
- Activate your abdominals to maintain a neutral spine position.
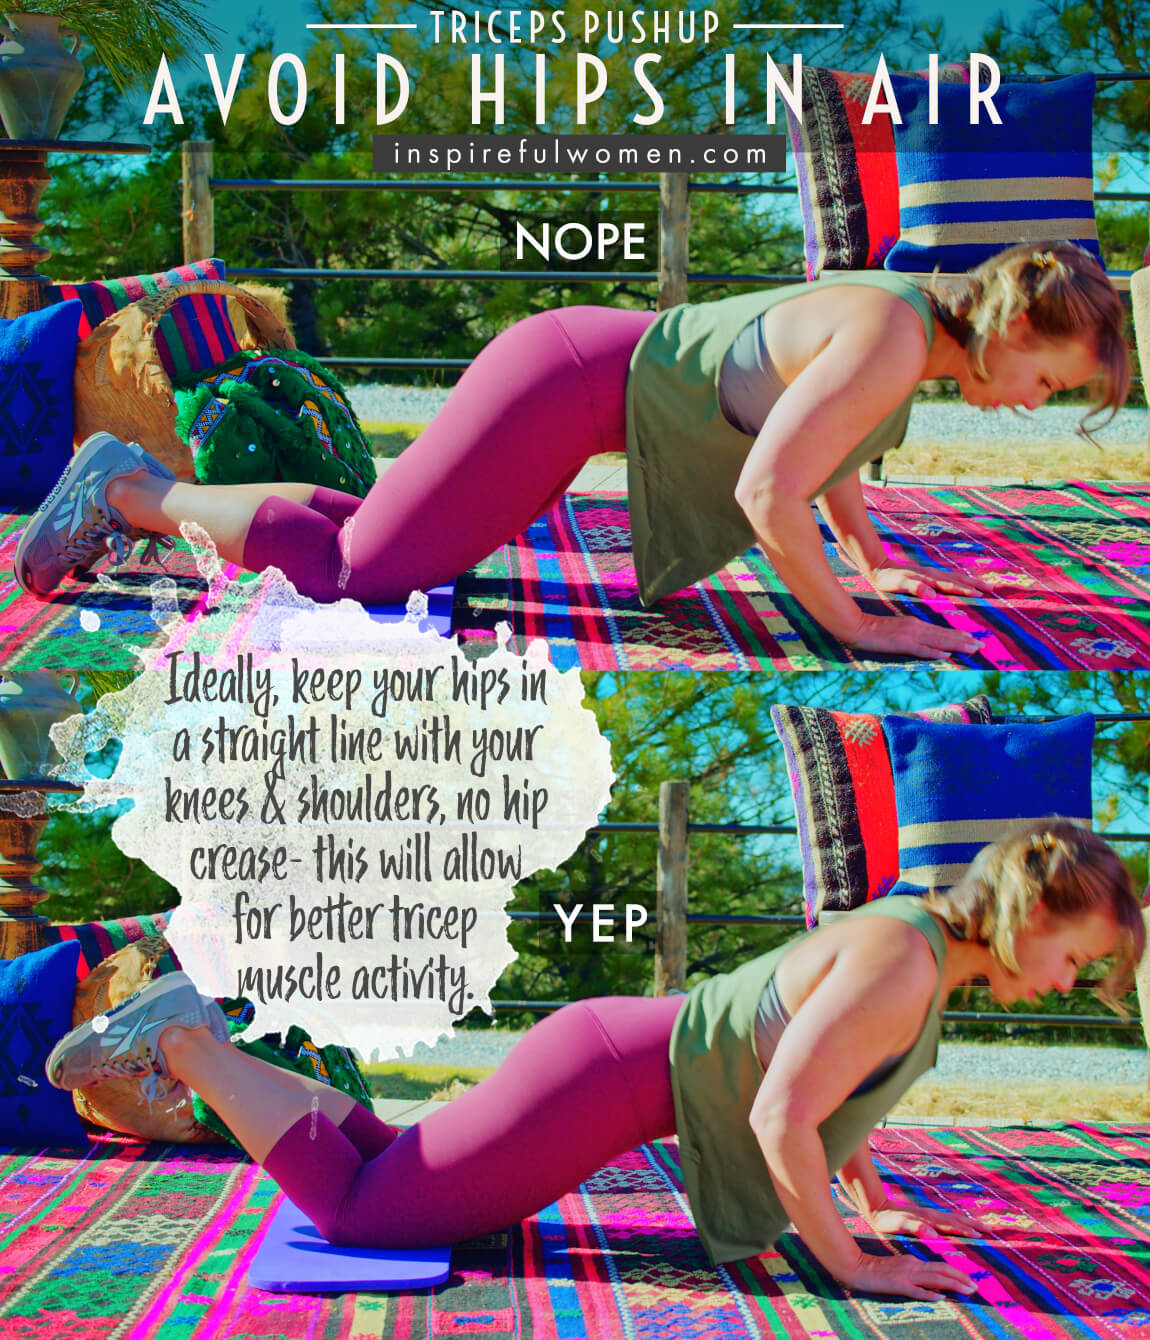
7. Avoid Lifting Hips In Air
AVOID: Lifting the hips up into the air.
WHY NOT?
- This is a common cheat that decreases the weight on the upper body.
WHAT TO DO:
- Keep a straight line from earlobe to feet - it is helpful to use a mirror, and take a video to look at your form.
WHAT WE'RE DOING TODAY
WHAT & WHY
BENEFITS OF TRAINING THE triceps
WHAT
If this exercise looks suspiciously like a push-up, you would be right. But we tweak it just a bit to target our triceps more specifically.
A TRICEP EXERCISE WITH NO WEIGHTS! JUST YOUR BODYWEIGHT IS NEEDED. #KEEPLIFESIMPLE
Bodyweight tricep exercises are convenient because they can be done almost anywhere and they do not require any equipment. The exercises are pretty intense - moving your body using just your triceps is pretty demanding, not only for your triceps but also for all of the muscles that stabilize the arm, shoulder, and torso.
Bodyweight exercises are done in a closed chain - meaning that the hand is not free to move during the exercise, this trains the muscles of the arm and shoulder to stabilize the joints by improving the neuromuscular control (the nerve communication to the timing and amount of muscle activation) of the smaller muscles of the joints.
Bodyweight exercises require more balance, stability, and control, incorporating many of the muscles of the legs and torso - making it a nice full-body exercise.
WHY BOTHER DOING IT?
WHY
WHY DO WE EVEN CARE?
MAKES SENSE TO STRENGTHEN THE BIGGEST MUSCLE OF OUR ARM
Working the triceps is important to balance the frequently overtrained/overused biceps muscle.
The triceps is the largest muscle of the upper arm, it accounts for about ⅔ of the muscle bulk of the upper arm. This is especially important when the muscles need to work together to stabilize the joints of the elbow and shoulders. When one of the two muscles is proportionately stronger than the other - it can cause poor alignment at the elbow or shoulder joint, putting it at a higher risk for injury. It is smart to include a few bodyweight exercises in your program.
Arm exercises that work the muscles of the legs, torso, and upper body to stabilize the body as the arms work will improve your ability to safely lift, push and pull heavier objects for a longer period of time without injury. Training the muscles with bodyweight exercises teaches the whole body to work together, this is really important for many daily activities - pushing a heavy stroller, wheelchair, grocery cart, lawnmower, putting heavy boxes overhead, working overhead - painting, changing light bulbs, cleaning.
IMPROVE ABILITY WITH LOTS OF OTHER EXERCISES
Many other exercises, especially core exercises we do at Inspireful Women, involve using the triceps to some degree. The more we can strengthen the arms- triceps, biceps, shoulders & upper back muscles, the more we can progress the core exercises. Sometimes it's our arms that are a limiting factor
EVERYDAY LIFE
EVERYDAY LIFE &
MUSCLE FUNCTION
HOW WE USE OUR tricep MUSCLES IN EVERYDAY LIFE
1. STRAIGHTENS (EXTENDS) THE ELBOW (ALL THREE HEADS)
- Pushing an object overhead
- Pushing a door open or shut
- Chopping - swinging down
- Hammering - swinging down
- Sawing - pushing out
- Throwing a ball overhand
- Swatting a fly
2. THE LONG HEAD PULLS THE ARM DOWN WHEN IT IS OVERHEAD (SHOULDER EXTENSION)
- Pulling a cord to open a curtain
- Pulling a window down to shut it
3. ALL THREE HEADS HELP TO HOLD THE ELBOW JOINT STILL (JOINT STABILIZATION), AND THE LONG HEAD HELPS TO HOLD THE SHOULDER JOINT STILL
- Writing
- Pushing a stroller or grocery cart
- Using a screwdriver or knife
- Knitting
- Replacing a ceiling lightbulb
HOW TO FEEL WHAT MUSCLE IS WORKING
How to Feel What Muscle is Working
To feel your triceps activated:
- Lift your arm in front of you and set your hand and forearm on a table or counter.
- Put your other hand on the back of your upper arm.
- Press down with your hand resting on the surface.
- press down as if you were trying to straighten just your elbow;
- press down as if you were trying to pull your upper arm down to your side. In both cases, you should feel your triceps working.
SCIENCY STUFF
ALLLL MUSCLES & WHEN
ALL MUSCLES WORKING & WHEN DURING THE Diamond Pushup
The core muscles and muscles of the hips and legs will work to stabilize the body during the movement. The scapular and back muscles (rhomboids, mid and lower traps, serratus anterior, pec minor, lat, teres major) work to hold the shoulder blades together and down the back as the body is pushed upwards.
The movement begins as the triceps (all three heads) work concentrically to extend the elbows. The pectoralis major (primarily the upper fibers) pulls (concentric contraction) the upper arm up and inwards towards the body until the upper arm is right in front of the shoulder and the elbow is straight. As the arm moves across the body the serratus anterior moves the shoulder blade into a protracted position - at the top of the movement. The triceps is very active in stabilizing the elbow joint under heavy load).
The triceps and pectoralis major (upper fibers) work eccentrically to control the weight of the body as it is lowered back toward the ground. When the body is just hovering over the ground all of the muscles work isometrically to hold the position.
The next rep is initiated with concentric contractions of the triceps and the pectoralis major.
PIN IT FOR LATER!
