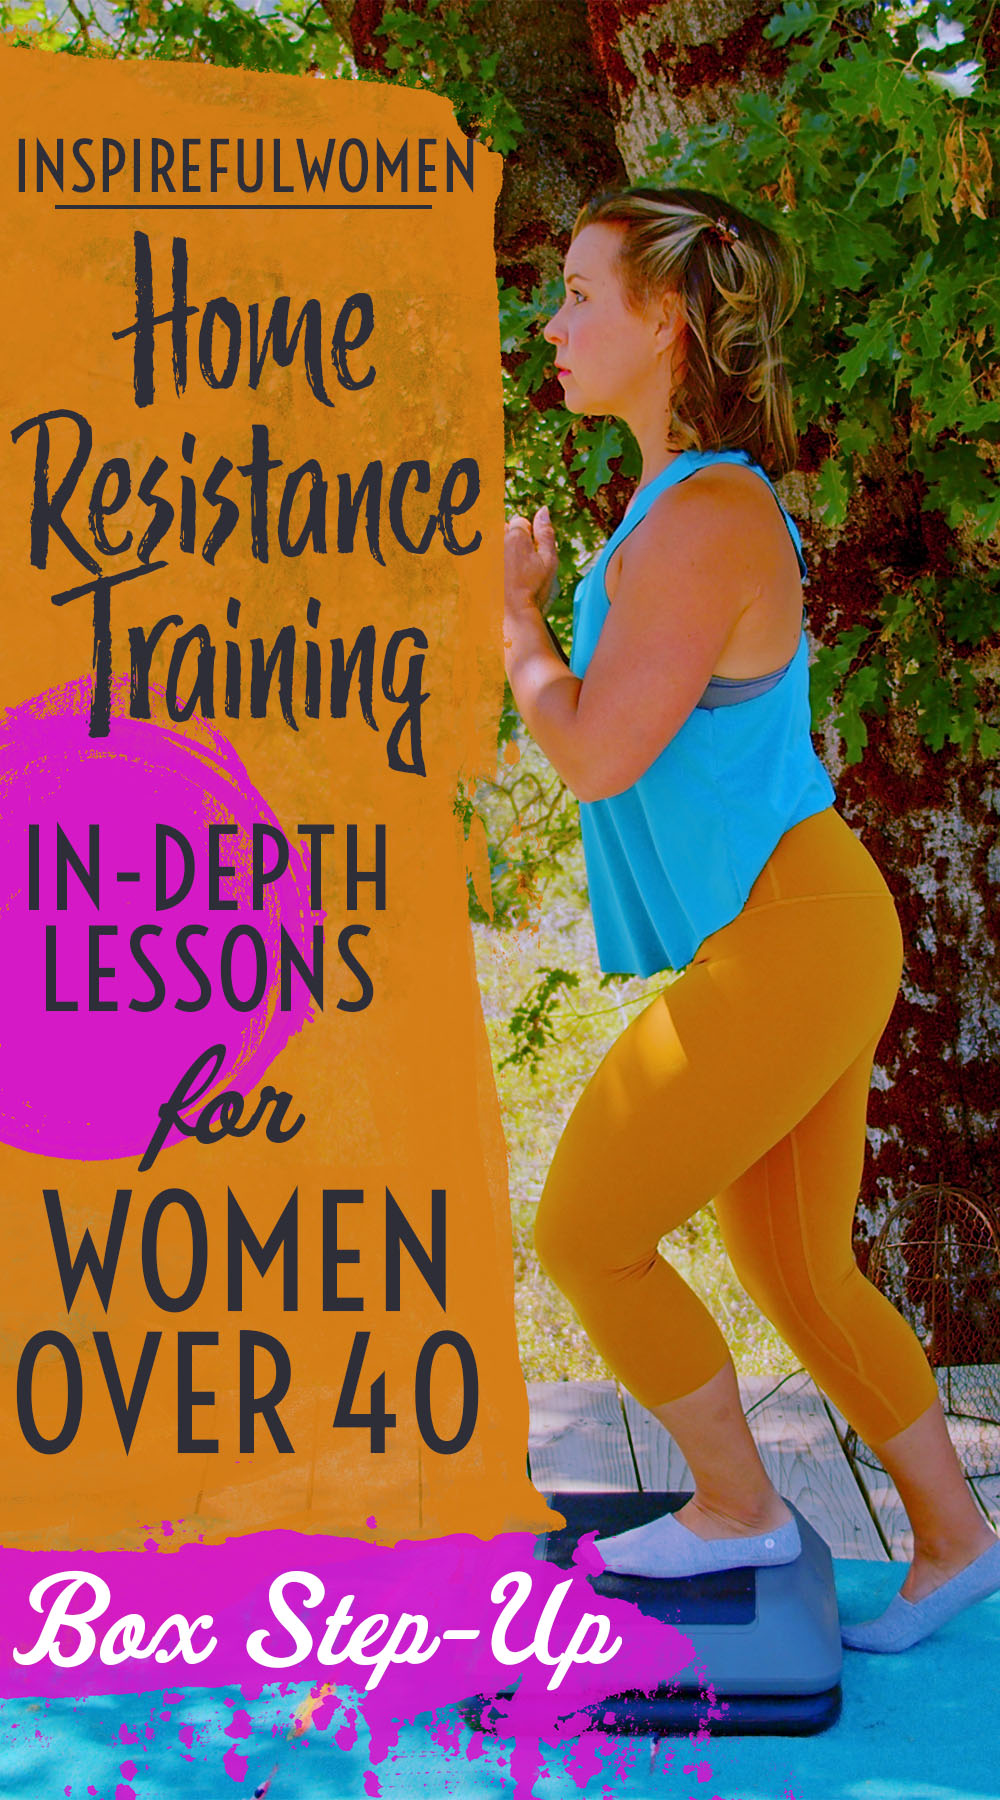
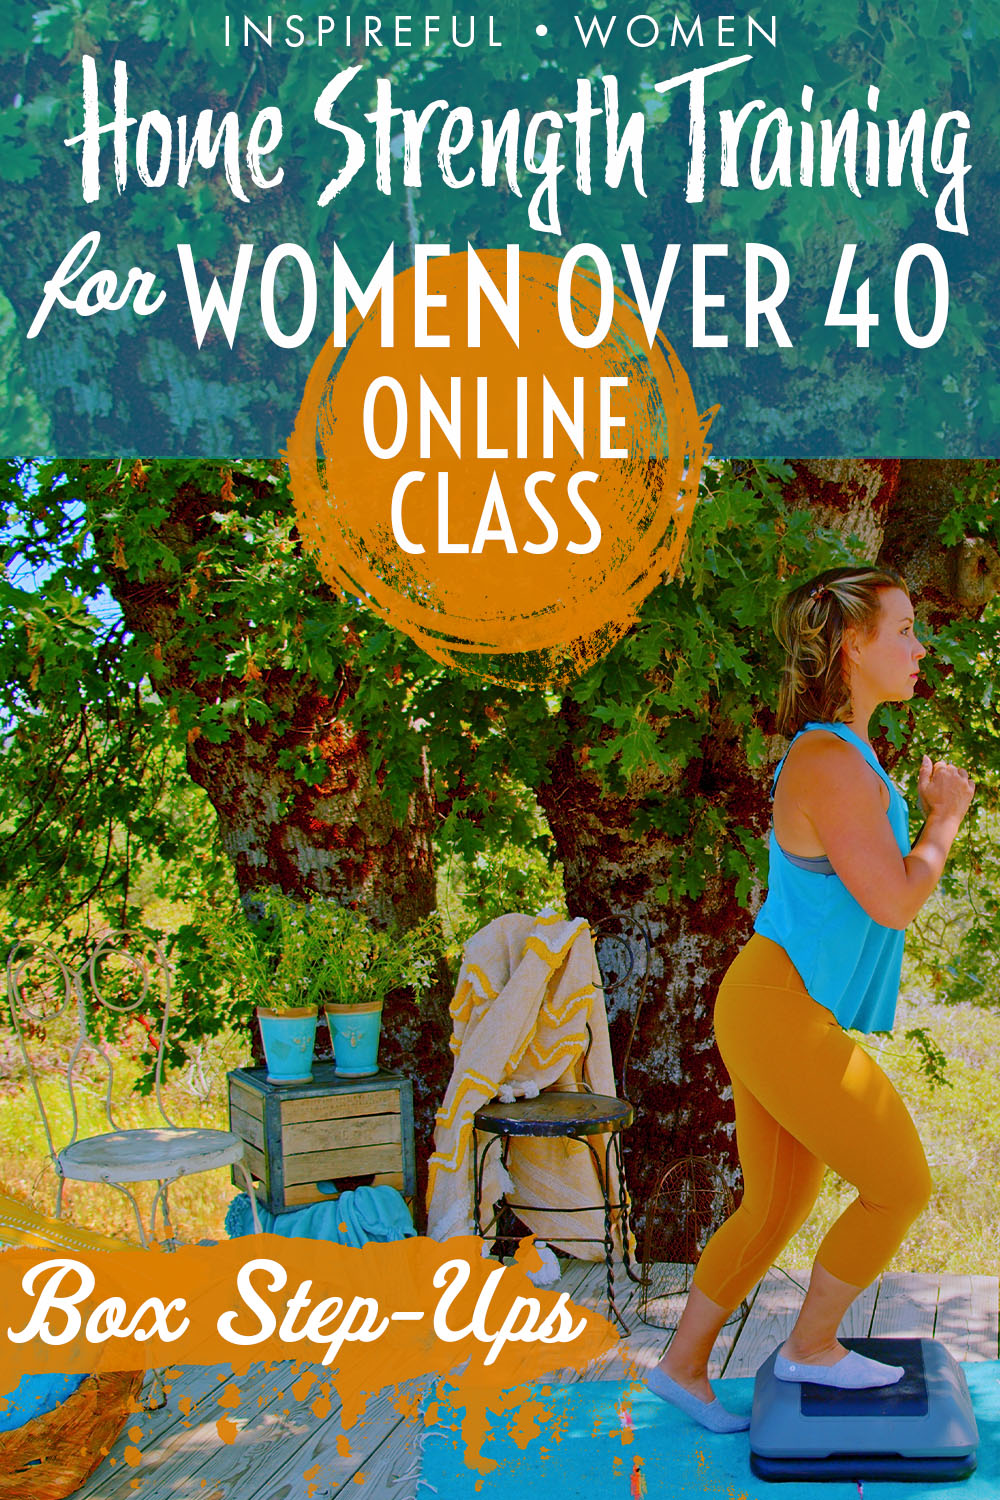
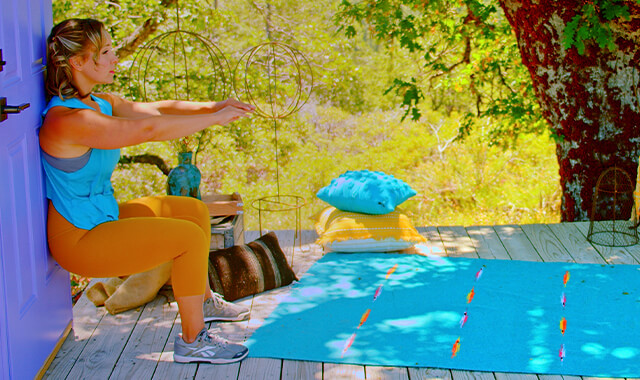
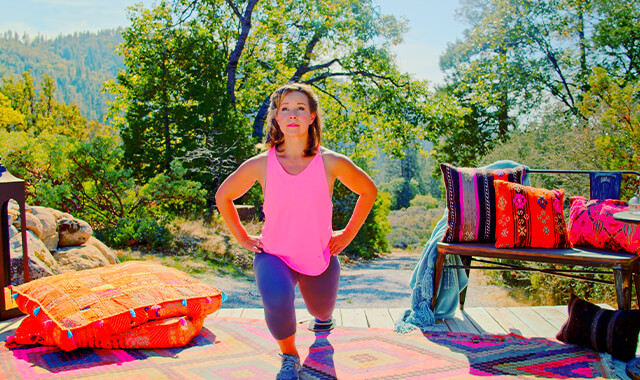
Box FORWARD Step Ups
How to Do Box Forward Step Ups | In-Depth Guide [VISUAL LEARNERS]
Proper Form & Common Mistakes | Home Resistance Training
WHAT DO YOU WANT TO SEE?
QUICK DEMO
QUICK DEMO
MUSCLES THIS WORKS
MUSCLES
MAIN MUSCLES WORKED IN the Box Step Up
Quadriceps and Gluteus maximus
OTHER MUSCLES WORKED:
- Hamstrings
- Gastroc and Soleus
- Gluteus Medius and Minimis
WHAT WE'RE DOING TODAY
WHAT & WHY
BENEFITS OF TRAINING THE Quadriceps
WHAT
WHAT WE'RE DOING TODAY
Other names for this exercise: Step Ups, Box Step, Anterior Step Ups, Reverse Step Down, Posterior Step Down
ALL WE'RE DOING:
Standing on the step, step one foot down behind you.
STEP UPS OR STEP DOWNS?
First, let’s talk about the naming of these movements. In step ups and downs the muscles are working as you step up AND as you step down. You will find that the names of the movements vary quite a bit. What one person refers to as a forward step up may also be called a reverse step down, etc. This can be confusing but, the naming is just opinion, most likely based on what the focus of the exercise should be - the up phase of the down phase. For the purpose of our naming, there are a few ways to sort through this.
If you are behind the step, facing the step as you would walk upstairs, it makes sense to call that a “step up” position. If you are in front of the step or on the step facing away from the step, as if you were walking downstairs, it makes sense to call that a “step down” position.
If you start on the floor and step up onto the step first and then step off of the step, that could be thought of as a step up. And, likewise, if you start on the step and begin the set by stepping down to the floor, that could be a step down exercise. That helps to clarify the movement when you are facing toward or away from the step. When you are standing sideways on the side we will just call that one “Lateral Step Downs” because you begin the movement from the top of the step.
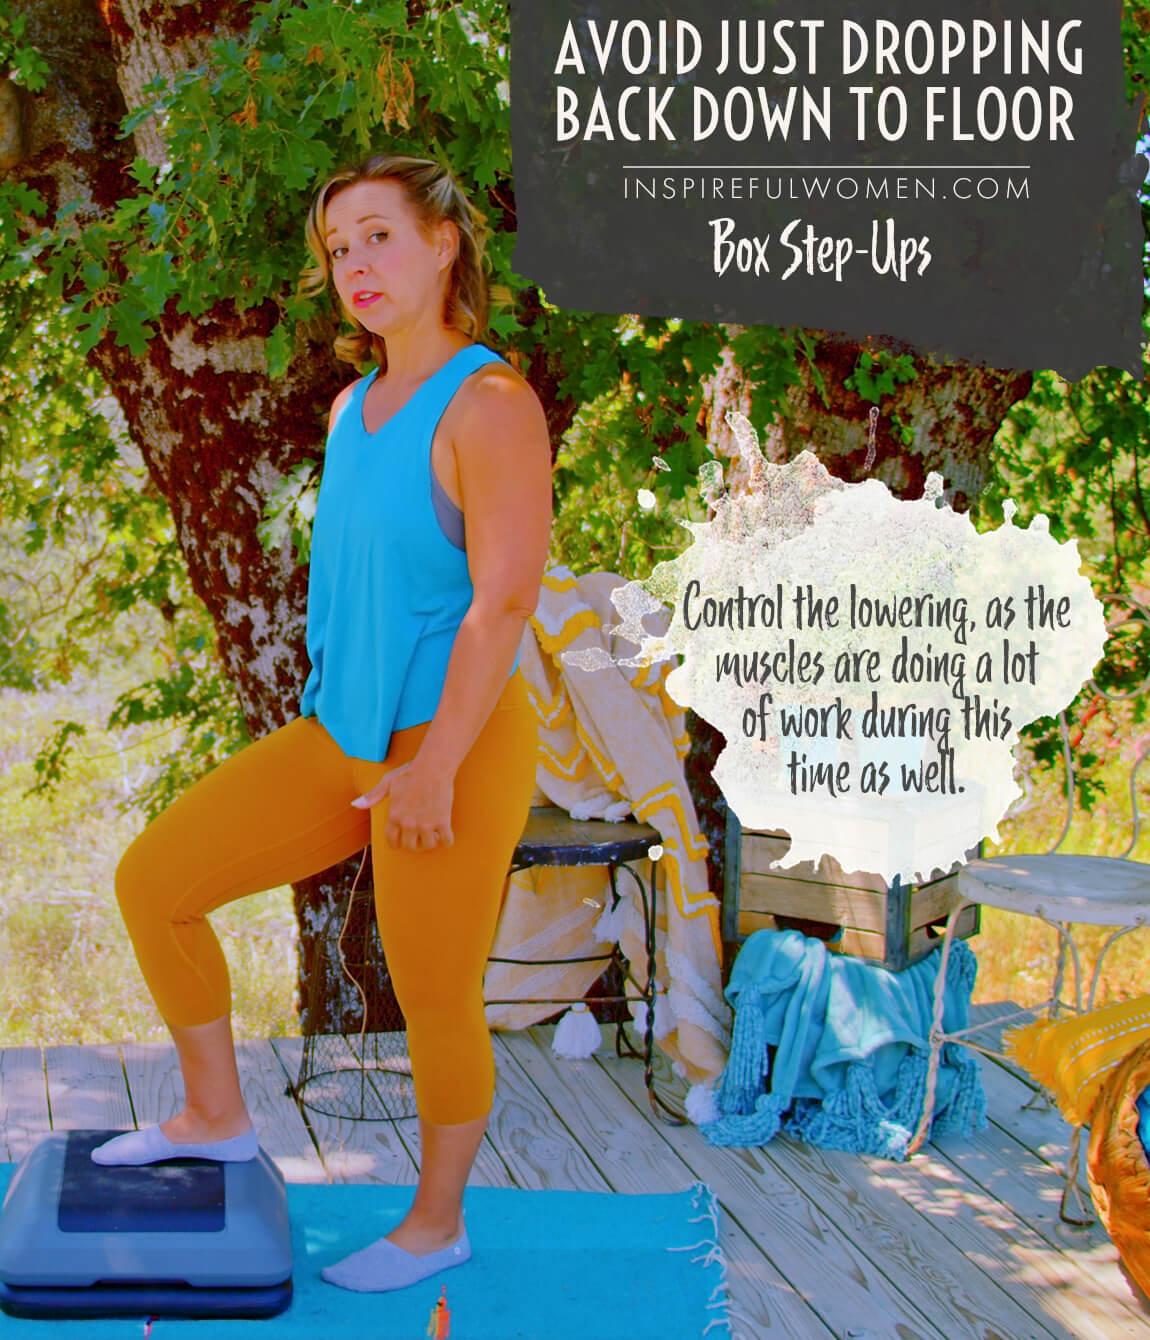
Like most exercises, this movement works the same muscles throughout the entire movement, both as you are stepping up and as you are stepping down. The muscles are worked in two different ways. For example, during a forward step up, the targeted muscles shorten (concentric contraction) to extend the leg and lift the body up onto the step. The same muscles contract as the muscle is lengthening (eccentric contraction) and the body is lowered back down to the floor. It is fairly common to forget this when you are doing step ups, and let gravity just pull down back down to the floor. Lower yourself back down slowly and with control.
Step ups and step downs are a group of exercises that work the knee extensors and the hip extensors together. The knee extensors are the quadriceps muscles on the front of the thigh. The main function of these muscles is to straighten the knee. The main hip extensors work to straighten the hip, they are the gluteus maximus and the hamstrings. In these exercises, you will be stepping up or down off of a box or step. Different versions of the exercise will face different directions - towards the step, away from the step, or sideways. Even though the same muscles will be working in all of the exercises, it is surprising how just changing the direction of the stepping feels very different.
Step ups and downs will help to strengthen the leg muscles. But, the main focus of these exercises is learning good form - motor control, balance, and stability. It is pretty easy to make these exercises easier or harder. But first, it is important to make sure your form is correct. Although we are very used to going up and down stairs, it is fairly common to use gravity and momentum to help you. Learning the correct form helps to train the muscles of the core to hold your torso still as you use the leg to move your body. Going up and down stairs the correct way will strengthen the leg muscles and prevent straining the back, not just in exercise, but in daily life. Try to resist the urge to use a taller step and sacrifice good form.
Pay close attention to the alignment of your foot, ankle, knee, hip, and pelvis during these exercises. Even the muscles of the feet will be working. Try to keep the leg as still as possible (not wobbly). It is tempting to think about lowering the non-working foot to the floor instead of thinking about bending the ankle, knee, and hip of the working leg. Although it seems like a small thing it makes a big difference. When you give your brain the task of lowering the non-working foot to the floor, it will want to do it the easiest way possible, which is to let gravity pull that side of the hip down. It is not necessary to tap the non-working foot on the floor. Avoid lowering down past the point of being able to maintain good form. The goal is to go as low as you can while maintaining good form.
WHY BOTHER DOING IT?
WHY
WHY DO WE EVEN CARE?
TRAINING EVERY DAY LIFE STRENGTH
There are many good reasons for including step ups and downs in your exercise program. These exercises train you to use your body the way it was designed to be used. The goal of the exercise is to hold the torso in a neutral position and still as you use your leg to move your body up and down. This is exactly how we should be moving in many daily activities. Working on keeping the legs and spine in good alignment, while moving through the ankles, knees, and hips will strengthen the muscles of the torso and the legs with the least amount of stress on all of the joints.
SINGLE LEG EXERCISES GREAT FOR BALANCE & STABILITY
This movement is done one leg at a time. Single leg exercises have the added benefit of training balance and stability. All of the muscles in the foot, and those that cross the ankle, knee, and hip will have to work together to keep the lower limb aligned and stable. Good alignment of the lower limb reduces the stresses on the joints to help to prevent age-related changes. Common age-related changes include muscle imbalances, joint surface wear and tear (osteoarthritis), decreases in range of motion, and increased risk for falls.
Single leg exercises can help make you more aware of any left and right differences in the range of motion of the joints, leg strength, or ability to balance. If you find that you are more limited on one side, work on that side a little bit more to try to correct the differences. Keep in mind that in single leg exercises, the working leg is moving 100% of your body weight.
EVERYDAY LIFE
EVERYDAY LIFE &
MUSCLE FUNCTION
HOW WE USE OUR Quadriceps and Gluteus maximus MUSCLE IN EVERYDAY LIFE
THE QUADRICEPS STRAIGHTENS THE KNEE AND THE GLUTEUS MAXIMUS STRAIGHTENS THE HIP DURING:
- Climbing upstairs
- Climbing a ladder
- Walking uphill
- Getting up from a squat
- Pushing up from the floor
- Rising from the toilet or chair
- Stepping into a high vehicle
THE QUADRICEPS HELPS TO CONTROL THE BENDING OF THE KNEE AND THE GLUTEUS MAXIMUS HELPS TO CONTROL THE BENDING OF THE HIP DURING:
- Going down stairs
- Going down a ladder
- Walking downhill
- Lowering down into a squat
- Getting down to the floor
- Lowering down to the toilet or chair
- Climbing out of a high vehicle.
STARTING POINTERS
Starting Pointers
This is the basic or standard version of the Forward Step Up. Begin with no added resistance and at a fairly low step - around 8 inches until your form is good. When you are ready to progress with the exercise, always consider your goals.
Adding weight (holding a dumbbell) will work the muscles more, but sometimes it can actually make it easier to balance. Increasing the height of the step will increase the range of motion that the muscles work through and the joints move through. It will also be more challenging for your balance and motor control. If you are using added weight, and you would like to increase the height of the step, it is recommended that you try the new height without any added resistance. You can add resistance when your form is perfect.
This exercise seems so straightforward that it is easy to think that you know how to do it in perfect form. Your form may already be perfect but it is helpful to check in with your alignment from foot to head just to make sure. This is especially true if you are new to the exercise and it feels easy or if you have been doing it for a while. Before progressing with the exercise make sure that you are doing it correctly, sometimes it is easy to get comfortable with a movement and you start to rush it and get sloppy. To get the most out of this exercise, be very aware of your alignment and do the movement slowly and with control.
Progressing to a higher step is not better if you sacrifice form. In general, the hip and knee should not be bent more than about 90 – 100° - the knee and hip roughly in line. Any higher and it is nearly impossible to have a safe and accurate form: the quads, hamstrings, and glutes are in positions where they do not have much strength and you will need to push yourself up with the “non-working” leg. It also puts too much strain on the front of the knee under a high load.
If you are struggling with balance and control, think about engaging your core muscles and standing up nice and tall. It may be necessary to take a peek down to watch what your foot or knee are doing in order to keep good form. The best thing to do is to try to do these in front of a mirror but if that is not possible, just check in briefly and then return to good posture. Ideally, over time you will develop a sense of what your body is doing, and where it is in space and you will not need visual feedback. This is known as proprioception or in the case of yoga, it is part of developing your “mind’s eye” or “third eye”.
HOW TO DO THE EXERCISE
LOOKS
HOW Box Step UpS SHAPE OUR BODY
Toned buttocks, and thighs (front and back). Works the muscles needed for healthy upright posture.
PROPER FORM
PROPER FORM: Box Step Up
EQUIPMENT, SETS & REPS
EQUIPMENT
Step-Up
Small one with several heights for space saving:
Goes from 2-12" high & you can buy extra risers for it (I did) - they are the standard riser used with all the other regular step-ups that are a longer length, so any will do.
Extra risers - set of 2 will give you 4" extra for 16" height total.
The the only thing you might have a little trouble with with this one is doing a hip thrust on it (where you're back is on the step) - but it CAN work.
SUGGESTED STARTING WEIGHT FOR WOMEN:
Body Weight
SETS & REPS:
2 sets of 8 reps
PACE:
Slow and controlled throughout.
BODY POSITION
BODY POSITION FOR THE Box Step Up
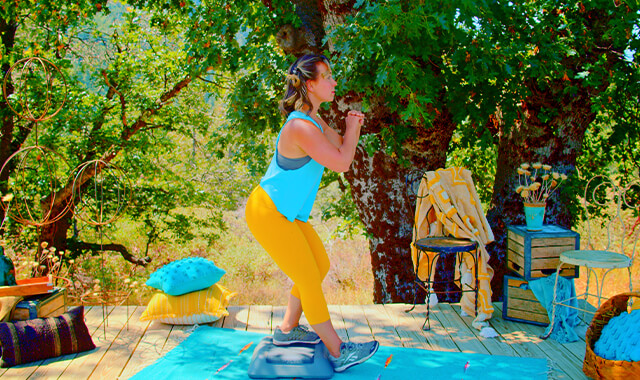
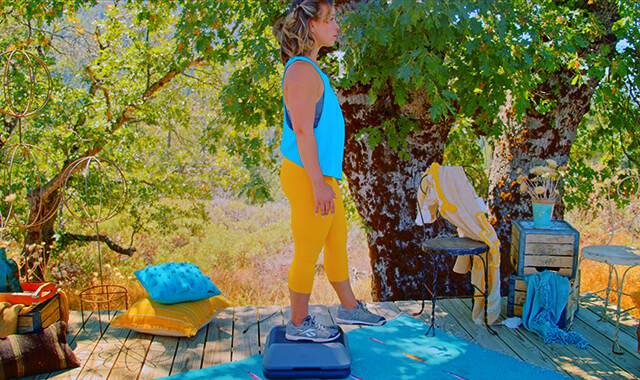
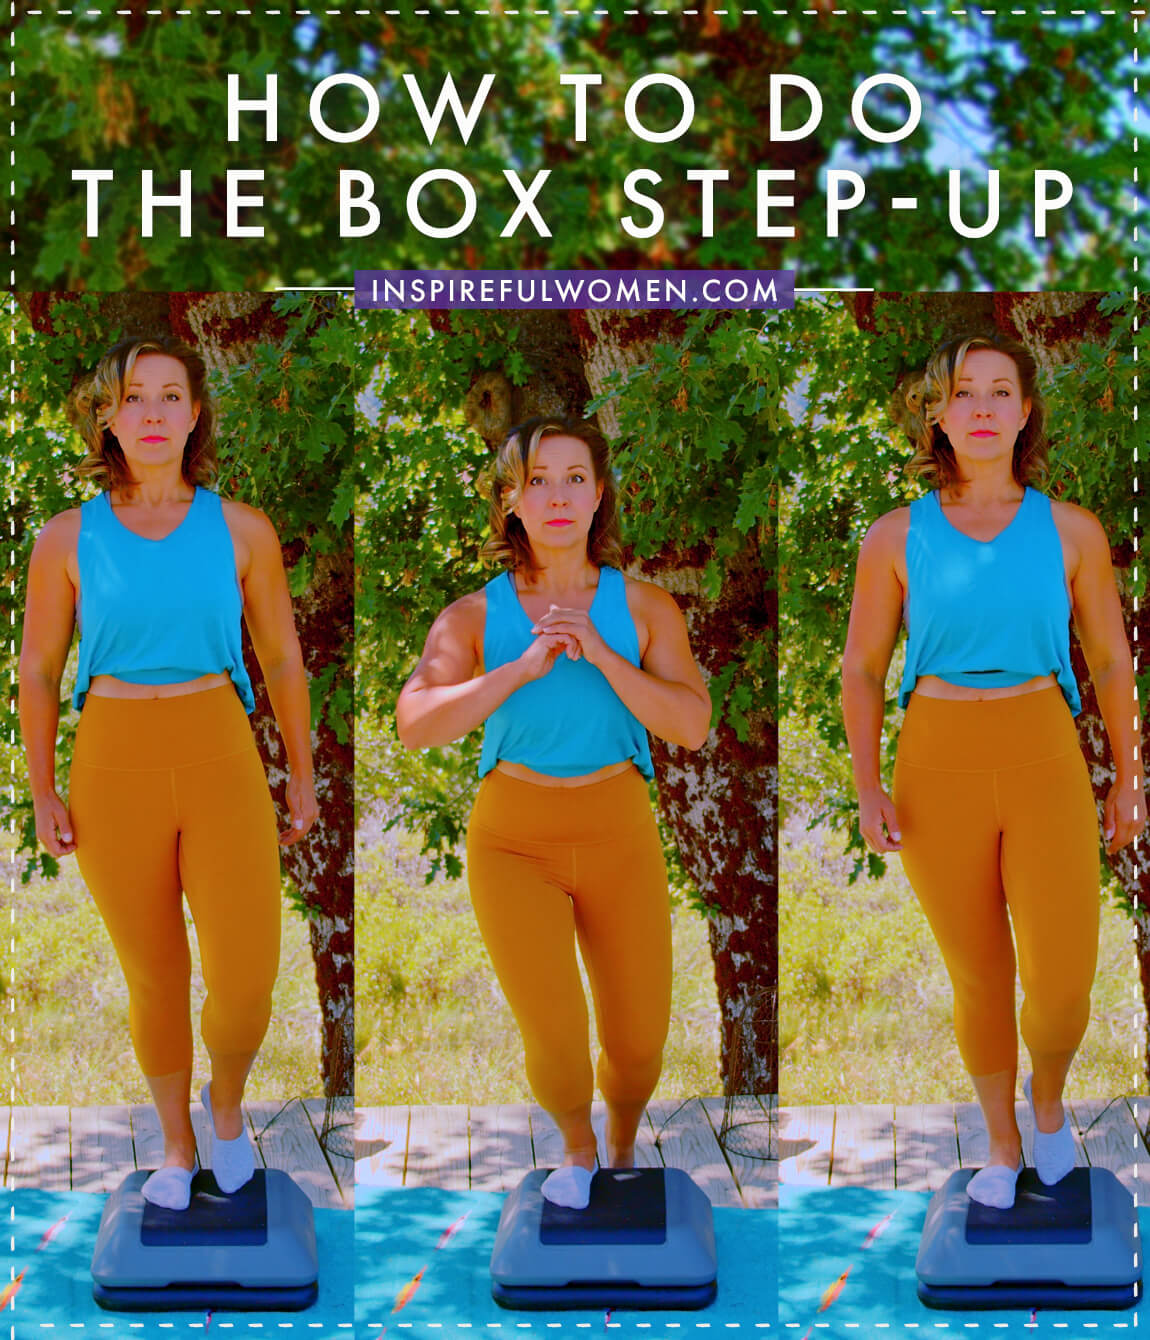
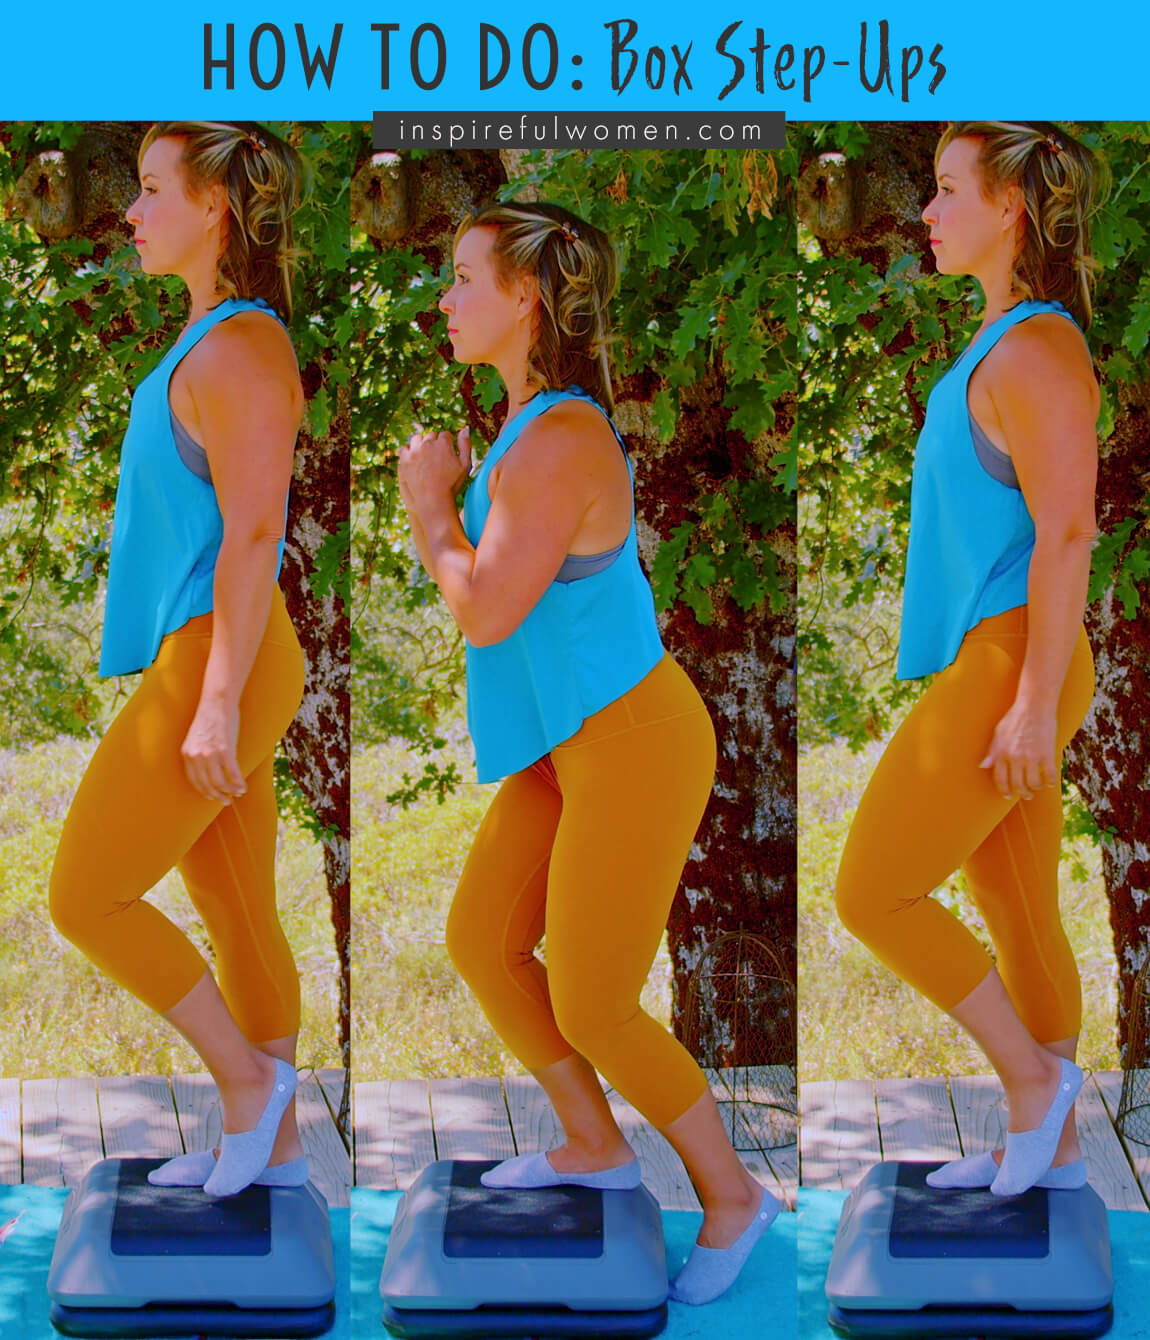
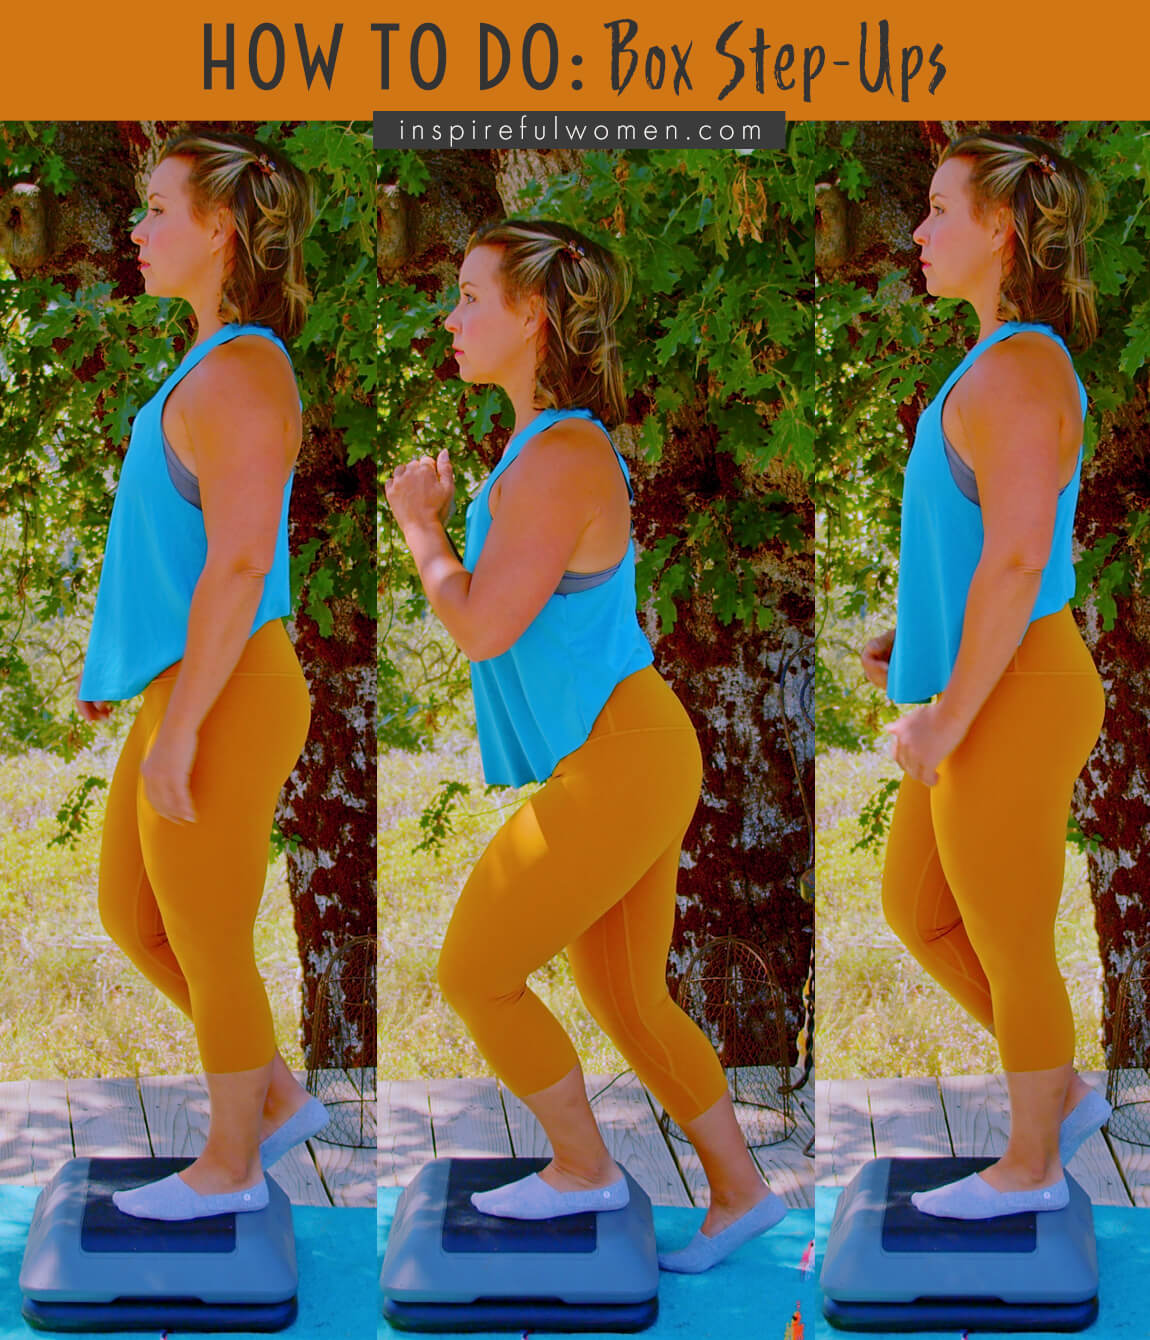
BODY STANCE: Stand on top of the step. Neutral spine, lift sternum, shoulder blades down and inward. Shoulders and hips squared to the step and level.
LEGS/FEET: Stand on your working leg. Your foot should be completely on the step and your heel should be down.
In this position, your foot should be in neutral (arch lifted, not rolling in or out), the center of your kneecap in line with your 2nd and 3rd toes. Your non-working hip and knee slightly bent with your foot just off of the step - to the back.
ARMS: Relaxed by your side or hands on the top of your pelvis or at your hip creases to monitor form.
HOW TO DO
HOW TO DO Box Step Ups
CUE: Your working leg (leg that is stepping up) does all of the work. The lowering back down is just as important as the step up.
Lower back down to the floor with control by bending at the ankle, knee, and hip (very slightly) of your working leg. You should hinge at the hips a very tiny bit to move your shoulders just over the arch of your front foot. You should feel like you are standing nearly upright. Lower down to briefly tap the ball of your foot to the floor - keeping your toes lifted.
Keep your working leg on the step and continue all of the reps before lowering your working leg.
COMMON MISTAKES
COMMON MISTAKES
WHAT TO AVOID WITH THE Box Step Up
KEY TIP:
Guess what? Good news! Many avoids are the same for most movements. Once you learn the basics, there's really only a few extra avoids for each individual movement.
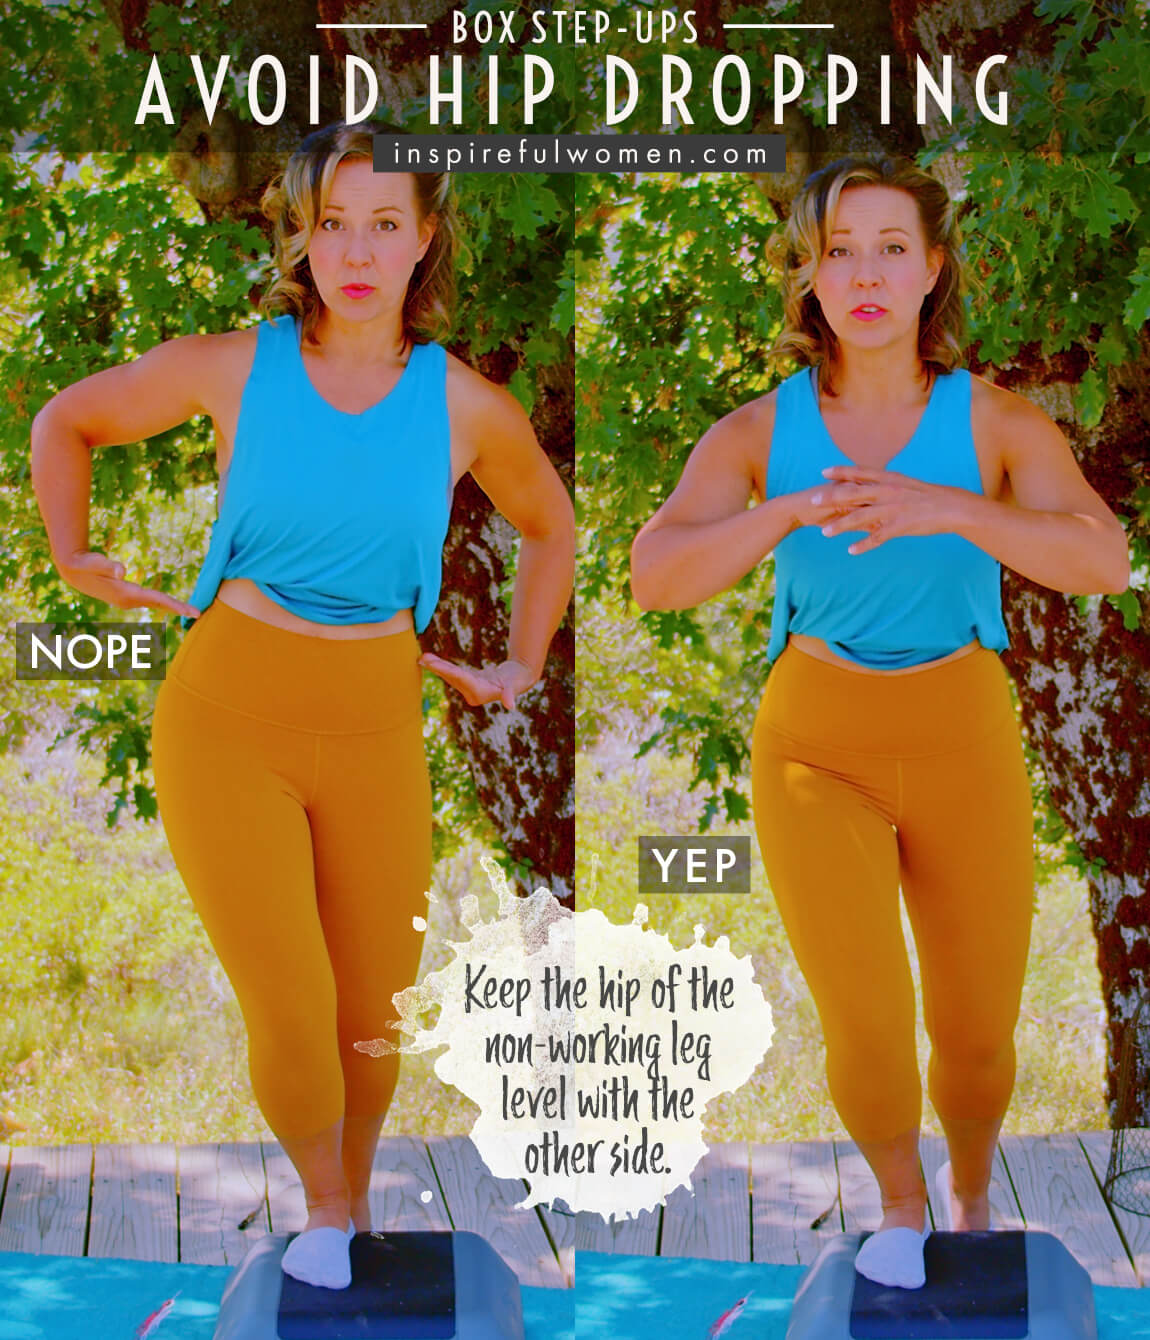
1. Avoid Hip Dropping
AVOID: Dropping the hip on the side of the non-working leg.
WHY NOT?
- Dropping the non-working side of the pelvis is a common mistake.
- It results in moving less through the hip and knee and more in the back.
WHAT TO DO:
- Your pelvis should be level throughout the exercise.
- Watching your form in a mirror can help.
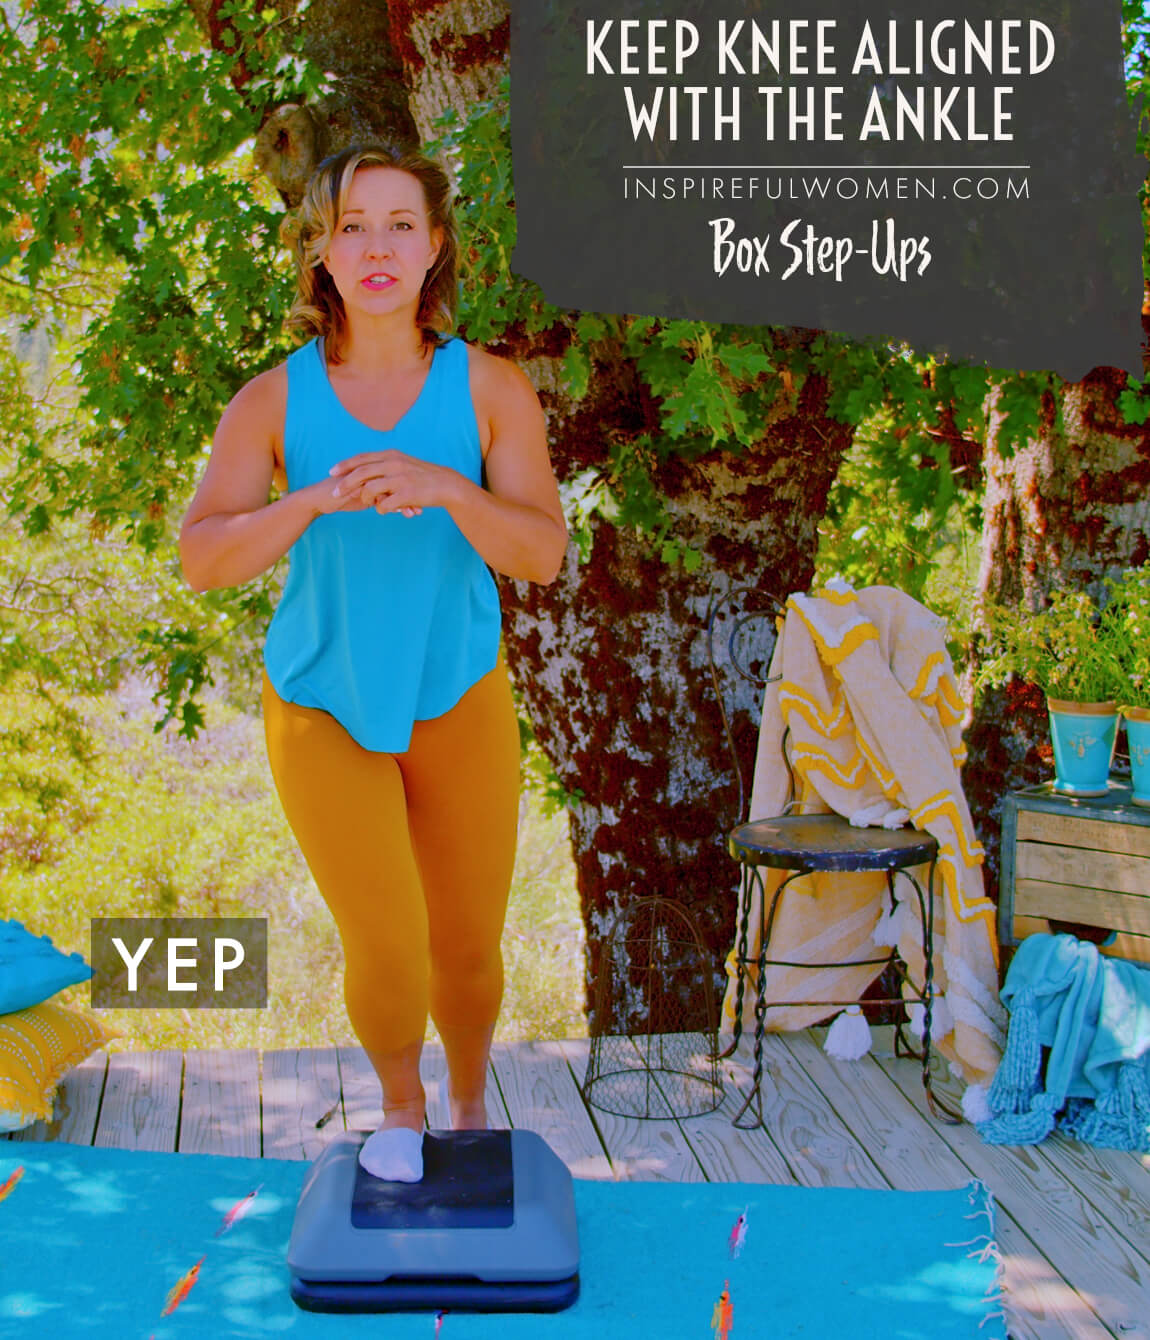
2. Avoid knee misalignment
AVOID: Letting your knee move side to side
WHY NOT?
- Leaning the knee in or out will strain the ligaments on the side of the knee.
WHAT TO DO:
- The knee should be in line with the 2nd and 3rd toes throughout the exercise.
3. Avoid Dropping Down
AVOID: “Dropping” back down to the floor.
WHAT TO DO:
- The step down phase should be very controlled with a soft landing.
- Stepping down is equally as important as the stepping up part of the exercise.
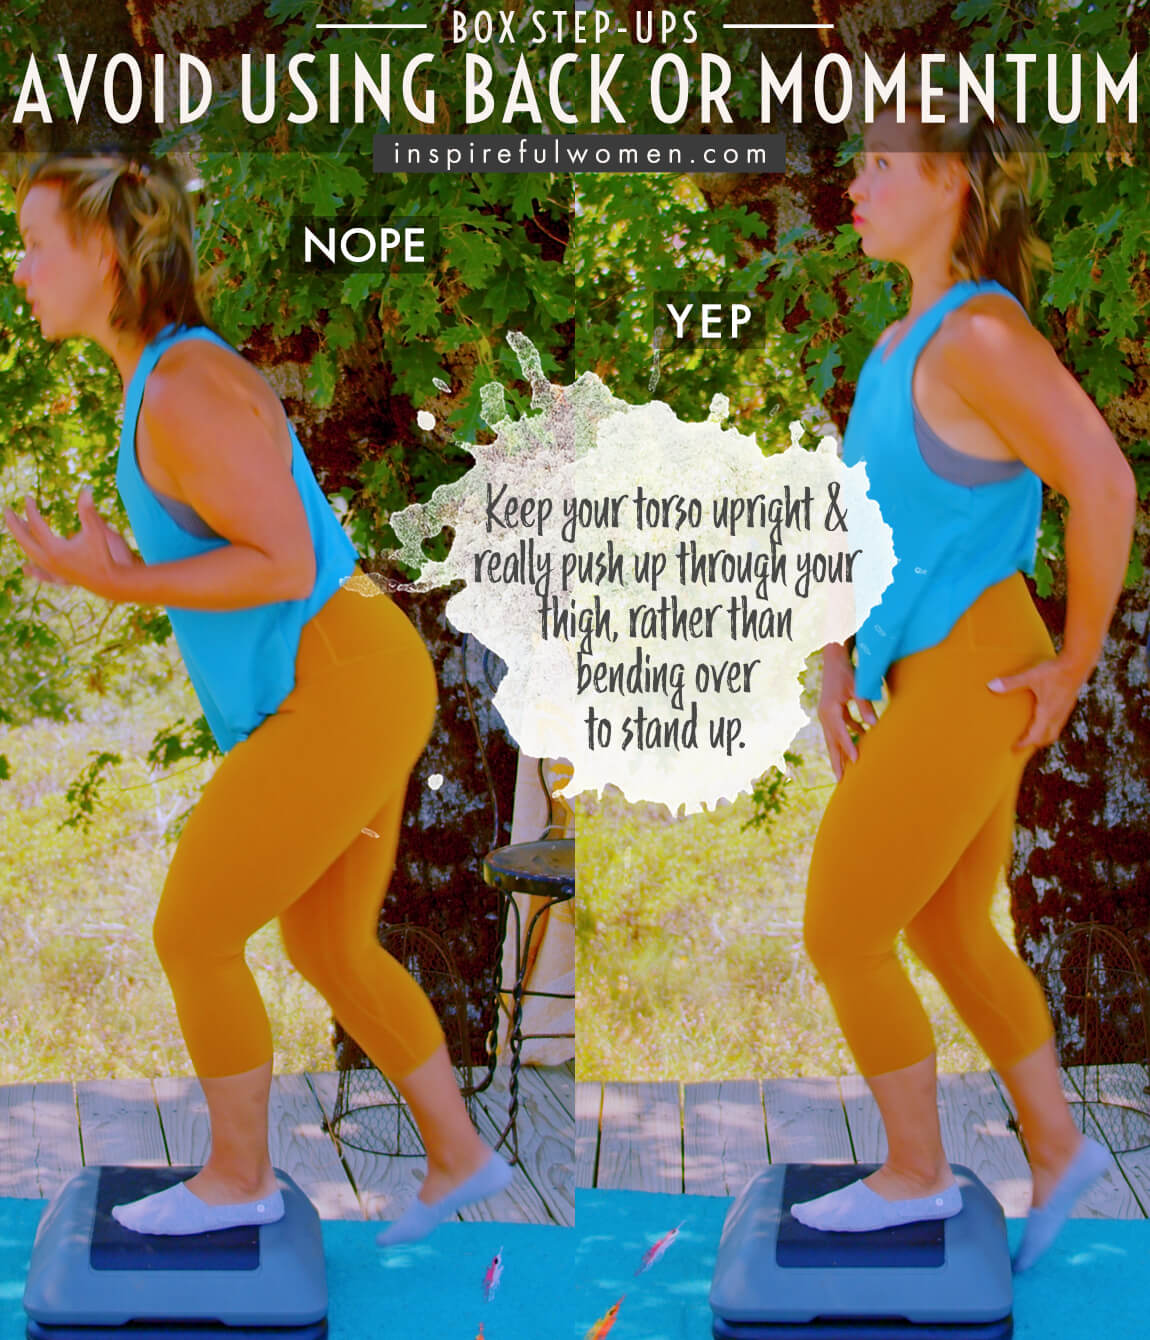
4. Avoid Using Back or Momentum
AVOID: Using your back to pull yourself up.
WHY NOT?
- A common mistake is to bend forward at the waist, then lean to shift your weight forward. Then pulling yourself up using your back muscles.
- Teaches poor movement patterns - using the back instead of the large leg muscles.
- This will decrease the muscle activity of the leg muscles.
- When this becomes a habit in exercise and daily life, it can lead to overworked back muscles, too much movement in the spine, and tight and weak legs.
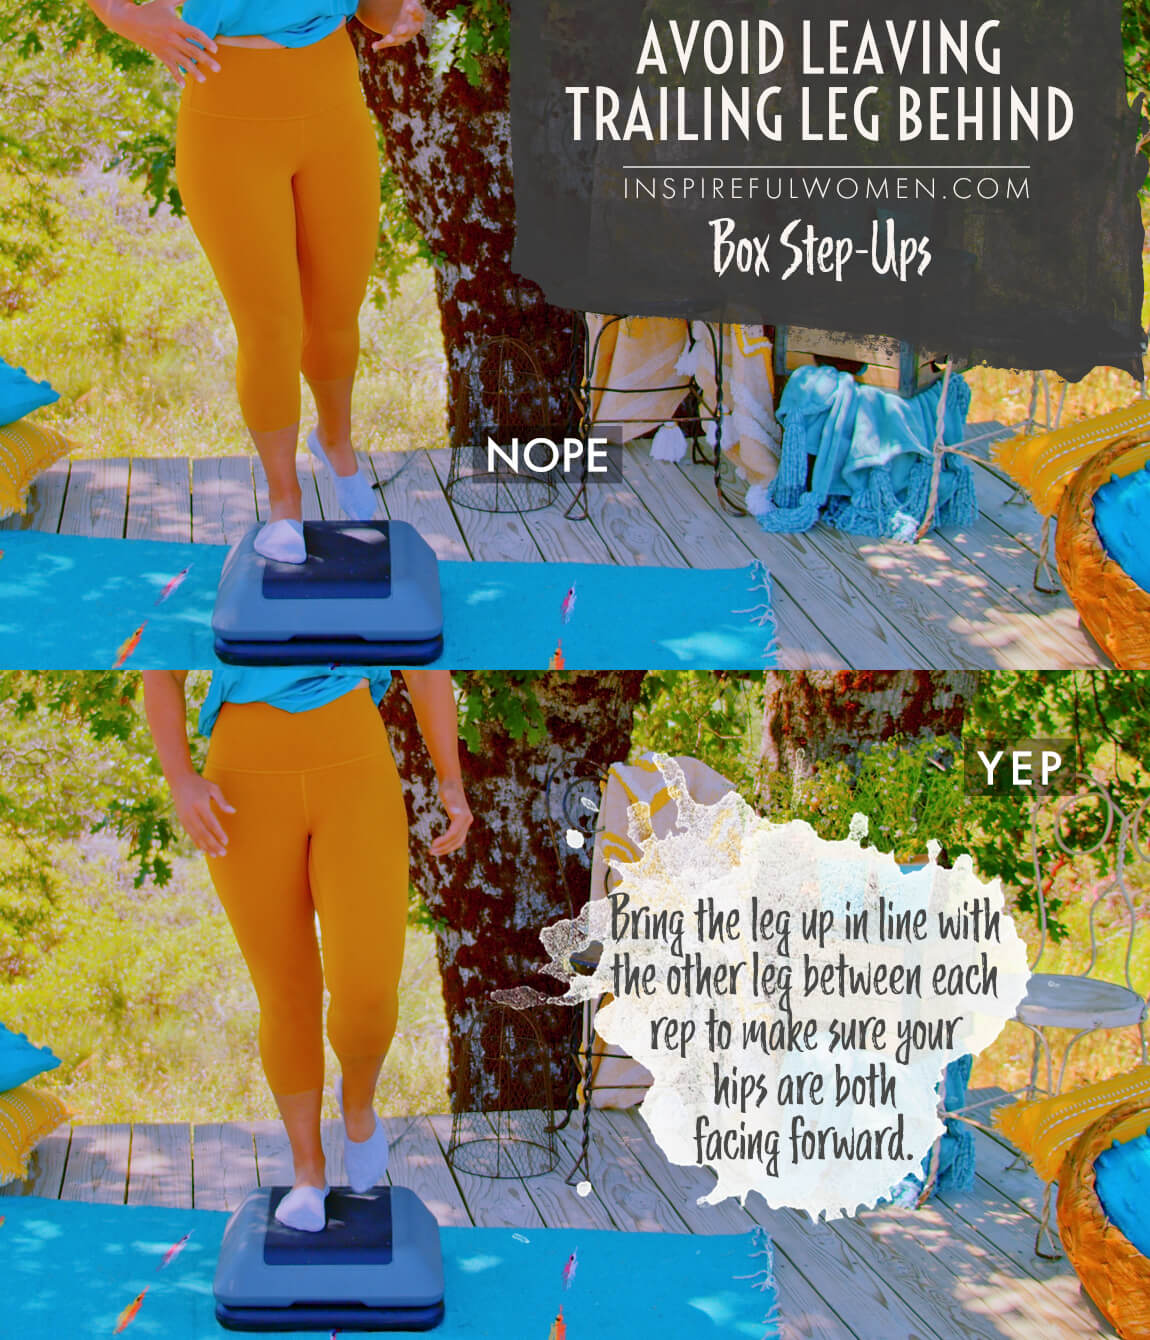
5. Avoid Trailing Leg Left Behind
AVOID: Avoid leaving the trailing leg behind
WHY NOT?
- It is pretty common to “leave” the non-working leg behind when you step up.
- This results in the pelvis tipping sideways - lower on the side of the trailing leg.
- After stepping up onto the step, the back muscles pull the trailing leg up by lifting that side of the pelvis.
- Teaches poor movement patterns - using the back instead of the large leg muscles.
- This will decrease the muscle activity of the leg muscles.
- When this becomes a habit in exercise and daily life, it can lead to overworked back muscles, too much movement in the spine, and tight and weak legs.
6. Avoid Migrating Away From Step
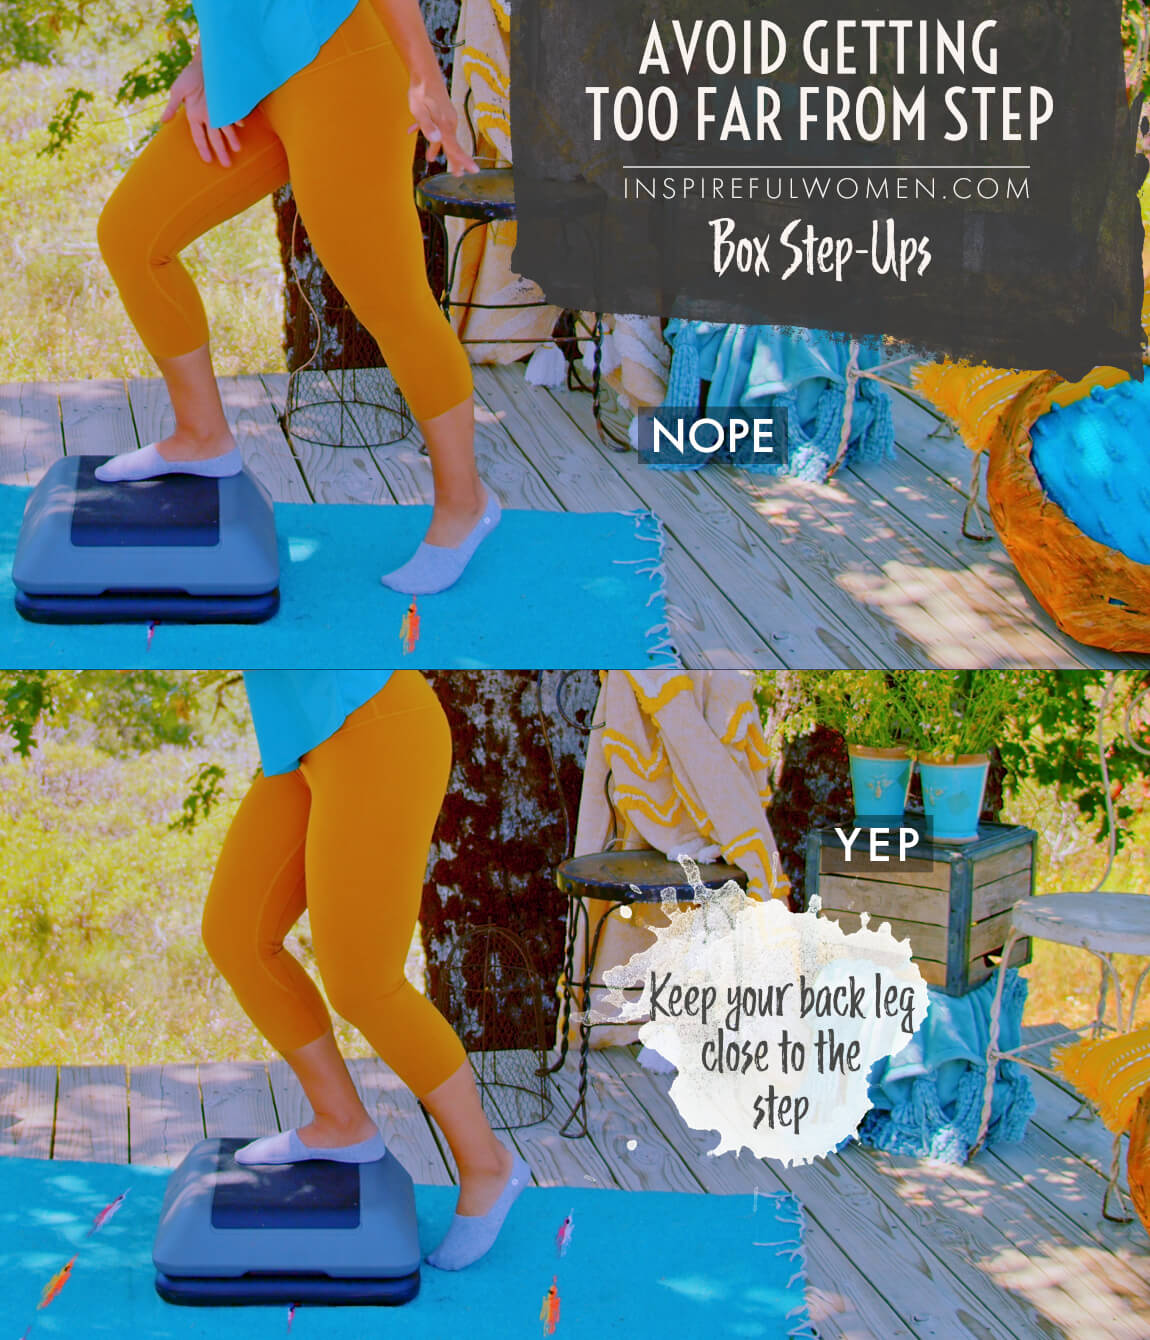
AVOID: Migrating away from the step.
WHY NOT?
- It is easy to slowly move further and further away from the step as you step off of the step.
- When you are further away from the step you do not have to bend your knee or hip as much
- This puts the quadricep in a stronger position, making the exercise easier
- This will use more hamstring and less glute max
- It is also easier to use momentum - more of a rocking motion onto and off of the step
WHAT TO DO:
- Make sure that your movement onto and off of the step is nearly straight up and down
- Check your position at the beginning of each step up
- You should only be about 2-4 inches from the step.
7. Avoid Thrusting Shoulders Back
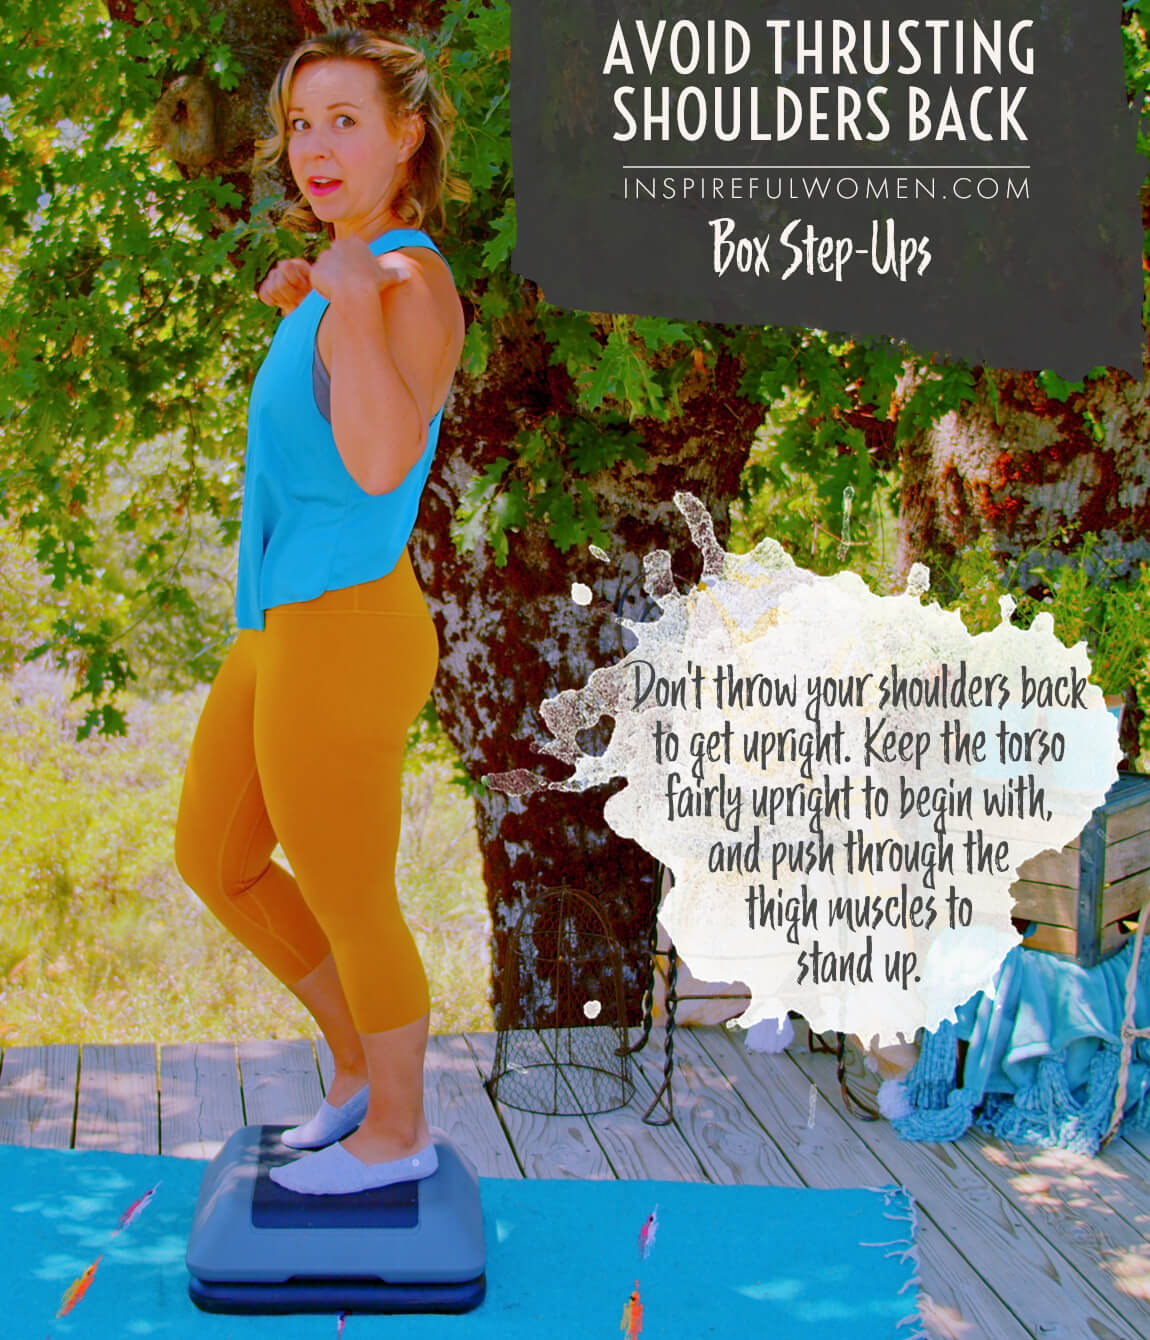
AVOID: Using momentum to lift back up to standing.
WHY NOT?
- It is easy to thrust the shoulders back to help pull the hips forward.
- Pulling the shoulders back uses the back extensors to return to standing instead of the hip extensors.
WHAT TO DO:
- Focus on straightening the hip instead of pulling the shoulders back to standing.
SCIENCY STUFF
SCIENCY STUFF
SPIFFILICIOUS FACTS ABOUT MUSCLES & MOVES
The musculoskeletal system is the body’s system that is responsible for movement. The parts of the system work together as a whole. The brain programs the movement patterns and along with the nerves, orchestrates all voluntary movement. When the parts of the system (joints, muscles, nerves, soft tissues) are healthy, each part does its job. The movement will put the least amount of stress on all parts of the system and will use the least amount of energy to achieve its task. But, even small amounts of weakness, pain, instability, or lack of motion can affect the entire system. For example, restricted ankle movement will affect the movement at the knee, hip, pelvis, and spine. The brain must reorganize the movement pattern to adjust for the deficit. This is known as compensatory movement patterns.
Compensatory movement patterns can lead to new problems in other parts of the system. When you ask your body to work in a way that it was not designed to work, it usually cannot accomplish the task without causing increased stress and energy requirements. Step ups and downs work the entire lower body together. All parts need to do their job effectively in order to safely complete the movement. This exercise is frequently used as a way to identify and address areas of weakness. The focus of the exercise is on form and control. It is important to keep the entire lower limb, pelvis, and spine aligned during the movement. Mastering step ups and downs will help to reinforce healthy movement patterns that are used in many daily activities.
ALLLL MUSCLES & WHEN
ALL MUSCLES WORKING & WHEN DURING THE Box Step Up
The quadriceps, hamstrings, and gluteus maximus are the prime movers throughout the exercise. The contribution from each is dependent on the height of the step used. The muscles work together to extend the knee and the hip – straightening the leg to pull the body up onto the step.
Higher step: Hamstrings will work concentrically to initiate hip extension. As the hip extends, the gluteus maximus will become more active and the quadriceps will act to straighten the knee.
Lower step: The quadriceps will begin the movement with knee extension. As the knee straightens the hamstrings and gluteus maximus begin to extend through the hip.
The quadriceps, hamstrings, and gluteus maximus all act concentrically during the step up and eccentrically during the step down phase.
The core stabilizers work throughout the movement. This is a single leg exercise so the hip abductors will be active to hold the pelvis level. The hip, knee, and ankle joint stabilizers are active when the leg is loaded (body weight).
The calf muscles of the working leg work concentrically as the knee and ankle move to an upright position (to fully straighten the leg when it is up on the step).
PIN IT FOR LATER!
